About this 3D model
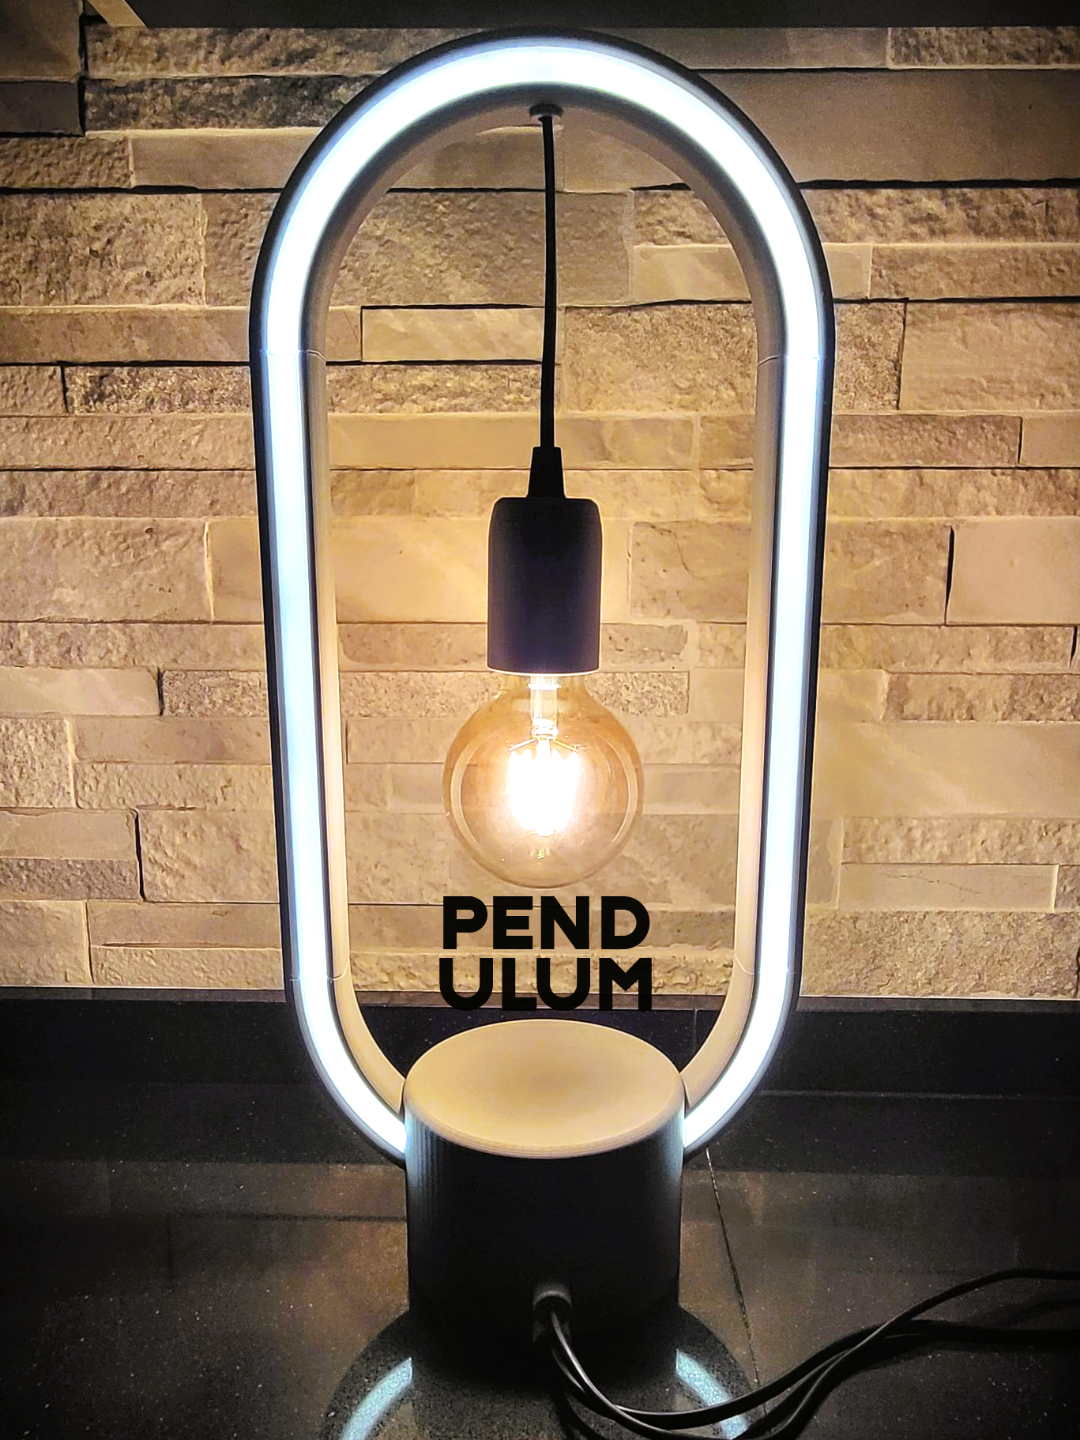
Pendulum Minimal Design Lamp This is a lamp that can be used in different ways and is modular. It has two light sources: an E27 light and a LED strip to give atmosphere. You can choose whether to turn on one or the other or both at the same time. the arms can be mounted in two directions, so you can choose whether to orient the LED strip front or back. I chose to orient it behind to reflect against the wall and create atmosphere. Shopping List: First of all you'll need an E27 Lamp Holder possibly with cable and switch but you can use what you have at home, i chose this: E27 Holder with switch . Is very important that the diameter of the lamp holder is between 37 and 38 mm to mount the cover. There are two covers in the files, one is 38mm and one 39mm to adapt to your needs I used a 80mm retro style bulb but you can use the bulb that you want. Some has a really cool design, like this BULBS For the arch i used a 5v led strip with 1cm width and 1m length with usb connection. you can use the led strip that you want, but the width must be minor of 1cm. This is what i've used Assembly: The assembly of the structure parts is really easy and don't requires instructions. All the parts are interlocking, but i suggest you to lock them with a drop of glue. The only pieces that require attention are the Base arms, they must be inserted at the right angle. The second step is to remove the cable from the E27 Lamp holder Now i'll show you how to assembly the electric parts: STEP 1 insert these pieces in the order shown and insert the cable in the first hole. STEP 2 Insert the cable in the large hole in the base Step 3 insert the cable in the hole in the arch STEP 4 Insert the little cable gland STEP 5 Insert the bolt, the cover and the lamp holder top STEP 7 Connect the cables, close the lamp holder with his cover and put the cable gland in the hole (use a drop of glue to lock it) STEP 8 Push the cable holder in the hole and screw the cap. And now… The led strip STEP 1 attach the led strip in the outside part of the oval, like in the image and unsolde the cable STEP 2 Insert the cable holder and the heat shrink like in the image (you can put heat shrink after if you want, i used this method only to show the order of the parts) STEP 3 Insert the wire into the remaining hole and insert it in the big hole insede the base near the lamp cable. STEP 4 Put the heat shrink (if you haven't already done so) solder the cables and heat the heat shrink. Be careful to not melt the PLA. Now is time to put the led strip structure inside the main structure. Be careful and move a little bit the cable inside the main structure to facilitate fitting. And that's it. all you have to do is connect everything to the power socket and see if it works!