About this 3D model
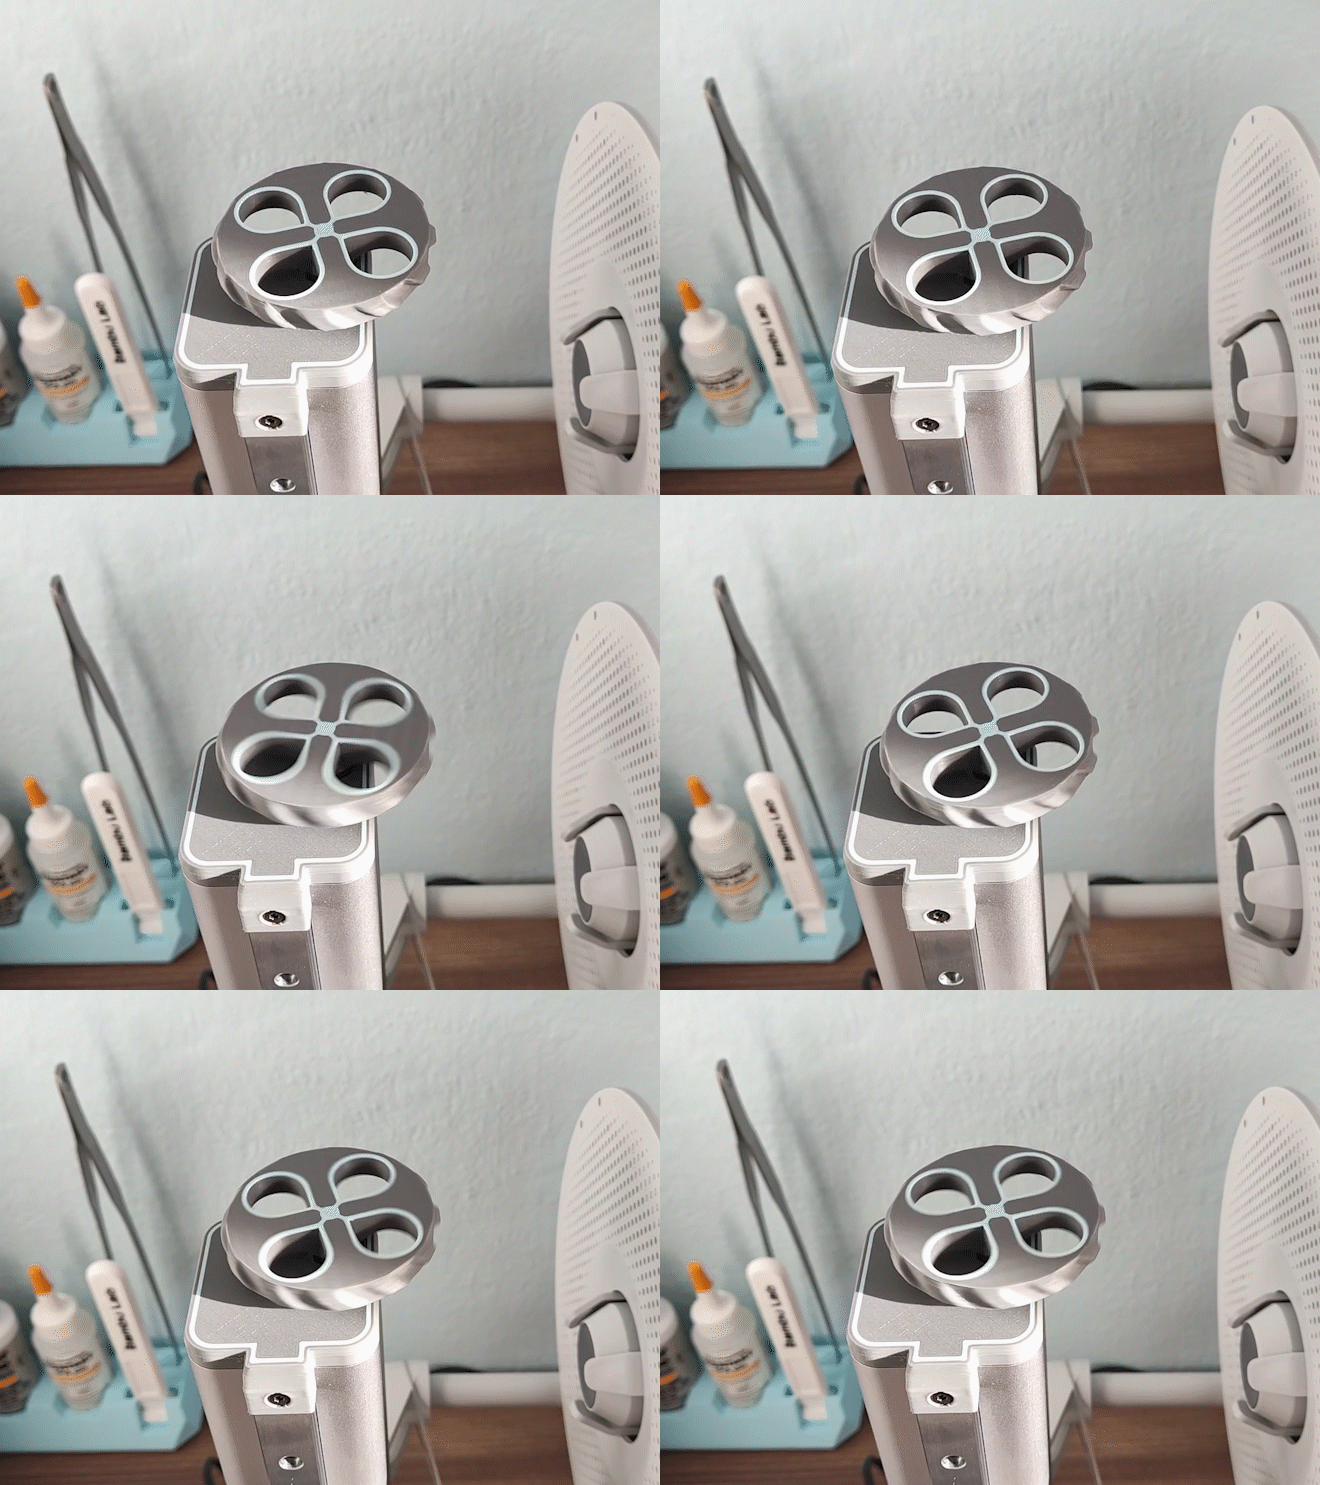
There were situations when the printer finished printing and moved to the very top, and after turning it off and on again, it moved up before printing, and since it was already the end of the Z axis, it made terrible sounds. I decided to design a knob that allows me to lower the Z axis manually. Warning! Never push your fingers into the knob while the printer is printing, it may end badly for you! Installation. To remove the original cap, unscrew the screw. Then lift it from the front, tilt it back (there is a handle at the back that holds it) and slide it back. To install a new cap, hook the hook at the back and put it on towards the front, it may be difficult so use some force. Screw it on. To mount the knob, press it onto the Z axis screw. The knob must fit snugly so that it can be turned, so you need to use some force to install it. The gap between the cap and the knob should be about 3-4 mm Warning. If you don't feel up to installing it - give up. If you damage your printer, I am not responsible for it. If you want to print in one color , use a multi-color profile and set each color to the same one. Boost Me Hey! If you like my 3D models, I’d really appreciate it if you hit Boost! ? It’s a big motivation for me to keep creating and sharing new projects with the community. Every Boost shows it’s worth it – thank you! ?