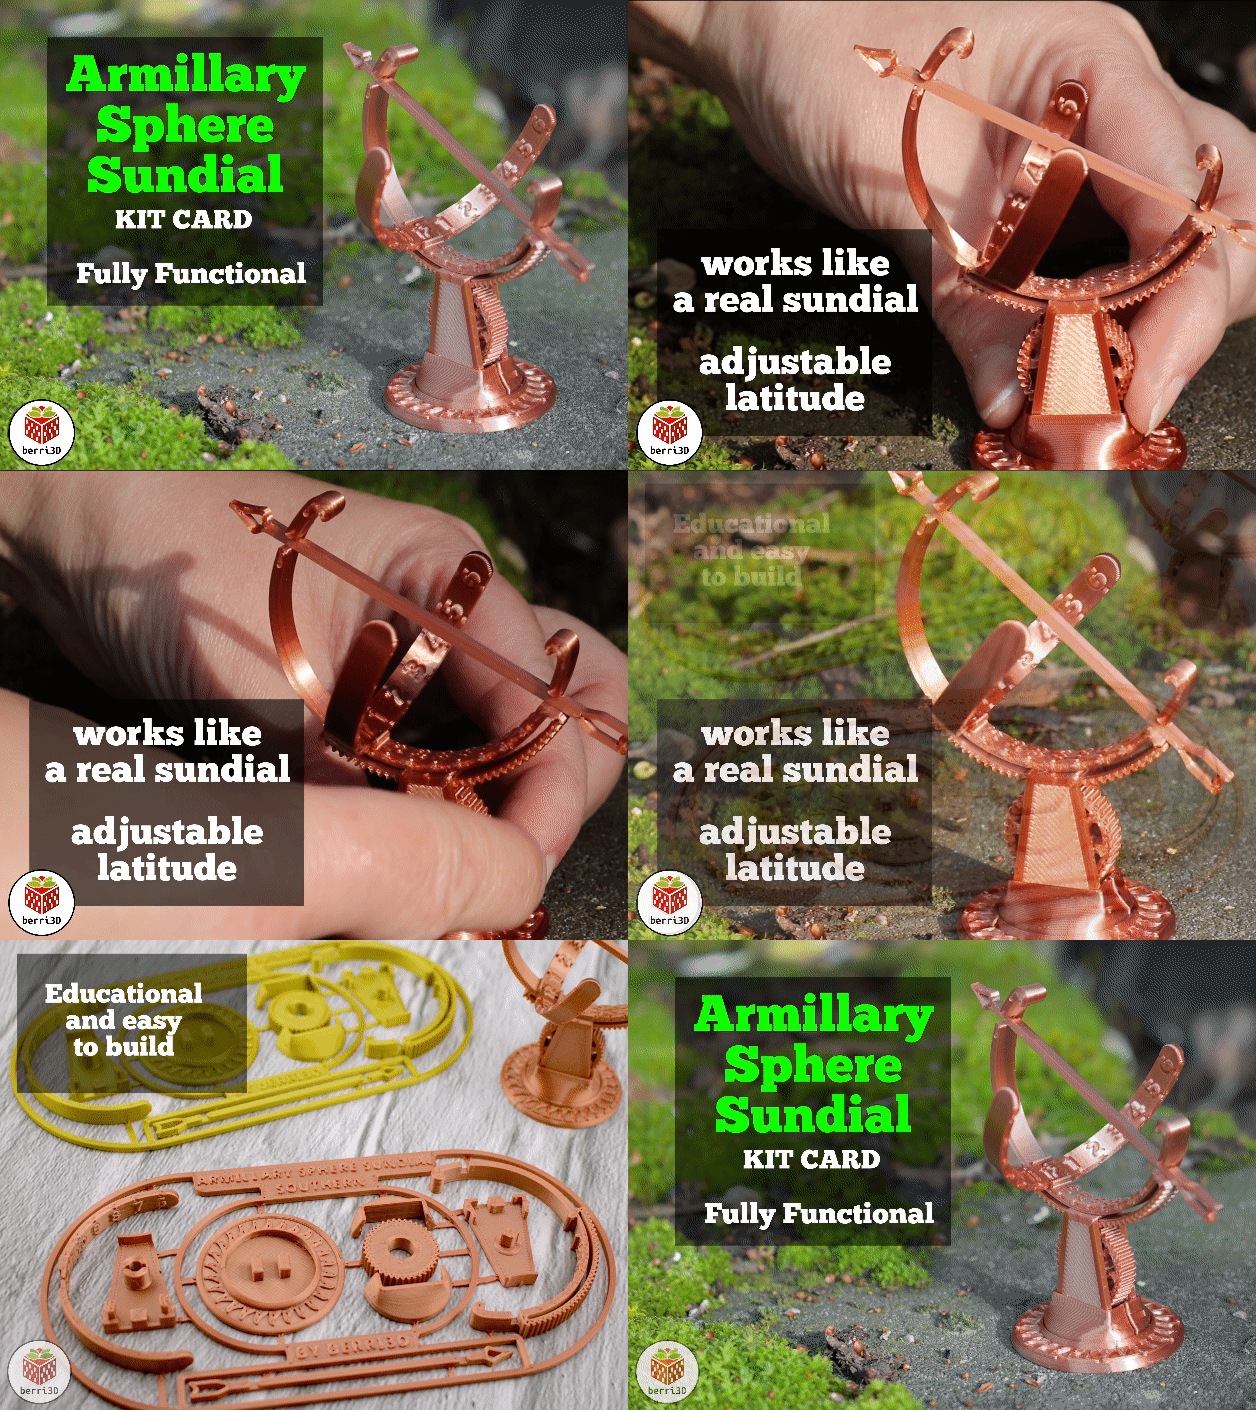
About this 3D model
This is an armillary sphere sundial aka equatorial sundial. It's adjustable to your latitude for increased accuracy. And by accurate, I mean it's a miniature made on a 3d printer so don't expect swiss time keeping. However, all the angles are correct and it will show the right(ish) time of day. Functional: it works! Tells time using the position of the sun Adjustable: from 0° to 75° to match your geographic location for increased accuracy Educational: makes a great teaching tool (if you make these for a class and would like printable assembly instructions, please let me know and I'll put something together). Two versions: one for use in the northern hemisphere, and the other for the southern hemisphere. Multiple “fit” sizes: print profiles contain pre-adjusted tolerance for looser or tighter models. Something still not fitting right? Drop me a line and I'll be happy to make changes or create additional sizes. No sprue model: for those that prefer not to print the frame around the kit, all parts are available separately in their own print profiles. They also include pre-adjusted tolerances for a looser/tighter fit. IMPORTANT: your plate choice and cleanliness is vital to successfully printing kit cards due to their small details. When printing these types of models, I highly recommend a smooth High Temp PEI plate. Textured plates are “ok” but can cause parts to not fit as well because they create an inaccurate first layer. Above all else, your plate must be 100% clean (no skin oils). Print Instructions Note: the filament you choose will make an impact on readability and durability of the sundial. Silk filaments can obscure the shadow due to their sheen and PLA can deform if left in hot sunlight. If functionality is more important than form, then solid colour PETG will be best. Choose the print profile that matches your geographical location: Above the equator: Northern dial Below the equator: Southern dial Print the tolerance test first (included in every profile). This will let you know which “fit” size to choose. The two pieces should snap together snugly. Too loose: print a tighter variation Too tight: print a looser varation Just right: print the default size Print the model using my recommended settings (included in the print profile, see below for a list). Assembly Instructions Before you begin: Carefully detach the pieces from the card with side cutters, a hobby knife, or sharp pointed scissors. You can twist them off, but just be aware that the sharp points of the sprue can cut your fingers (ask me how I know). If you choose twisting instead of cutting, you may still need to trim the plinth so it can snap into the base. Inspect the parts and trim off or remove any stray bits of filament or sprue remaining. Follow the assembly animation to the right. Pieces should snap together snugly. The round base may need some extra force if it's a bit too tight. If the base is a bit too loose, a bit of super glue will help keep it in place. How to Use – Quick Start Point the gnomon (the arrow) towards true north or south depending on if you live above or below the equator. Use a phone app to help you and not a compass. Compasses point to magnetic north which is not the same as true north/south . Rotate the ring to match your latitudinal location . I live along 47°N, so I would rotate the ring a little beyond 45°. Observe the shadow cast by the gnomon. It should fall near the time of day at your location. Tips Daylight saving time (DST): all sundials will be one hour behind if DST is in effect. DST starts in mid March and then ends in mid November. Normally we would adjust our clocks to match but unfortunately sundials cannot be adjusted because they use the sun's position which doesn't care if we're saving time or not. It's kind of rude tbh. Time is a little off: the gnomon (the arrow) needs to be centered to the latitudinal gear. Double-check that it's snapped fully into place. Can't find true North or South: if you're not able to find the direction to point, you can “cheat” by turning the whole sundial until the shadow cast on the equatorial ring matches your local (non-DST) time. Hard to see the shadow: dials printed with silk PLA can be difficult to read because they create a reflective surface. Plain white PLA will show the shadow the best. The shadow is too thick: The nature of 3d printing means that the gnomon had to be thick for practical reasons. If you're using these kits in an educational setting and want a bit more accuracy, try using thread or thin string in place of the gnomon. There are notches on the latitudinal gear that string can be wrapped around; just don't tie too tight or it will cause the bow to bend. Gear is sticky: double-check the channel is free of stray bits of filament. Sticky gears can also be caused by the two sides of the stand pressing too closely together. Pressing down on the top of the stand can flex the sides enough that the gear will spin freely. Alternatively, pulling the l