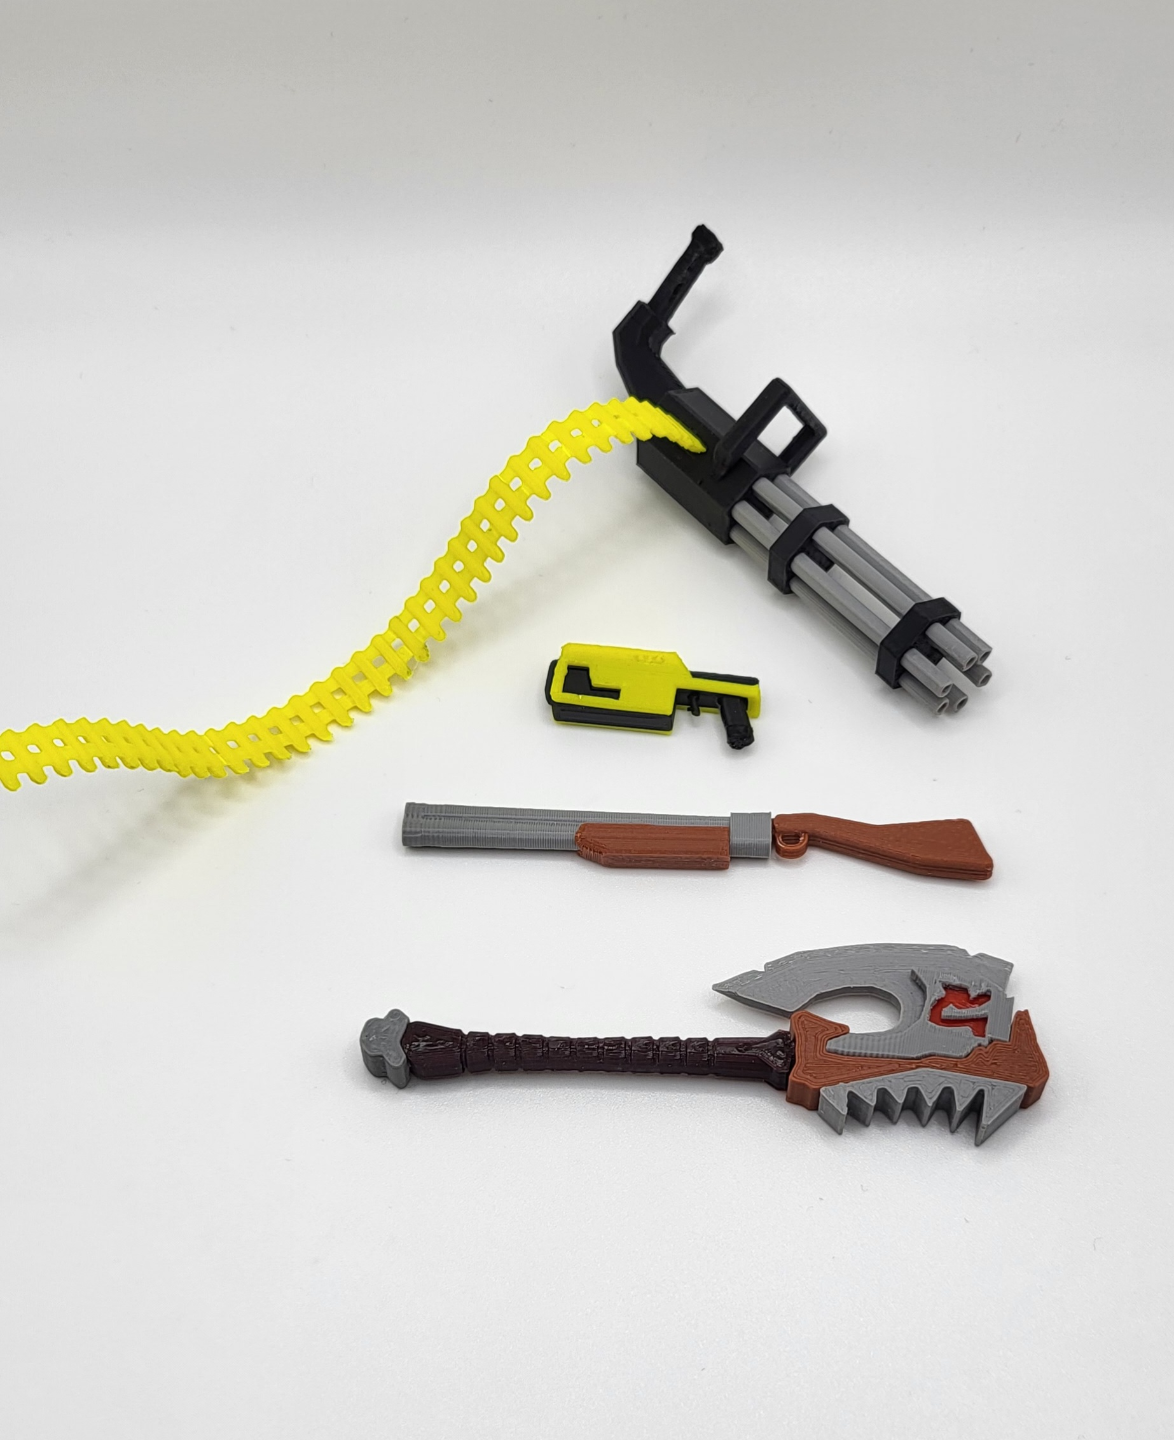
About this 3D model
I had a lot of fun making the axe for my Orc warrior skin and decided afterwards that I needed to make a few more weapons. Every weapon in the pictures consists of multiple pieces and requires assembly but I have included a version of each weapon that is either one or two pieces for those who would rather paint their weapons. Those one and two piece weapons are Gatling Gun.stl Pistol.stl Shotgun.stl Axe.stl Sword 1 of 2.stl Sword 2 of 2.stl These weapons were designed to be used with the Detailed Simple Grip hands for lucky 13, made by Printables user Cromulent and Simple Grip Hands Remix to fit Dummy 13 by Nigel W . Assembly is straightforward. If you have any questions, don't hesitate to ask. SWORD Pieces you will need: Sword Handle - Brown.stl Sword Hilt - Brown.stl Sword Blade 1 - Grey.stl Sword Blade 2 - Grey.stl Sword Insert - Orange.stl Take Sword Insert - Orange.stl , fit it into Sword Blade 1 - Grey.stl and then snap Sword Blade 2 - Grey.stl on top. Fit each piece of Sword Hilt - Brown.stl on Sword Handle - Brown.stl and then combine the completed blade with the completed hilt. See the photo below for reference. GATLING GUN Pieces you will need: Gatling Gun Body - Black.stl Gatling Gun Ring - Black.stl X 2 Gatling Gun Barrel - Grey.stl X 6 Gatling Gun Bullets - Yellow.stl You will need to print six Gatling Gun Barrel - Grey.stl and two Gatling Gun Ring - Black.stl in order to assemble a Gatling Gun. Take each barrel and fit it through the two rings before fitting it into Gatling Gun Body - Black.stl . I found it easiest to fit one barrel at a time through both rings and into the body rather than try to fit all six barrels through one ring before trying the second ring. The Gatling Gun Bullets - Yellow.stl are printed flat but are very flexible and slot into a small hole on the side of the body. PISTOL Pieces you will need: Pistol Grip - Black.stl Pistol Skin - Yellow.stl Super simple. Pistol Skin - Yellow.stl fits onto Pistol Grip - Black.stl as seen in the following picture. SHOTGUN Pieces you will need: Shotgun Butt - Brown.stl Shotgun Fore-End - Brown.stl Shotgun Barrels - Grey.stl Again, super simple. Shotgun Butt - Brown.stl fits into Shotgun Barrels - Grey.stl and then Shotgun Fore-End - Brown.stl snaps into place on the bottom barrel. AXE Pieces you will need: Axe Handle Knob - Grey.stl Axe Inscription - Grey.stl Axe Spikes - Grey.stl Axe Head - Grey.stl Axe Handle 1 - Brown.stl Axe Handle 2 - Brown.stl Axe Inscription Plates - Red.stl First thing you need to do is to fit the Axe Inscription Plates - Red.stl into Axe Inscription - Grey.stl as seen in the following photo. Next, take that inscription piece and fit Axe Head - Grey.stl into the middle and put that to the side for a moment. Take Axe Spikes - Grey.stl and fit it into Axe Handle 2 - Brown.stl as seen below. Now take the completed axe head and fit it into the axe handle assembly. Start by putting the bottom of the axe head into the axe handle and then swinging the top of the axe head in. See the below photo for reference. Last thing to do is connect the handle and knob the the finished axe head and you're good to go.