About this 3D model
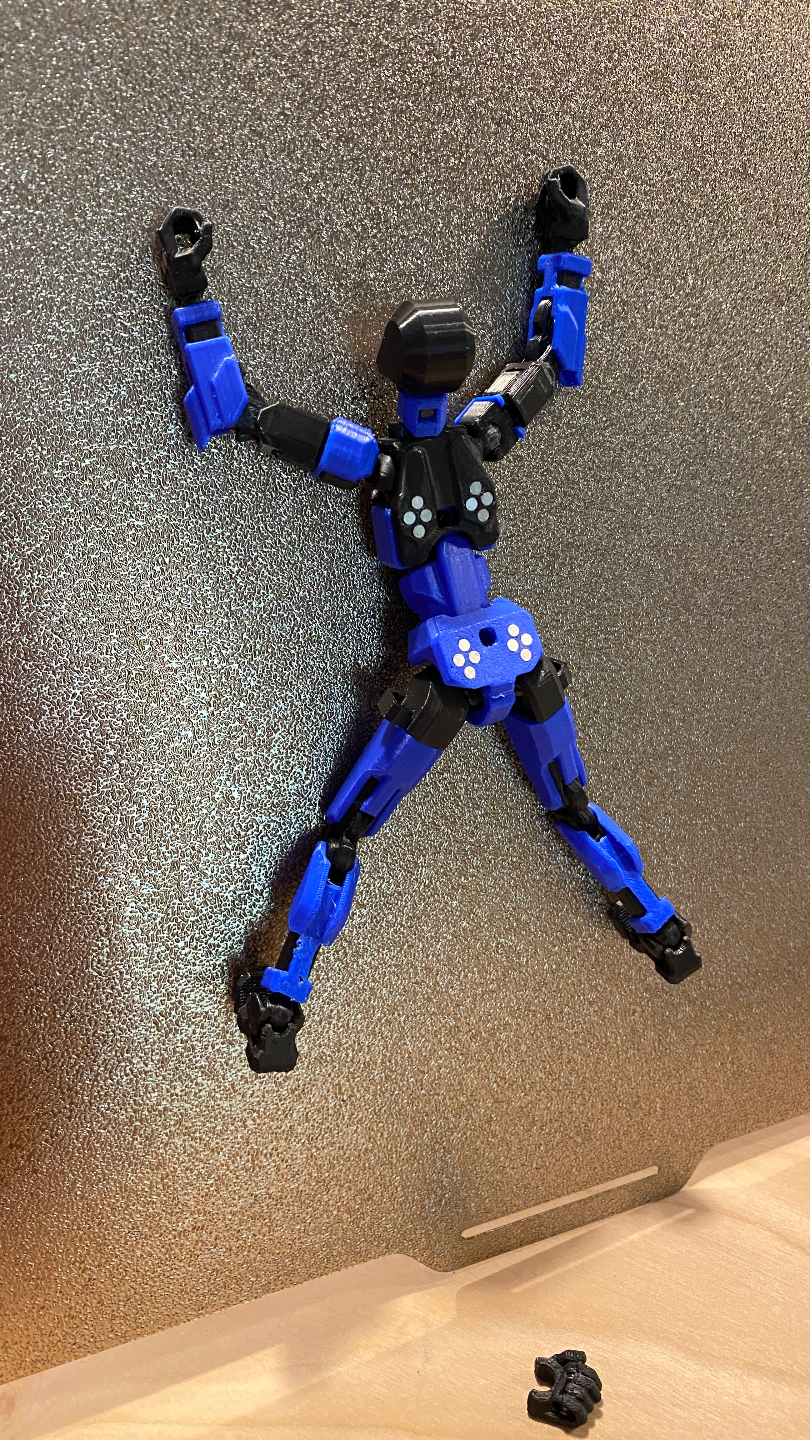
I spent hours playing with my 3 kids with some Dummy 13 I printed for them (actually, I printed a few for myself too... :) ). I started to find Dummy 13 hanging all over my house and that was very funny too. I thought it would have been really funny to use some magnets to create more fun for the kids but I wasn't able to find anything to give enough magnetic attraction without using a strong and heavy magnet. Some of the solutions found here and there, were not an option for me (even if they were great remixes anyway) as they used kinda boots that limited the movements of Dummy 13 feet or others, that added bigger magnets inside layers of material, limiting the attraction force of them and increasing the total weight of the Dummy 13. Again, I personally think that they were great and funny solutions anyway, but I was looking for something different. Then I found a remix (named MagBoots) that was a nice solution, even if not enough powerful for my needs. So I made a remix myself of the Dummy 13 and the MagBoots itself, to get what I was looking for. I know that this solution will probably be too much for the most of you (even for myself, while adding all the magnets, it appeared really exaggerated) but I kept adding magnets, to have a full magnetic toy for the kids (and, again, for myself too)! I made the holes with a low tolerance to let the magnets get stuck without the use of some glue but I noticed that, depending on the used filament and/or printer settings, the results may be different (I used a Bambu Lab X1-Carbon with Bambu Lab ABS filament). For this reason the holes are made using the slicer negative parts, so you will be able to adjust them properly, based on your needs. The best solution (for me) to put the magnet on the parts has been the following. To get all those magnets in place you will need, first of all, a great deal of patience and some simple tools and items, like the following: 2x1 strong magnets (from Amazon), a 5/64 inch drill bit (as mentioned before, I left the holes with a low tolerance to let the magnets get stuck but, with the drill bit, you can, using a very small force and with 3 or 4 turns of the bit in the holes, make the holes perfect for the magnets) and superglue. Furthermore, you will need a plier (or a flat, hard and shiny metal tool, to press the magnets flush with the surfaces where you will glue them to. I personally used a chromed plier or the same 5/64 inch drill bit used to slightly clean the holes. Remember to pay attention to the magnets while glueing them as they tend to get stuck one another easily. I have also alternated the magnetic attraction of the magnets field poles left and right (or + and -), to have the possibility, as an example, to stick the right foot to the left one, or the right hand to the right one, and all the other possible combinations. I know that many of you do not like to use glue in your own models (me too), but I have been really happy about the results (my kids too) so I decided to make the remix public anyway. Another solution would be, for the more experts among you, to play with the holes tolerance in the slicer software to get the perfect fit for their printer/filament, so the magnets will fit great without the use of the drill bit or of the superglue (thus saving their fingers from the use of it). :) Remember to press the magnets a bit to make them flush with the surface so they will produce a stronger hold onto the metal surface but be careful not to break the printed items using too much force. I added the armor high heel feet from Lady 13 too to the 3mf file (my wife said it was mandatory). Remember that those, at least in my experience, are the only one that need brims or supports to get printed well. If any of you has some suggestion to improve the remix, do not hesitate to put it in the reviews, any constructive criticism is always welcome. I will add the stl files shortly, as soon as I am done playing with my kids with Dummy 13 (just kidding). Many thanks to soozafone for giving me and my kids hours of great playing and to all the others that made funny remixes of Dummy 13. P.S.: You can download the rest of the armor and frame parts of Dummy 13 directly from the original designer page: https://makerworld.com/en/models/183780#profileId-208563 10-1-2024 - UPDATE : added files for Dummy 13 version 1.0 released on September 2024. NEW FEATURES: size of the magnets changed for some parts of the 1.0 version to make easier to assemble (sizes needed: 2x1, 3x2, 4x2 and 5x2). The guide is still applicable to both the new design and the original beta design, you will just need some extra tools for the different magnets size. Be careful to the exact dimensions of the magnets you will use. Based on the size of the ones you have available, you will have to increase or decrease the depth of the holes in the different parts as, based on my experience, while the diameter of the magnets is (almost) always enough precise, the depth IS NOT and