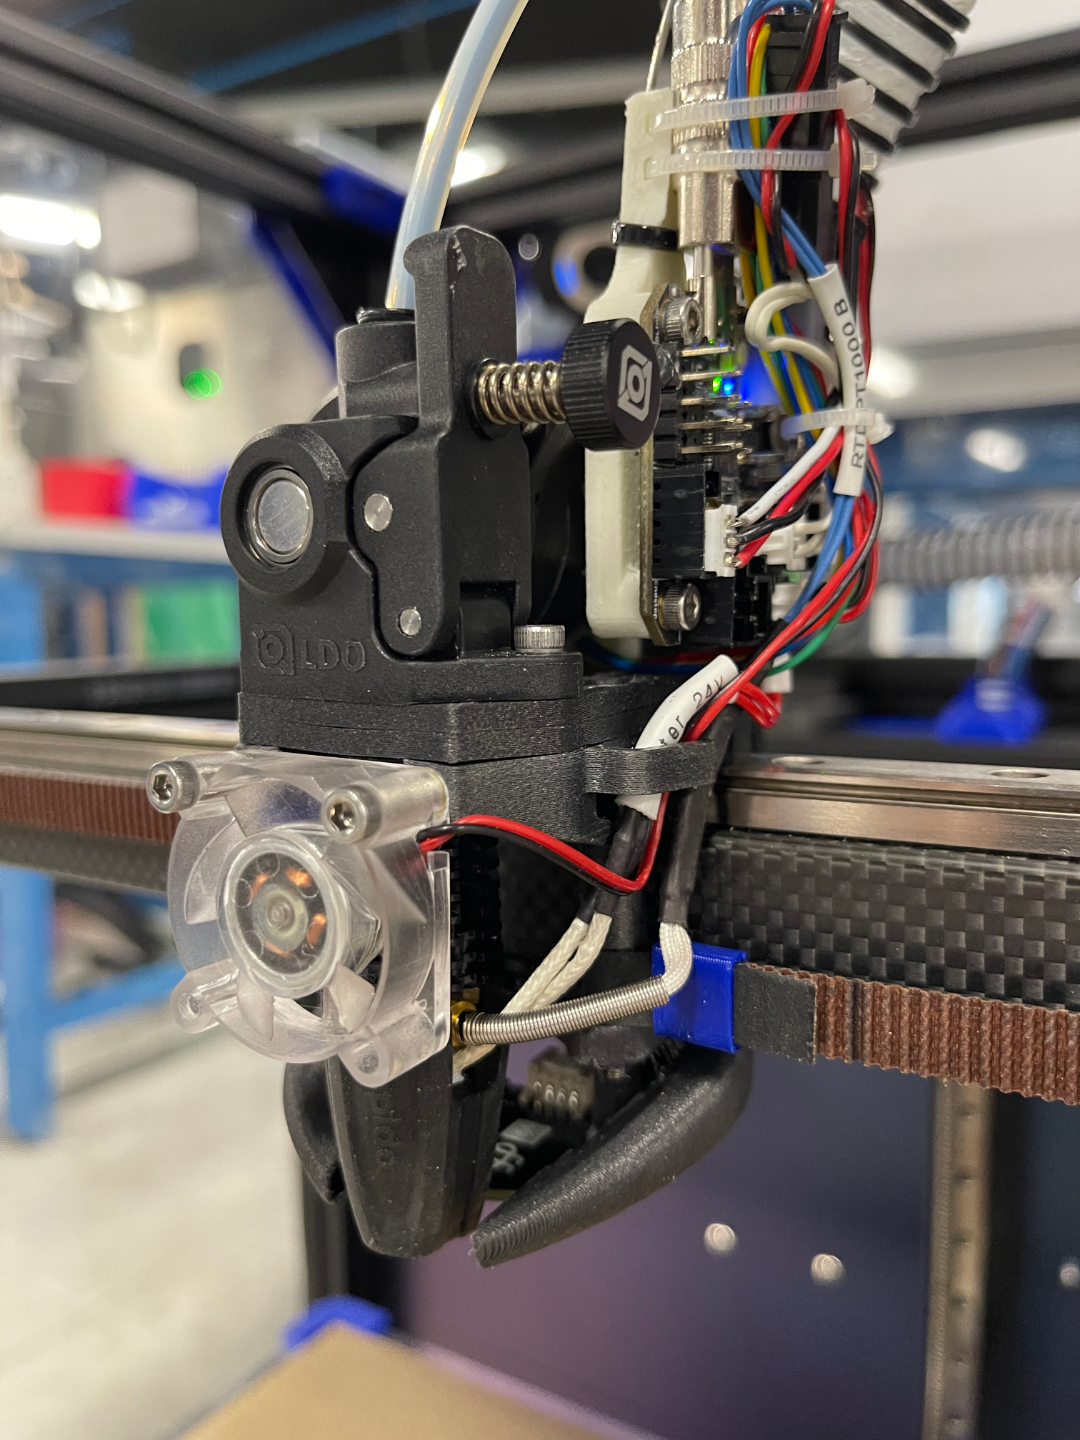
About this 3D model
Microlight Printhead Ratrig V-Core 3.1Remix - Add Beacon + EBB42 Remix from: Microlight printhead from MFBS Designs @FBGDesign_302513 (Printables) Printables 1 x 3010 part cooling fan. 4 x 3 mm x 46 mm top to bottom plate clamping srews 1 x 3mm x 6 mm CPAP pipe mounting cap screw 2 x 3 mm x 16mm Orbiter mounting cap screws 2 x 3mm x 8mm X stop mounting cap screws 4 x 3mm x 6mm MGN carriage mounting cap screws (If these bottom out grind shorter to 5 mm) 2 x 3mm x 16 mm cap screws to mount 3010 heat sink fan. Files to print: Microlight_3_belt_ferrules.step Microlight_3_belt_ferrules.stl Microlight_4_belt_retainers.step Microlight_4_belt_retainers.stl Microlight_front_left_combined_ferrule.step Microlight_front_left_combined_ferrule.stl Microlight_Rapido_front_support.step Microlight_Rapido_front_support.stl Front idler belt tensioner (as part of a frame build mod) Printables These are mandatory as the printhead removes the onboard tensioners Front idler parts 1 x 5 mm x 36 mm pins (right front idler). 1 x 5 mm x 33 mm pin. (left front idler) I ground down a 36 mm one to save me needing to order different sizes). These pins are available from your local bearing supplier or Aliexpress. Some of the Aliexpress pins may need sanding in an electric drill for a couple of minutes to make them a nice sliding fit in the idler bearings. (In my case i used an electric drill on a grinding wheel). Don't try to use a press as it will damage the bearings. https://www.aliexpress.com/item/4000233682608.html 2 x 6mm x 35 mm cap screws (black oxide) for belt tensioners 2 x standard 6 mm zinc nut for belt tensioners. 8 x 6 mm nylock nuts (4 for retaining front idler stationary block and 4 for clamping XY rear motor plates. 2 x 6 mm 50 mm cap screws (black oxide) for clamping left front idler stationary block 2 x 6 mm 54 mm cap screws (black oxide) for clamping right front idler stationary block Files to print: lhs_packer.step lhs_packer.stl lhs_sliding_block.step lhs_sliding_block.stl rhs_packer.step rhs_packer.stl rhs_sliding_block.step rhs_sliding_block.stl stationary_block_left.step stationary_block_left.stl stationary_block_right.step stationary_block_right.stl I’ve remixed the microlight head for several uses: EBB42 Toolboard mount You’ll need 2x M3 x 18mm to replace the screws through the orbiter to the mount 2x M2 x 6mm to mount the X end stop (no threaded insert) 1 or 2 M3x 8 for securing the back of the mount to the back plate (1 is good enough) Print: EBB42 Mount.step Microlight_back_plate_with_toolboard_mount_holes.step If you just want the toolhead and not the beacon or other modifications you can do it with just replacing the back plate and printing the toolboard mount. Beacon Surface Scanner A very worthwhile upgrade to speed up printing start and perfect first layers (especially on a RatRig500) Microlight_integrated_bottom_plate_duct_beacon_mount.step Cpap_Pipe_beacon_clearance.step These are the files for mounting the Beacon and allowing clearance for the wire up the back of the CPAP duct. Aluminum Plate for Stiffness Microlight_Rapido_top_plate_aluminum.step Add a plastic spacer on top: Microlight_Rapido_top_plate_plastic_spacer.step If you don’t want to use an aluminum plate you can either print it in plastic or use this combined model and print that: Microlight_Rapido_top_plate_mod4toohead.step References CPAP Fan mod for Ratrig V-Core 3.1