About this 3D model
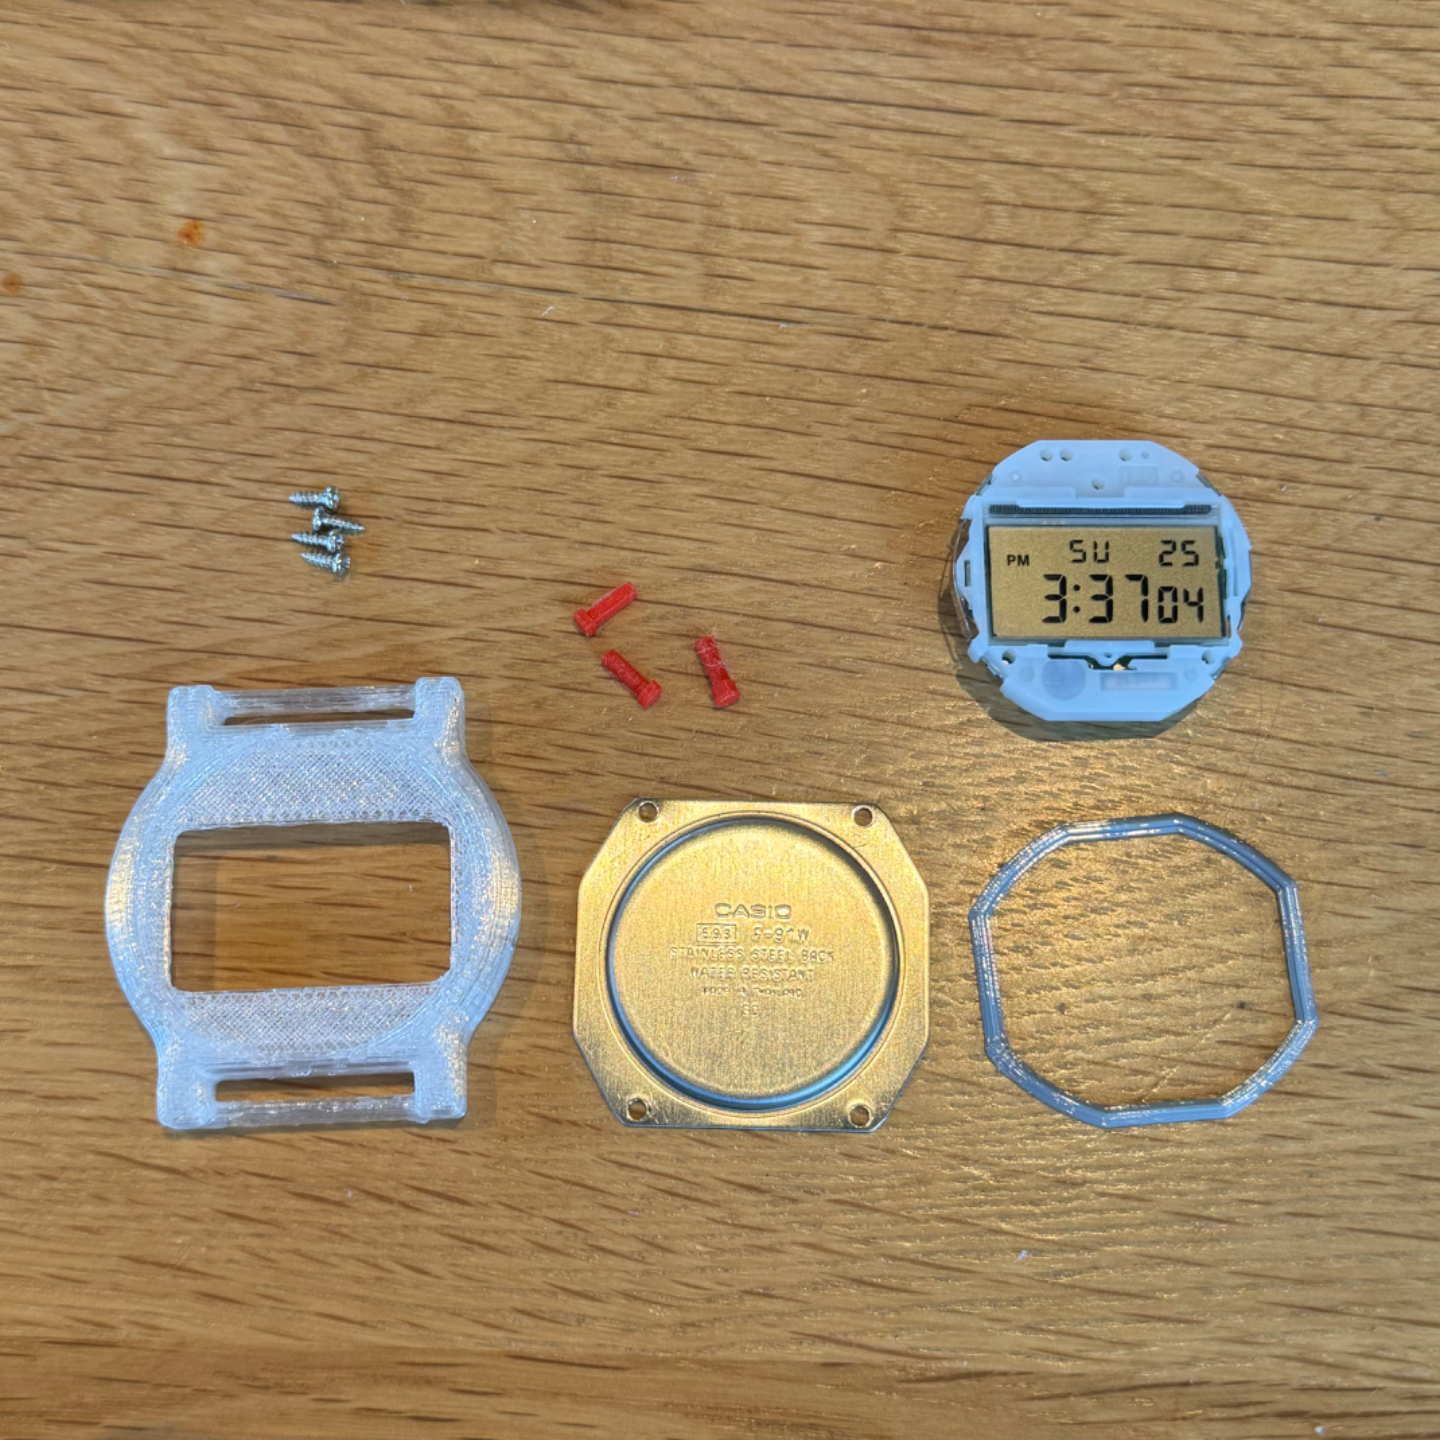
This design was printed using PLA for the buttons, TPU for the Gasket, and PETG for the main case. The following were the print settings for the components (All components were printed on the Ender2Pro and all files were sliced on the Prusa slicer) PLA Layer height : 0.2 mm Perimeter count : 3 Print Speed : 10 mm/s Supports : None Nozzle Temp : 200°C Bed Temp : 60°C Bed Prep : None For PETG Layer height : 0.2 mm Perimeter count : 5 Infill : 100% Infill type : Rectilinear Support : organic Nozzle temp : 245°C Bed Temp : 70°C Bed Prep : 3-5 layers of glue stick For TPU Layer height : 0.2 mm Perimeter count : 3 Nozzle temp : 225°C Bed temp : 60°C Bed prep : 3-5 layers of glue stick For future assembly you will need the original screws of the F91-W or these M1.4x4 screws below : 1000Pcs Mini Screw kit M1 M1.2 M1.4 M1.7 Phillips pan Head Micro Screws Self-Tapping Electronic Small Metric Screw PA Nickel-Plated https://a.co/d/ This nato strap from Amazon : WOUKUP Premium Military Ballistic Ribbed Nylon Watch Straps 18mm 20mm 22mm Replacement Watch Band for Men https://a.co/d/dKjBbHF These round 28 mm screen protectors : HARFINGTON 5pcs Watch Glass Screen Protectors 28mm HD Tempered Glass High AL Anti-Scratch 9H Hardness High Definition Anti-Explosion Smartwatch Screen Protection Film https://a.co/d/46pxskT Assembly is straight forward. Insert the buttons through their respective hole. The button that is slightly longer is the alarm button the mode and light button are the same length. Then make sure the module is inside aligned with the buttons. Place the gasket in its place and then put back the original backplate to the back of the watch. To apply the screen protector some form of adhesive must be applied on the top face of the case and then the screen protector should be gently applied and secured throughout the drying process. If you like this model please leave a like and comment to boost the algorithm, Thanks :)