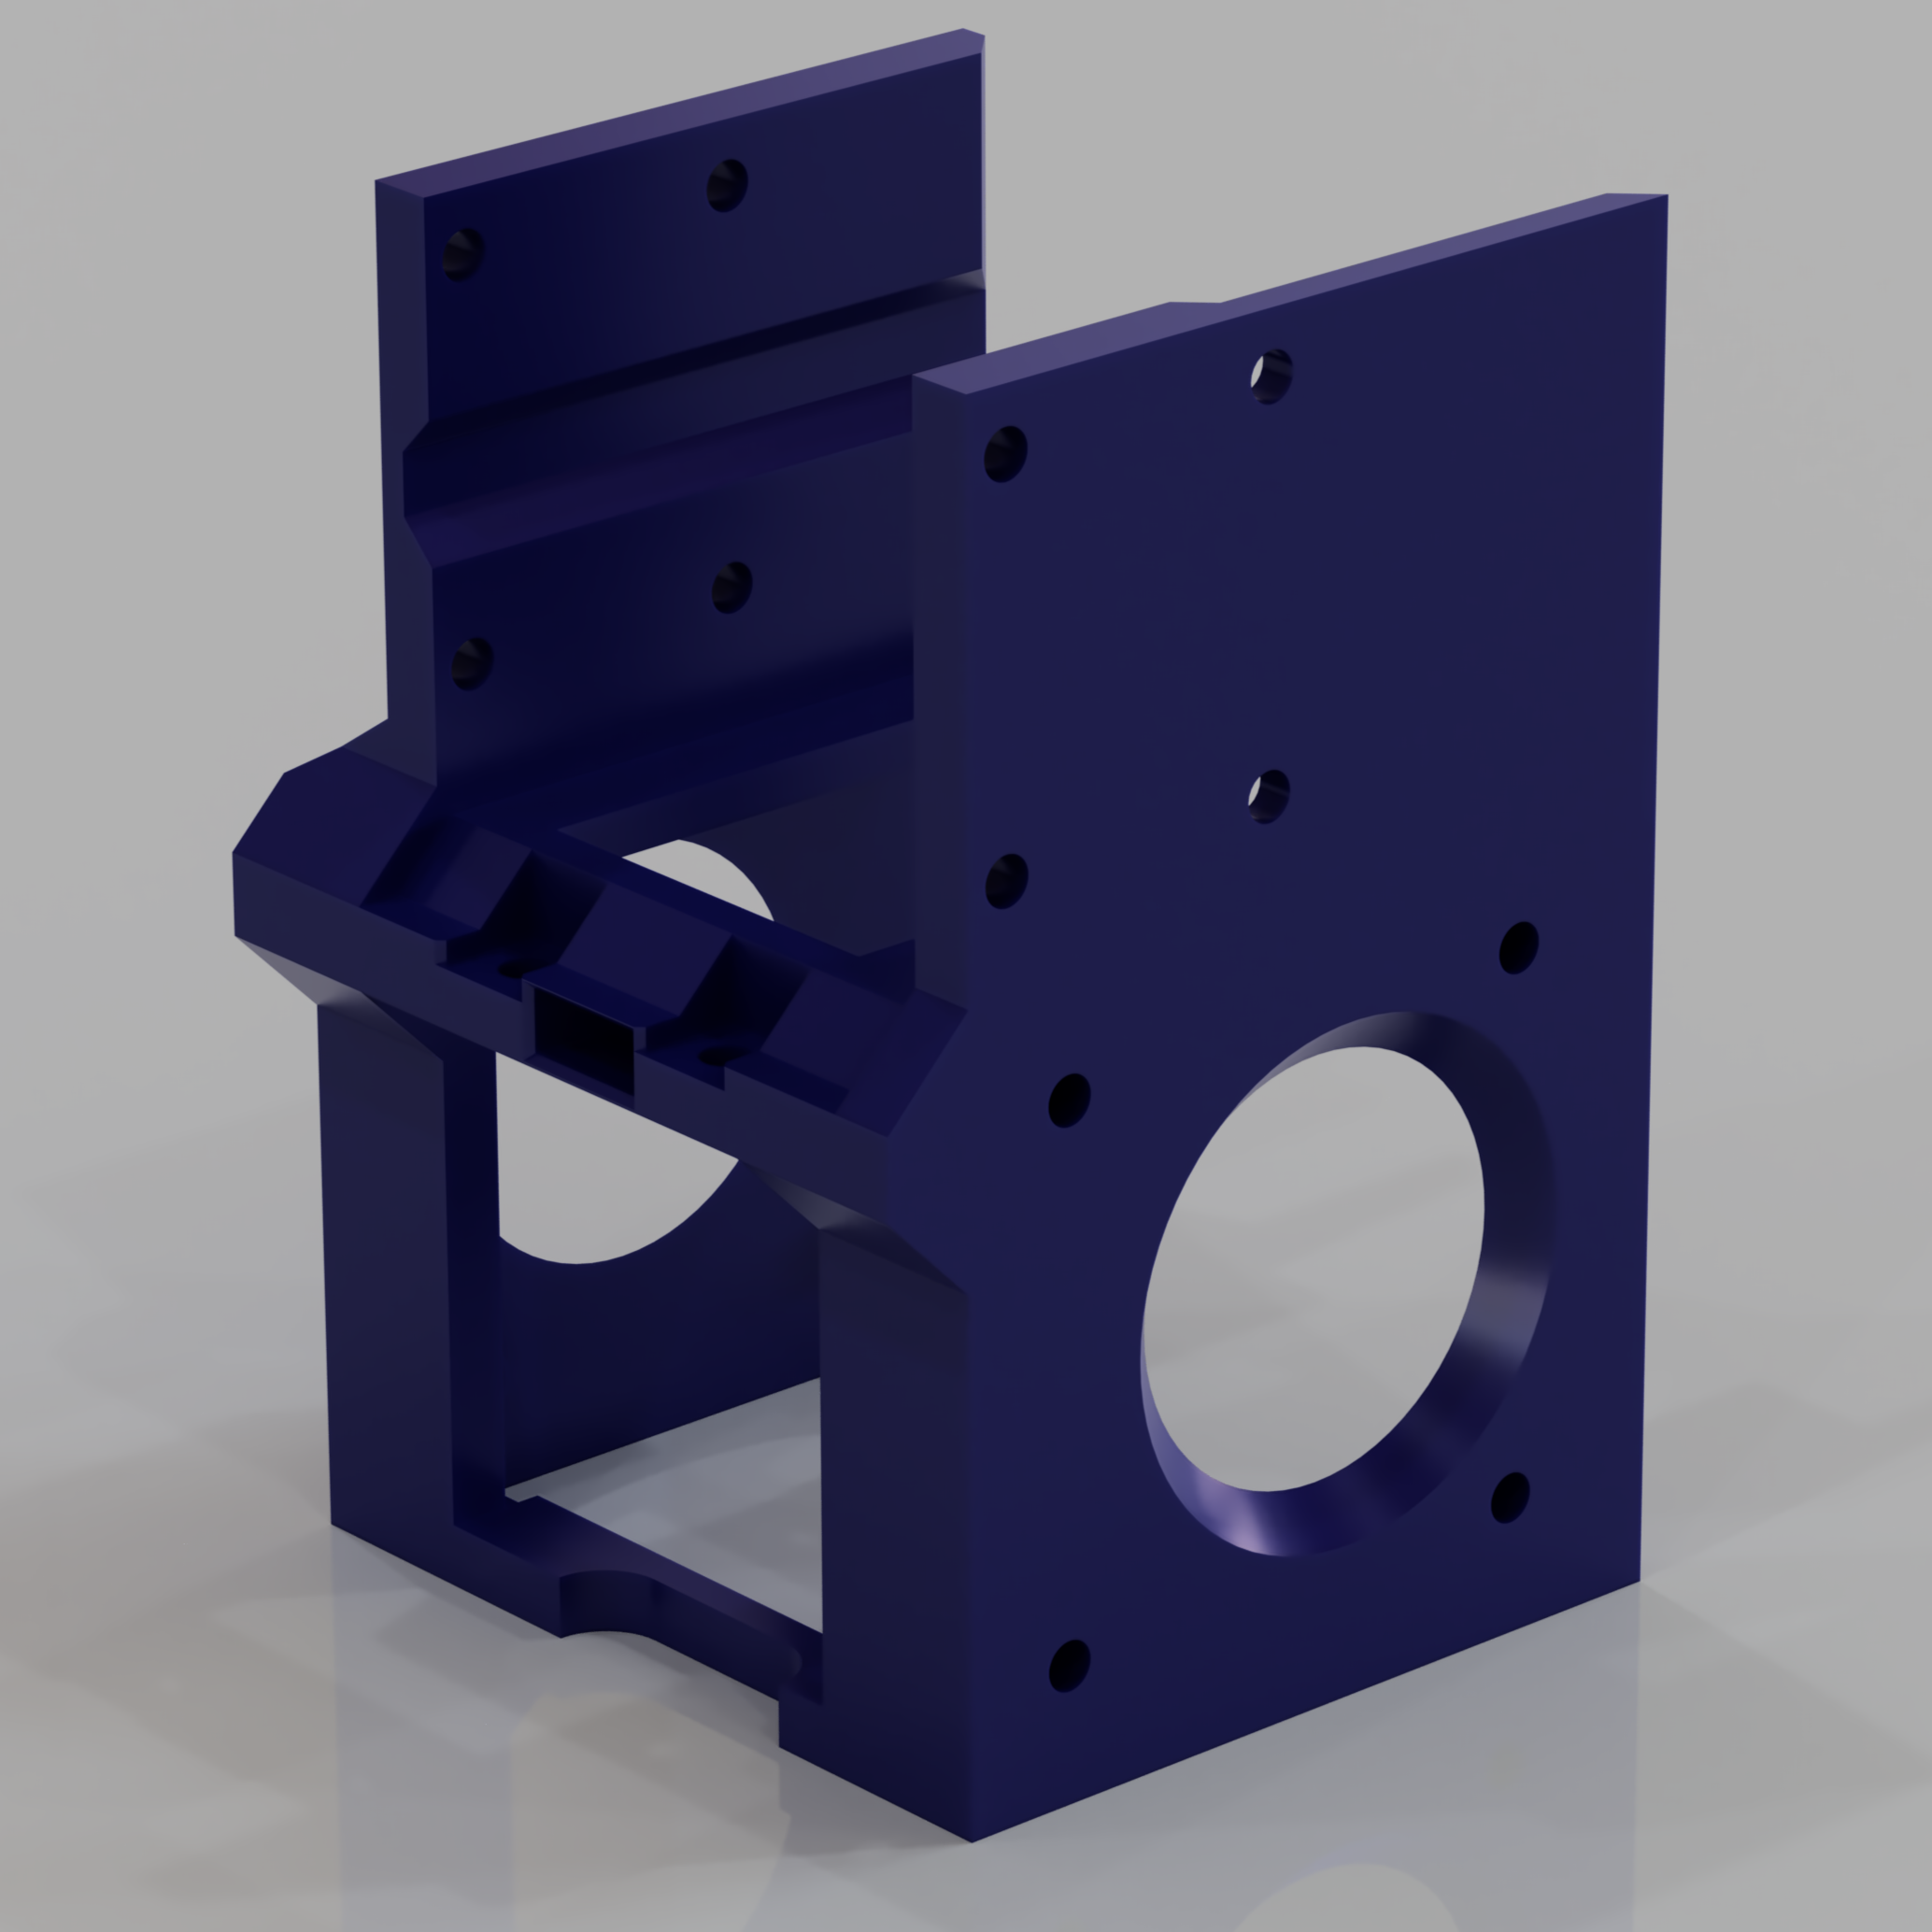
About this 3D model
I am not responsible if you break your printer for any reason using this shroud. If you require a shroud that works with the stock configuration please check out my single fan shroud here; https://www.printables.com/model/595397-ender-3-v3-se-fan-shroud Please read all of the provided instructions before attempting to put this shroud together, there could be some things that are unexpected and you might not feel comfortable doing. CURRENT VERSION - V1 Change log: 28/01/2024: Wow its been a while since I looked at this project! This is the first non-beta release. V1 Shroud: Finally fixed the placement of the holes for the extruder screws. Added chamfers for the fan openings and a few small changes I've been working on the last 2 months :) 24/11/2023: Recommended for all users of the Dual Fan shroud (MK1/MK2), Works with the MK2 Duct MK3 Shroud: Added more support for the CR touch due to PLA Creep moving the probe, this might work it might not, I need more time to tell. This also makes it look better in my opinion. Also added a hole for extruder tightening. 09/11/2023: Not recommended for pre-existing users of MK1, this is only a change to allow new users to print the fan duct easier. MK2 Duct : Added extra support for the screw holes while printing, doesn't need support anymore. This should hopefully fix some of the printing issues some users have had MK2 Shroud : Changed dimensions slightly to fit the new duct I don't know if this mod will work with the stock firmware as the CR Touch has been moved, please let me know if it does and provide installation instructions for marlin so I can add it to these instructions. This works with Klipper only right now. I highly recommend buying two fans with a connector so that if this setup doesn't work for you, you can revert the printer back to the stock configuration. If you decide on doing this with the stock fan you won't need the Molex PicoBlade cable and one 4010 fan. This mod also moves the placement of the CR Touch so it is inline with the nozzle, its location is X=0. I will go into this more later on in the instructions. I won't be including any GCODE files as I do not think this is a good idea, everyone's setups are different along with settings. If someone does create a GCODE file for you to use, please make sure that it will work with your setup and not cause issues. -Wishlist on things to improve Fan ducts yet again are my nemesis, I feel like they are still lacking in performance Zip tie mounts on the shroud to help with cable management Move the CR Touch closer to the hot end for more accurate probing, it can be done I just need to see the performance loss as it will be obstructing the heat sink fan quite a bit -BOM: 10x M3*8 Screws 8x M3*16 Screws 10x M3 nut's 8x Flat washers 8x Lock washers (honestly optional, I don't know how much they affect the build but i've been using them) 1x CR Touch cable 10cm 1x Molex Picoblade cable 2x 4010 Blower Fan You will also need some way of soldering the fan cables together so a solder station or some solder seal wire connectors will be needed. Please make sure to buy Molex PicoBlade cables as the Micro JST cables do not work they look basically the same but have a different pitch, I found this out the hard way :). -BOM with links if you are in the UK: Two 4010 blower fans (These are from Sovol but came Creality branded); https://www.amazon.co.uk/dp/B08B3HCKCP?psc=1&ref=ppx_yo2ov_dt_b_product_details M3 Screw Kit (had all the screws I needed and more for future projects); https://www.amazon.co.uk/dp/B08789D7M5?psc=1&ref=ppx_yo2ov_dt_b_product_details CR Touch 10cm cable (10cm 5pin) This is the one I used; https://www.aliexpress.com/item/4001291279517.html?spm=a2g0o.order_list.order_list_main.5.21ef1802bJC7rY CR Touch 10cm cable (This one is probably better but I havent tried it); https://www.aliexpress.com/item/1005005090614513.html Molex PicoBlade Cable; https://thepihut.com/products/adafruit-1-25mm-pitch-2-pin-cable-matching-pair-40cm-long?variant=32463312322622¤cy=GBP&utm_medium=product_sync&utm_source=google&utm_content=sag_organic&utm_campaign=sag_organic -What to print You will need the main fan shroud, I recommend whatever is the latest version, the latest version is V1. -STL Printing instructions: This will need to be printed with tree supports, below are some screenshots of where to select for support. You can print the shroud in PLA as its not close enough to the print head to start melting, the fan ducts I recommend to print in PETG or ABS though I have mine in PLA and I just replace them every week or so (not ideal but I don't have a set up to print PETG or ABS reliably) Shroud assembly: BETA 2 UPDATE: you will need to also support under the lower screw holes It should look like this in the slicer, every overhang needs to have supports apart from the screw holes. Fan Duct: Only needs supports under the loops for the screws, again ive provided a 3mf file but this is here incase that doesn't work for you Shou