About this 3D model
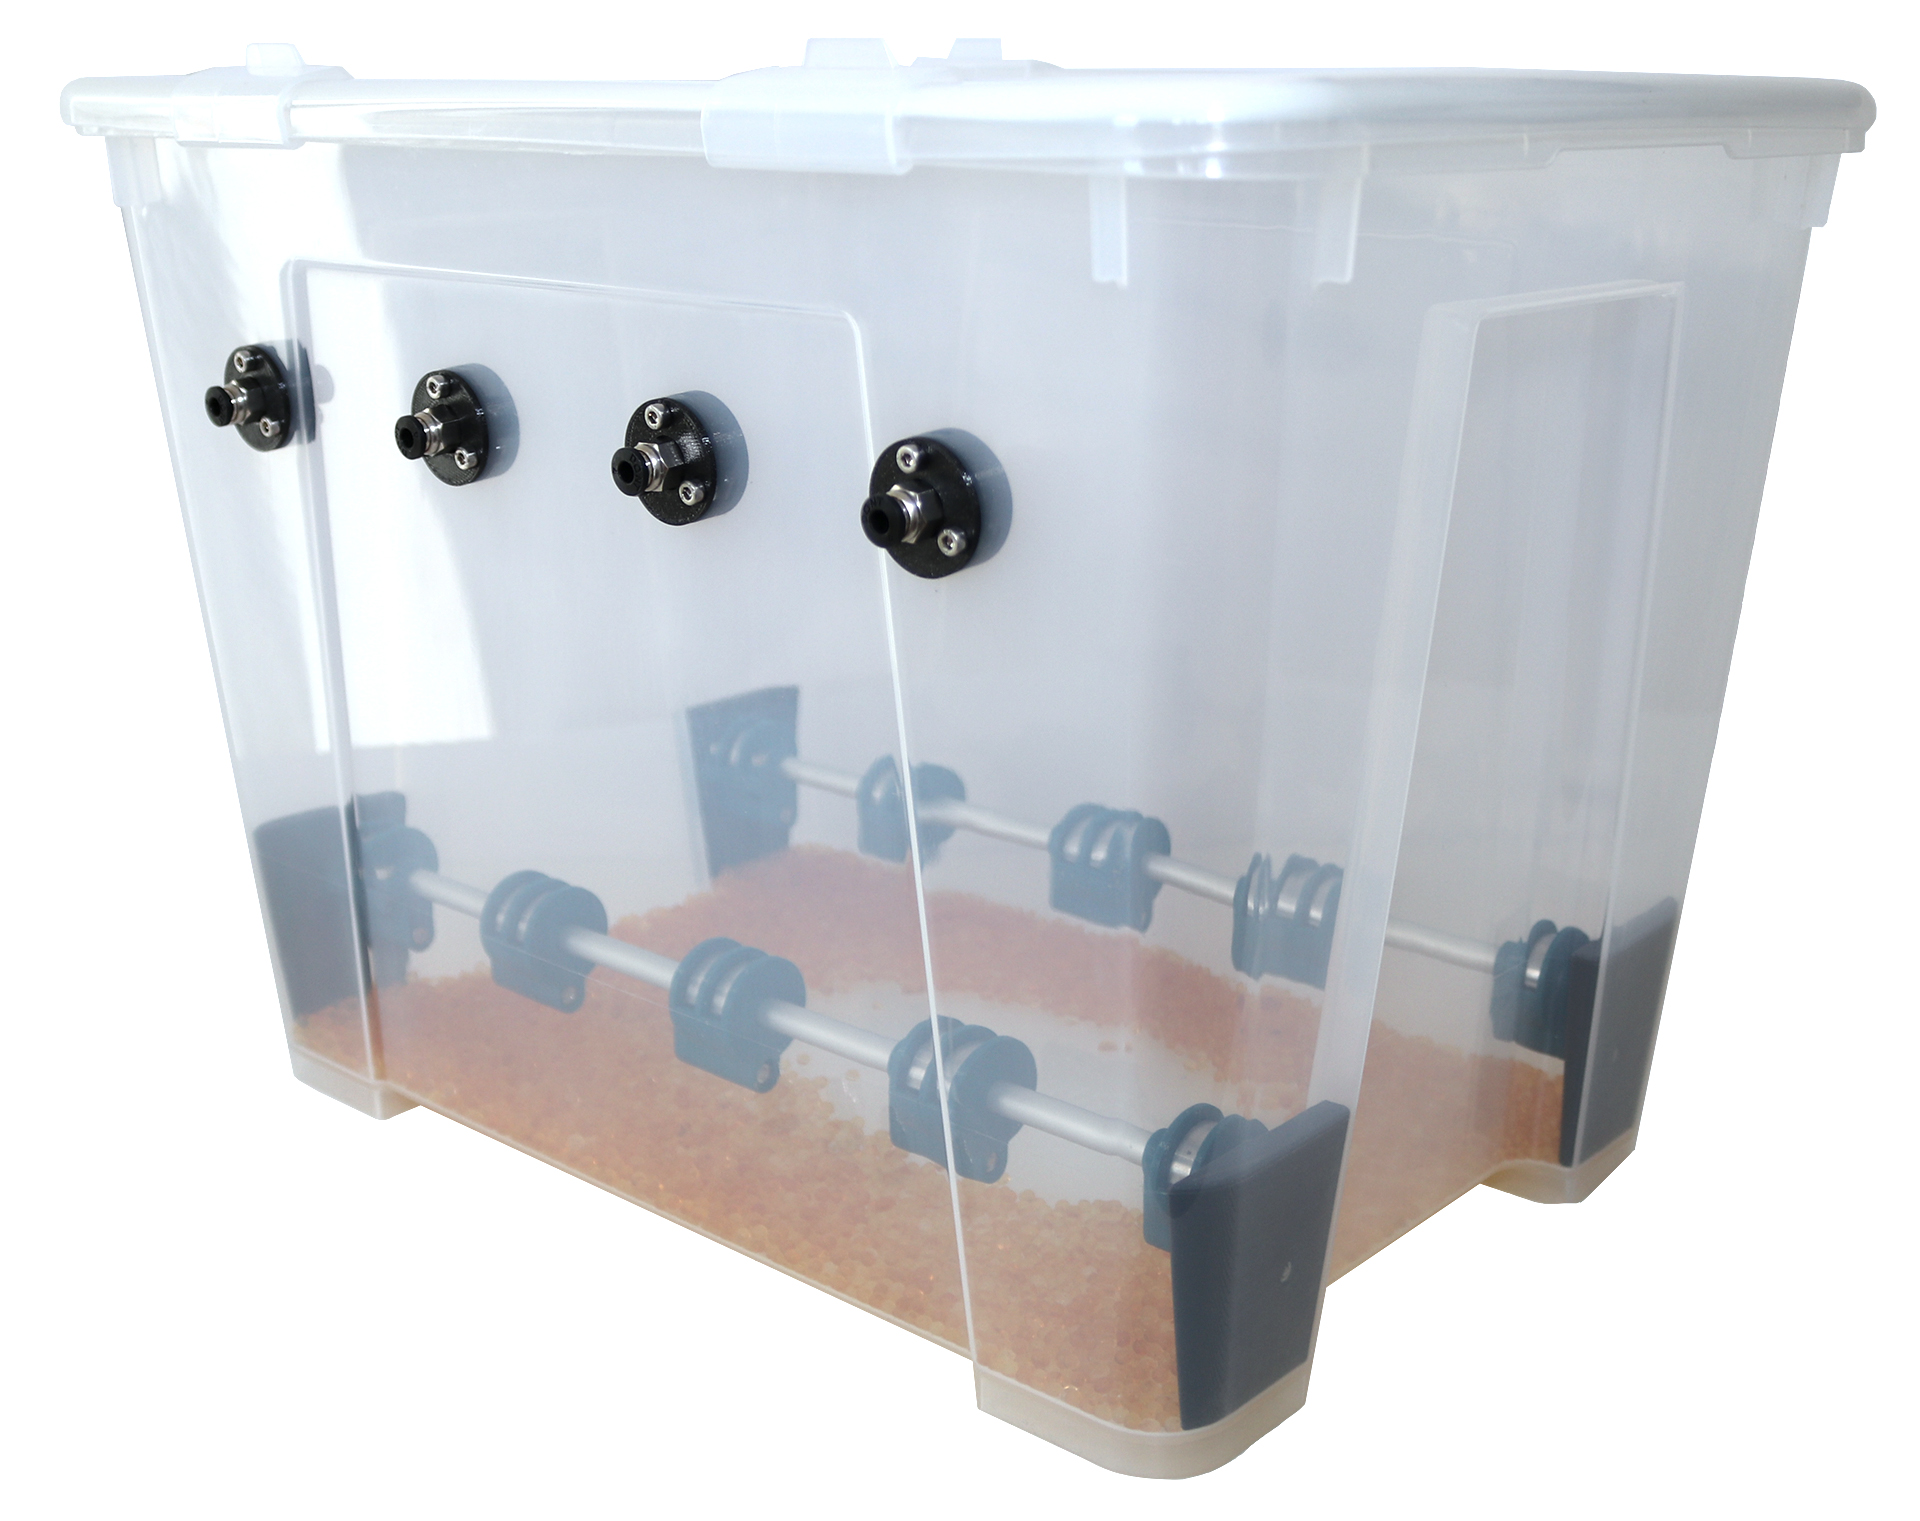
Description A filament drybox idea I had using an IKEA Samla box as the container to house four spools of filament. Several 3d printing filaments are hygroscopic, meaning they absorb moisture from the surroundings which can lead to poor surface finish and a clogged nozzle. Depending on where you live and what material you are printing with, moisture might not be that big of a problem. Dust however can also lead to poor surface finish and can result in a clogged nozzle. You should always keep your filament dry and free of dust for a trouble free printing experience. This filament drybox can contain up to four rolls of filament. Printed parts needed to make this BearingDoubleWasherLeft_X6 BearingDoubleWasherMiddle_X6 BearingDoubleWasherRight_X6 BearingDoubleWasherSpacer_X6 BearingWasherLeft_X4 BearingWasherRight_X4 Clamp_X14 NozzleBracketBackM10 NozzleBracketFrontM10 RodHolderLeft_X2 RodHolderRight_X2 Other parts needed 16 x Bearing 608-2Z 26 x Square nut DIN 562 M3 14 x Hex nut DIN 934 M3 14 x Screw DIN 912 8 mm M3 16 x Screw DIN 912 10 mm M3 4 x Screw DIN 912 16 mm M3 6 x Screw DIN 912 25 mm M3 4 x PC4-M6 fittings 4 x PC4-M10 fittings 2 x Aluminum rod Ø8 mm 200 g Silica Gel regenerable 10 m PTFE tube 4 mm 1,3 m Rubber seal 1 x IKEA Samla Box with lid 798.508.75 1 x IKEA Samla Clips 202.934.55 Assembly instructions Start by inserting all the square nuts. Make sure there are no obstacles and that they are pushed all the way down. Use a small allen key or a flat head screwdriver. Assemble the bearings by pushing the pieces on to the aluminum rod. For the single bearings use a “BearingWasher-Left” followed by the bearing and then a “BearingWasherRight” and finally the “Clamp” and a 16 mm screw and a hex nut. Use a 25 mm screw for the “Double” and there is also a “Middle” and a “Spacer” between the two bearings. Drill holes for the “NozzleBrackets” using the template and mount the nozzlebrackets using 10 mm screws. Mount clamps on the “RodHolders” using a 10 mm screw and a hex nut and assemble them on the ends of the rods. Be sure not to tighten the clamps fully just yet. Insert the assembled parts into the box and be sure to pull out the “RodHolders” just a little bit so that the assembly get stuck a little bit above the bottom of the box. Now gently push the assembly all the way to the bottom for a snug fit and tighten the clamps using 8 mm screws. Assemble the seal by removing the protective foil and following the top of the box all the way around. Cut the seal just a millimeter or so to long and bend it down so the two ends meet perfectly before fixating the last cm of seal by pressing it firmly against the box. Adjust the position of the bearing holders to fit your spools width and tighten them with the 8 mm long screws. Fill the box with silica gel and mount the M10 tube fittings and the PTFE tubing and you are ready to go! I also included a .step file so you can make your own modifications with ease.