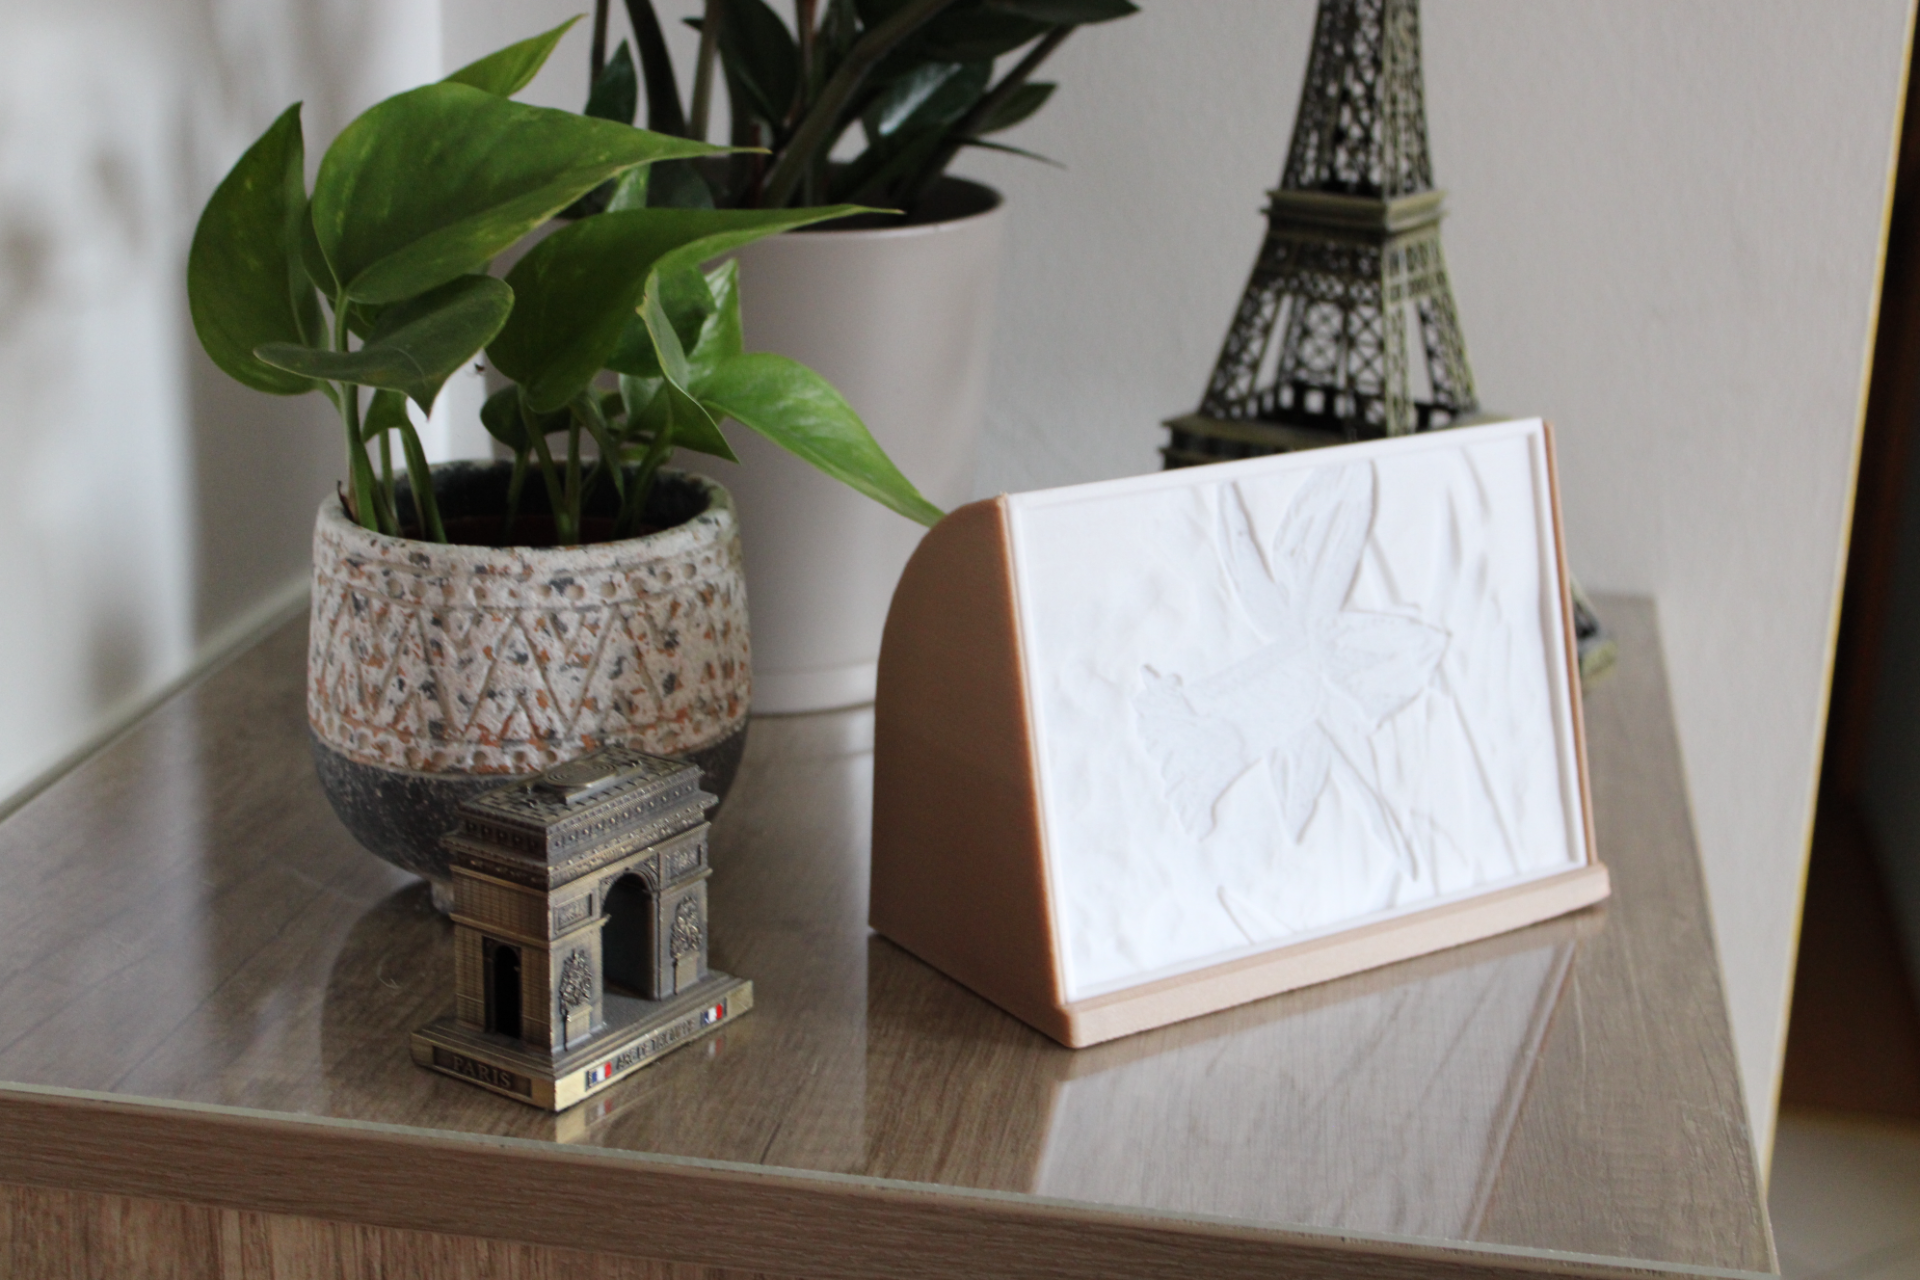
About this 3D model
General Information I wanted an easy to print and nice looking frame for some Lithophane's I have. Furthermore, it should use cheap lights with batteries. I couldn't find something I liked so I drew my own in Fusion360. Lithophane Maker You can use Lithophane Customizer by Mass_Maker or Flat Lithophane Maker to create the Lithophane. Parts and Tool The Lights I used BXROIU 2 x 20er Micro LED Filament Sunlu PLA+ white and Sunlu Wood The settings I used Lithophane Resolution (mm/pixel) 0,2 Width (mm) 170 Height (mm) 120 Depth (mm) 6 Base Height (mm) 3 Overhang Angle (deg) 60 Maximum Thickness (mm) 2,4 Minimum Thickness (mm) 0,6 The Width, Height and Depth are important . You need to use the same values as above or change the frame model. The other settings depend on the printer and material you are using. I used a modified Artillery Sidewinder X1 to print this model. These settings apply to the Flat Lithophane Maker . My print settings Lithophane: 0,4mm Nozzle 0,2mm layer Hight 4 perimeter 100% infill Frame: 0,6mm Nozzle 0,3mm layer Hight 3 perimeter 30% infill Assembly It's very simple: Thread the fairy lights through the hole on the back. Bend the fairy lights so that they are nicely wrapped in the groove. Fix with hot glue if necessary. Simply place the Lithophane in the slot provided. If you have any questions don't hesitate to ask me in the comments.