About this 3D model
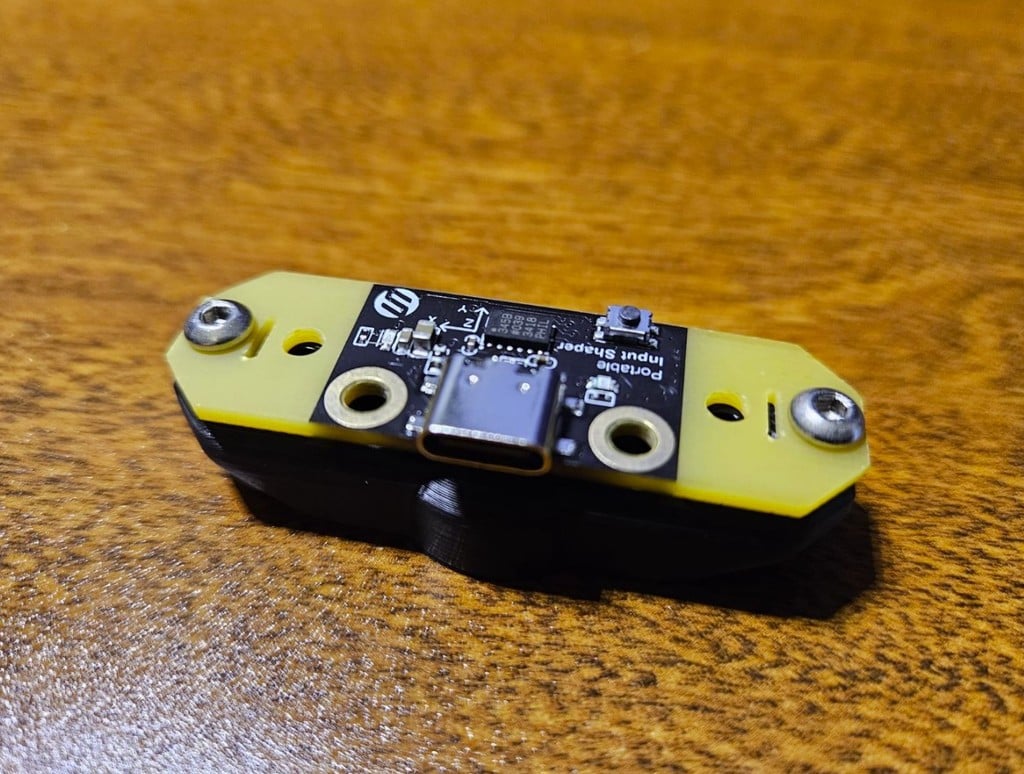
Summary Since I switched from the Sonic Pad I needed a new Accelerometer. I designed a mount for the following Amazon one. https://www.amazon.com/dp/B0B8MMW2Z9?psc=1&ref=ppx_yo2ov_dt_b_product_details I created a single and dual magnet version for those of you who want overkill holding. I tested both and there is very little variation which could fall in to standard deviation between tests. But since I made both I might as well provide them. Tests were done on a MK3s Make sure you test the polarity with the dual version so they are attracted to each other and don't repulse each other when put together side to side. https://github.com/FYSETC/FYSETC-PortableInputShaper Super strong neodymium magnet below can be inserted with a pause at the correct layer. https://www.apexmagnets.com/magnets/16mm-x-8mm-disc-neodymium-magnet Notes: Nothing special it prints without supports or rafts. Quick notes about the configuration steps for anyone who needs them: Test device after plugging it in via Ssh or terminal: ls -l /dev/serial/by-id/ output: /dev/serial/by-id/usb-Arduino_RaspberryPi_Pico_B61C61E6295A2597-if00 Software installation Note that resonance measurements and shaper auto-calibration require additional software dependencies not installed by default. First, run on your Raspberry Pi the following commands: sudo apt update sudo apt install python3-numpy python3-matplotlib libatlas-base-dev Next, in order to install NumPy in the Klipper environment, run the command: ~/klippy-env/bin/pip install -v numpy cd ~/klipper make clean make menuconfig make flash FLASH_DEVICE=first go to the klipper/out dir and grab klipper.uf2 With the device removed hold the button down on the device and connect it to the computer. Copy the firmware (klipper.uf2) to the device. The drive will close and the firmware flash is complete. Plug it back in and get the new device name. ls -l /dev/serial/by-id/ /dev/serial/by-id/usb-Klipper_rp2040_E6611CB697255A29-if00 Upload the PIS.cfg to the directory with your printer.cfg and add the [include PIS.cfg] to your printer.cfg only while testing. Comment it out when you’re not testing. Example PIS.cfg for bedslinger: [mcu PIS] ;Obtain definition by "ls -l /dev/serial/by-id/" then unplug to verify serial: /dev/serial/by-id/usb-Klipper_rp2040_E6611CB697255A29-if00 [adxl345] cs_pin: PIS:gpio13 ;spi_bus: spi1a spi_software_sclk_pin: PIS:gpio10 spi_software_mosi_pin: PIS:gpio11 spi_software_miso_pin: PIS:gpio12 ;axes_map: x,-z,y [resonance_tester] ;accel_chip: adxl345 accel_per_hz: 70 accel_chip_x: adxl345 accel_chip_y: adxl345 probe_points: 150,150,10 To Test for a bed slinger in the klipper web console: TEST_RESONANCES AXIS=X TEST_RESONANCES AXIS=Y ;generate results image ~/klipper/scripts/calibrate_shaper.py /tmp/resonances x.csv -o /tmp/shaper_calibrate_x.png ~/klipper/scripts/calibrate_shaper.py /tmp/resonancesy .csv -o /tmp/shaper_calibrate_y.png Add results to your printer.cfg [input_shaper] shaper_type_x = mzv shaper_freq_x = 47.6 shaper_type_y = mzv shaper_freq_y = 25.4