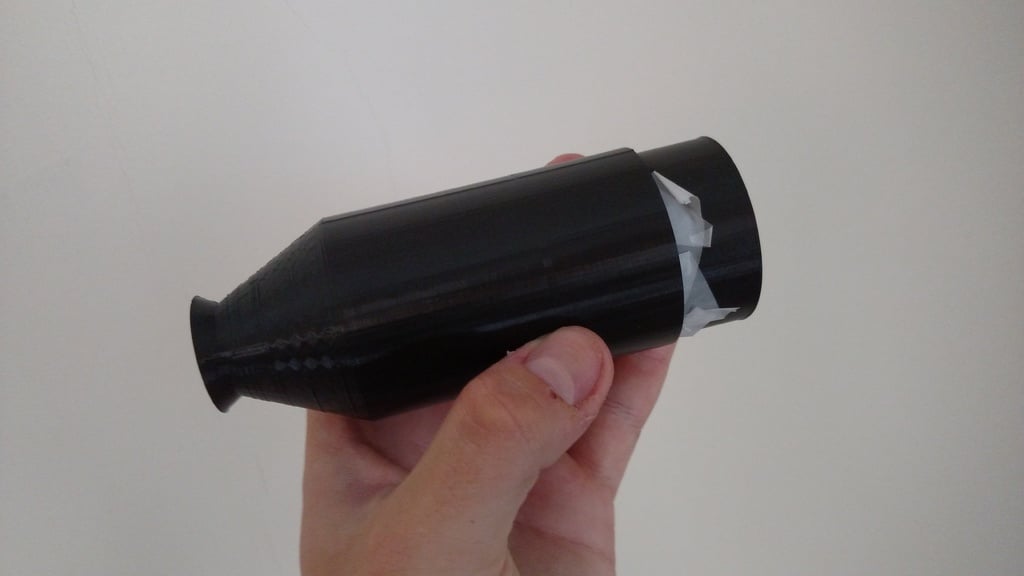
About this 3D model
Summary A simple tube camera obscura based on the construction found here: https://www.pinholephotography.org/_files/ugd/d8e46b_b9230eb9a66047b089d8670213923766.pdf I recommend printing the longer eyepiece if your printer has the volume for it, it is easier to focus your eye on the image. Tweaking the camera's parameters such as pinhole diameter and the distance form the pinhole to the projection medium can affect the focus and brightness of the image. Feel free to remix if you find a combination that improves upon the current configuration: pinhole diameter: 2mm distance to projection medium: 50mm Print Settings Printer: HICTOP CR10 Rafts: No Supports: No Resolution: 0.2mm Infill: 20% Notes: Print the eyepieces with the eye rest on the print bed. Post-Printing Adding a Projection Screen To get an image on the inside of the camera you need a slightly translucent medium. I recommend using tracing paper, but if you do not have any you can also try a white grocery bag, though its not as good. Cut a circular section with radiating cuts from your chosen medium so that it can fold over the back of the pin hole section. Once applied put the pin hole section inside the eye piece of your choice and enjoy! The camera obscura works best on sunny days, though you can also use it to view lightbulbs, monitors, TVs, etc around your house. A cutout of tracing paper folded around the pinhole cylinder's open backside.