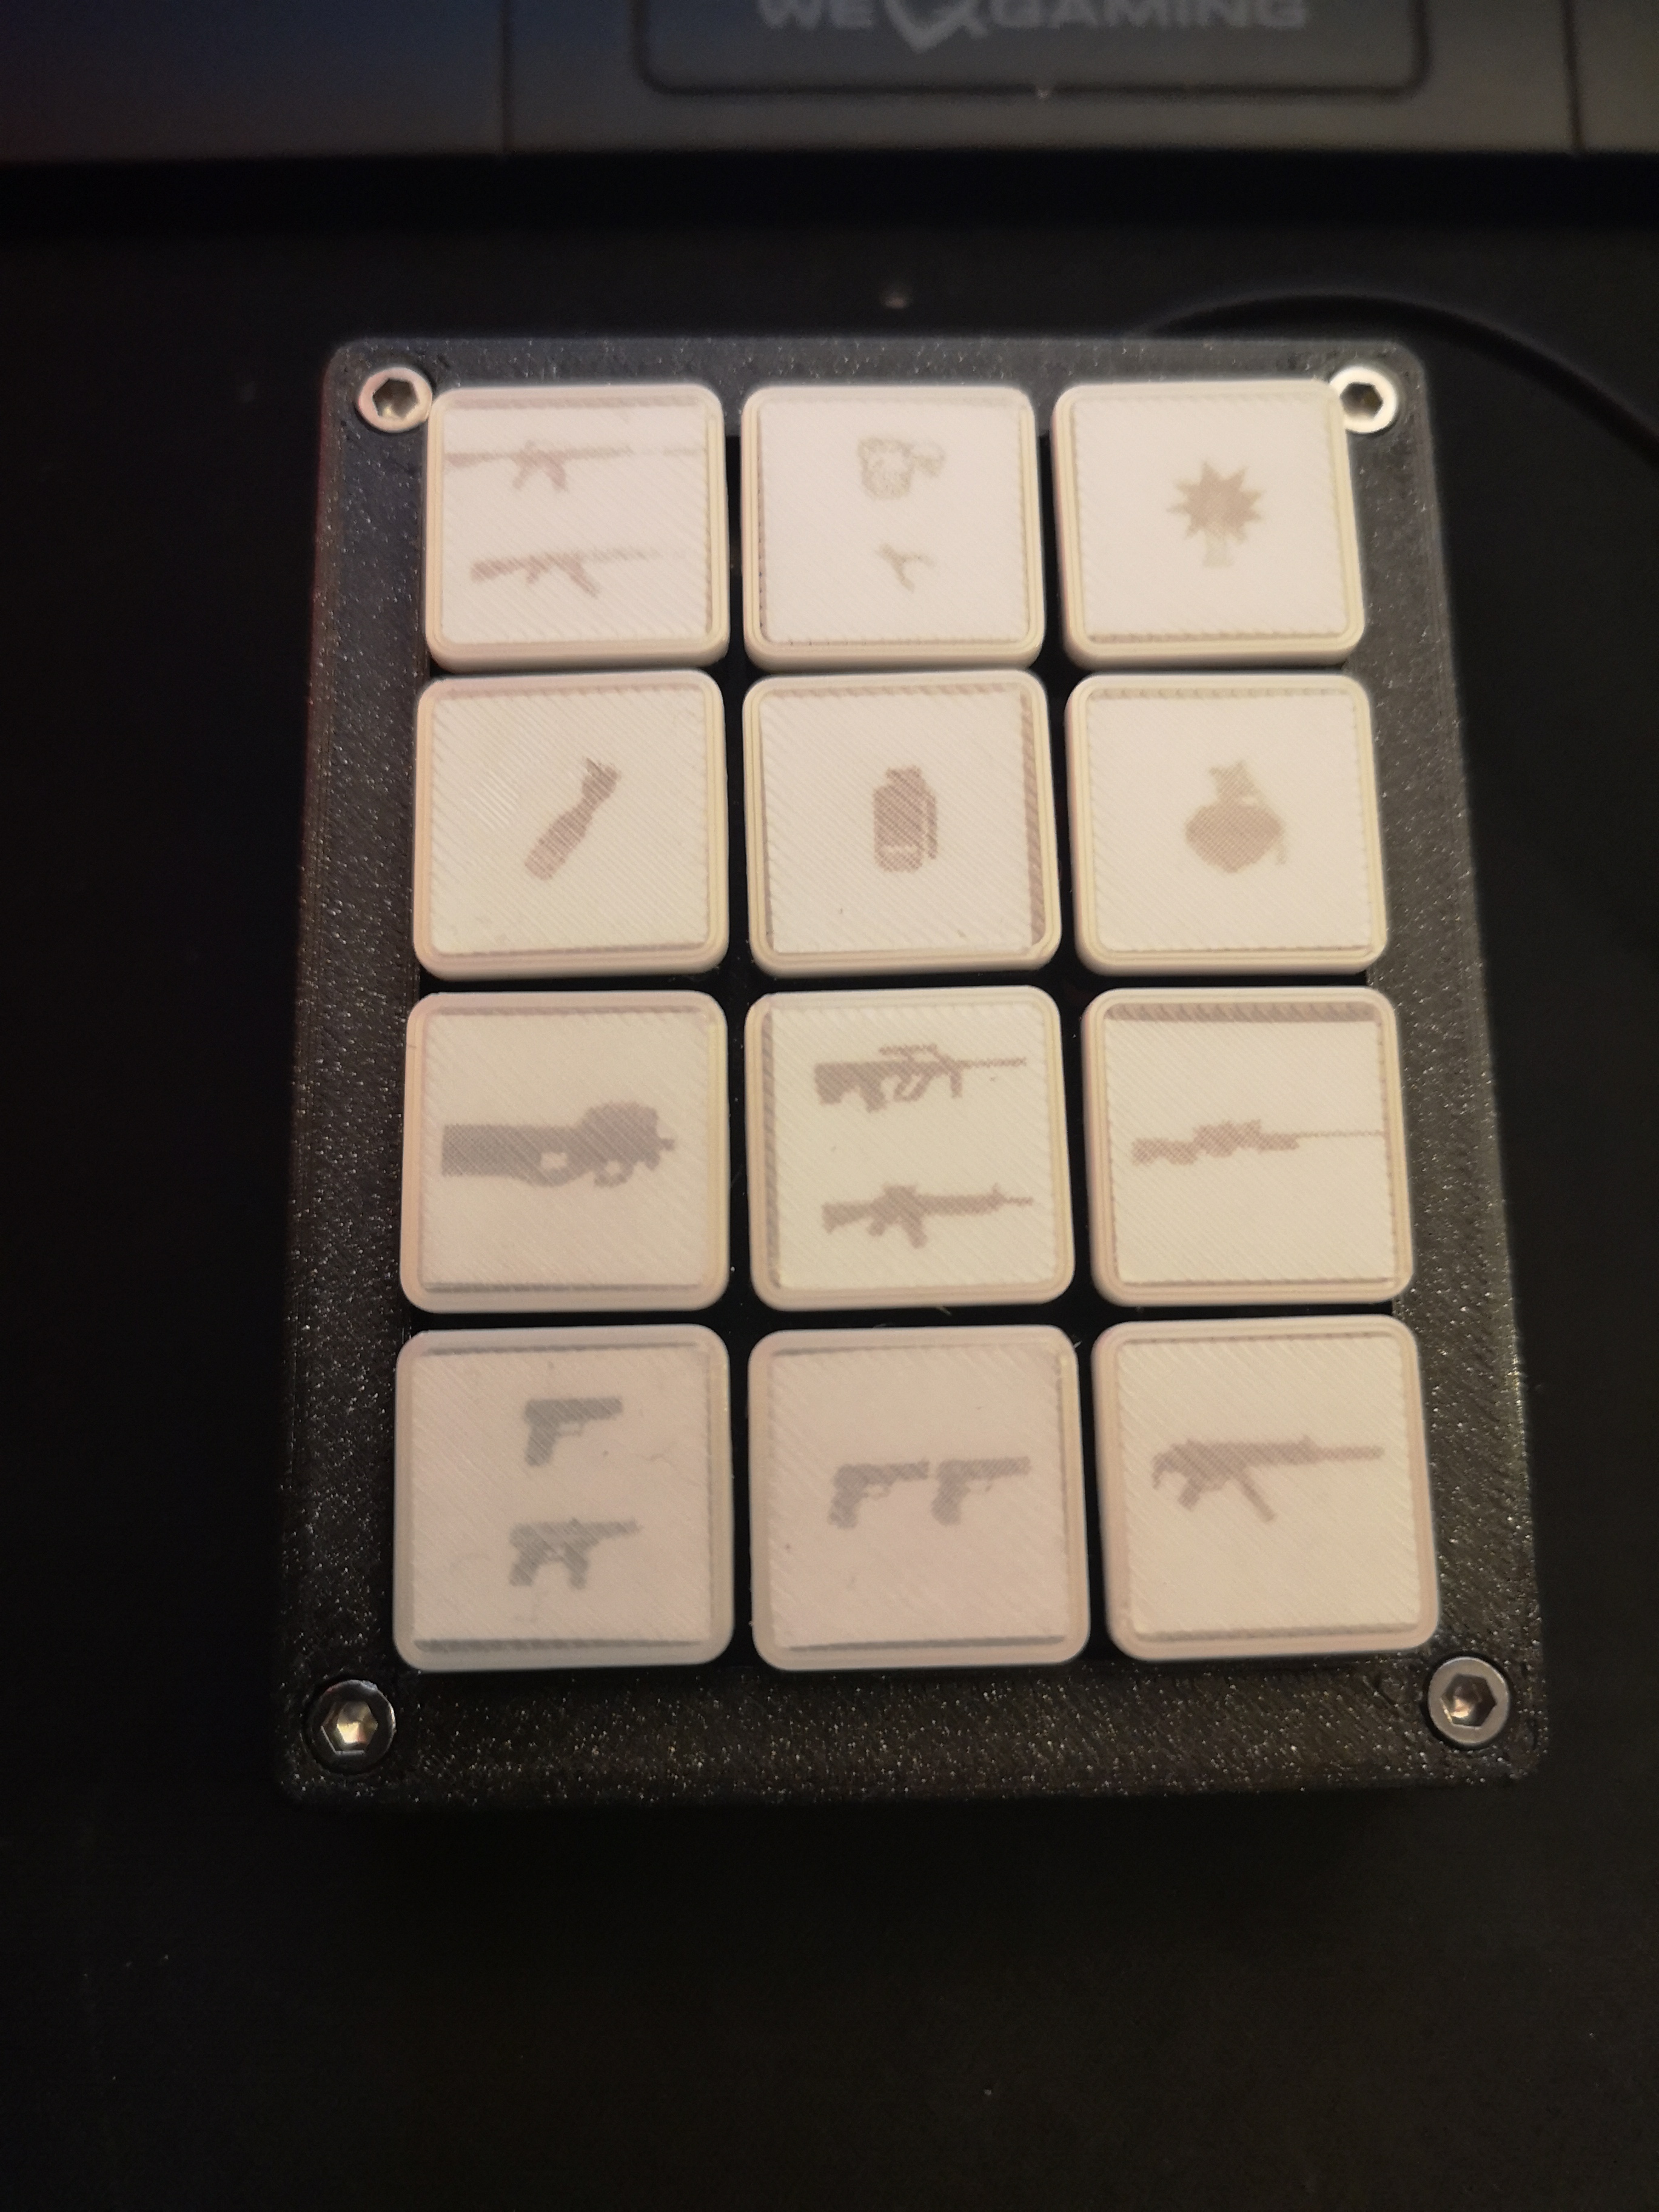
About this 3D model
Macro Keyboard powered by Arduino Pro Micro with printable relegendable keycaps. Buttons are a remix, I adjusted them to better fit my MX switches. Requirements: - 4x M3 x 16mm Screws (M3 x 18mm also works) - 12x MX Switches - 1x Arduino Pro Micro (5V) - 1x Micro-USB Cable Instructions: - Insert the 12 switches into the top - Solder a cable through all buttons and solder it to one of the GND pins on the Pro Micro - Solder each button to a digital pin of the Pro Micro - Flash the program onto the Pro Micro - Insert USB Cable into the bottom of the case and in the Pro Micro - Put the case together, screw in the screws, they will hold without any nuts Print Settings: - Top Case: 0.2mm, no support, 15% infill - Bottom Case: 0.2mm, no support, 15% infill - Top Keycap: 0.15mm, 0.2mm first layer, no support, 15% infill (I used Prusament PLA Vanilla White, it's nearly transparent with only 1 bottom layer) - Bottom Keycap: 0.15mm, 0.2mm first layer, no support, 15% infill Labels: - Size: 15.75mm x 15.75mm or 16mm x 16mm with rounded corners Source Code: #include "Keyboard.h"#define buttonCount 12const byte KEYPAD_0 = 234;const byte KEYPAD_1 = 225;const byte KEYPAD_2 = 226;const byte KEYPAD_3 = 227;const byte KEYPAD_4 = 228;const byte KEYPAD_5 = 229;const byte KEYPAD_6 = 230;const byte KEYPAD_7 = 231;const byte KEYPAD_8 = 232;const byte KEYPAD_9 = 233;const byte KEYPAD_ASTERIX = 221;const byte KEYPAD_ENTER = 224;const byte KEYPAD_MINUS = 222;const byte KEYPAD_PERIOD = 235;const byte KEYPAD_PLUS = 223;const byte KEYPAD_SLASH = 220;int keyPin[buttonCount] = {2, 3, 4, 5, 6, 7, 8, 9, 10, 14, 15, 16};//int keyCode[buttonCount] = {KEY_F14, KEY_F17, KEY_F20, KEY_F23, KEY_F13, KEY_F16, KEY_F19, KEY_F22, KEY_F24, KEY_F18, KEY_F15, KEY_F21};int keyCode[buttonCount] = {KEYPAD_ASTERIX, KEYPAD_8, KEYPAD_5, KEYPAD_2, KEYPAD_SLASH, KEYPAD_7, KEYPAD_4, KEYPAD_1, KEYPAD_3, KEYPAD_9, KEYPAD_MINUS, KEYPAD_6};bool keyState[buttonCount] = {false, false, false, false, false, false, false, false, false, false, false, false};void setup() { pinMode(2, INPUT_PULLUP); pinMode(3, INPUT_PULLUP); pinMode(4, INPUT_PULLUP); pinMode(5, INPUT_PULLUP); pinMode(6, INPUT_PULLUP); pinMode(7, INPUT_PULLUP); pinMode(8, INPUT_PULLUP); pinMode(9, INPUT_PULLUP); pinMode(10, INPUT_PULLUP); pinMode(14, INPUT_PULLUP); pinMode(15, INPUT_PULLUP); pinMode(16, INPUT_PULLUP); Keyboard.begin(); Serial.begin(115200);}void toggleKey(int index) { if (digitalRead(keyPin[index]) == HIGH && keyState[index]) { keyState[index] = false; Keyboard.release(keyCode[index]); Serial.print("Release Button Index - "); Serial.println(index); } else if (digitalRead(keyPin[index]) == LOW && !keyState[index]) { keyState[index] = true; Keyboard.press(keyCode[index]); Serial.print("Press Button Index - "); Serial.println(index); }}void loop() { for (int i = 0; i < buttonCount; i++) { toggleKey(i); }} With the default code you will map the numpad onto the keys. You can also use F13 - F24, but not all software/games supports these keys. (e.g. GTA 5 only F1 through F15, CSGO only F1 through F12) Counter-Strike Global Offensive Config: bind "KP_SLASH" "buy m4a1; buy ak47;";bind "KP_MULTIPLY" "buy vest; buy vesthelm; buy defuser;";bind "KP_MINUS" "buy flashbang;";bind "KP_HOME" "buy molotov; buy incgrenade;";bind "KP_UPARROW" "buy smokegrenade;";bind "KP_PGUP" "buy hegrenade;";bind "KP_LEFTARROW" "buy p90;";bind "KP_5" "buy sg556; buy aug;";bind "KP_RIGHTARROW" "buy awp;";bind "KP_END" "buy fiveseven; buy tec9;";bind "KP_DOWNARROW" "buy elite;";bind "KP_PGDN" "buy mp7;"; Credits: Original Keycaps - Mc_gee - https://www.thingiverse.com/thing:3791028