About this 3D model
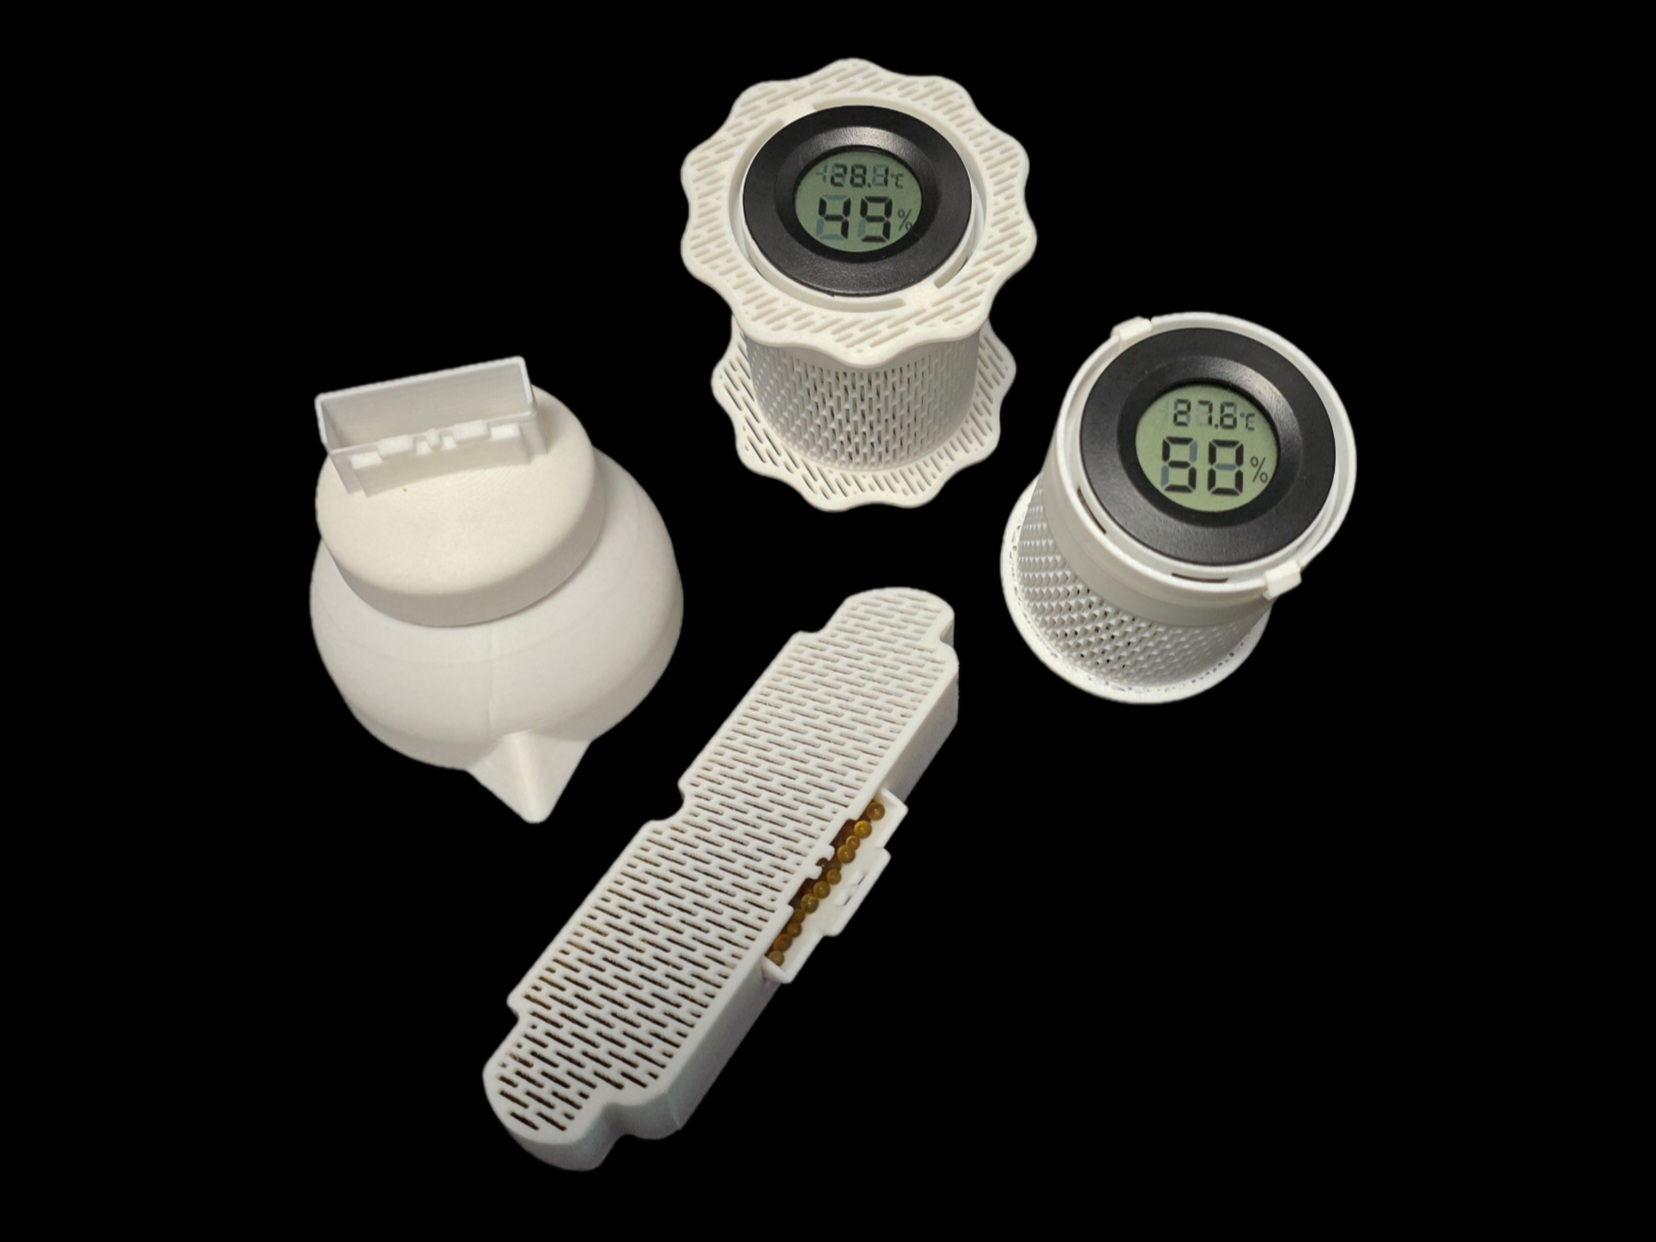
After printing a couple other models that didn't seal properly, I decided to pick a well-designed model and make a few changes to seal it as much as possible. The design has evolved several times. There are now two print profiles. The first one has several versions of the original design. The second one is the newest design with updated versions of a couple of my other models consolidated into one. Updated - Profile Two (08/24/24) AMS Rear Desiccant Tray with Hinged Print-in-place Back-Facing Lid - Fits under the original AMS cover New screw-on funnel for desiccant spools, with attachment for desiccant tray Bambu Desiccant Spool with Hygrometer - 4 options Snap-In (quick release) with Perforated Lid Snap-In (quick release) with Isolated Lid Screw-on with Perforated Lid Screw-on with Isolated Lid Updated 11/14/24: A new one-piece funnel on the last build plate Updated 08/17/25: A contoured version and funnel adapter have been added to the last two build plates. This version fully fills the cavity and is meant to be used without the original lid. The funnel adapter can be used with or without the threaded funnel on the 2nd build plate. Profile One: Hinged Print-in-place Lid (08/10/24) - Fits under the original AMS cover, and includes a new one-piece funnel design. No Logo No Ribs - Face-up Multi-color w/ Logo and Ribs - Face down to maximize quality and minimize filament swaps. Stronger & works with AMS Lid to address the most common feedback. The latest design prints on it's back, includes an inner and outer brim, and minimal supports. The hinged lid prints in place, so there will be some resistance when opening the lid for the first time. I use the tip of a utility knife to pry it up the first time, to separate the lid from any filament that may connect it to the desiccant tray. For the next two, the desiccant openings are reinforced, an improved snap-fit lid with tab was added to indicate the proper orientation, the funnel adapter was updated to fit into the container better, and the funnel can also be used with this AMS Desiccant Pod . For the fourth design, I made the desiccant tray shorter that the second and third (same as the newest design), and inset the lid, to make it flush, and so it can be concealed behind the original AMS lid. I've also made the desiccant openings deeper, so that the top is much sturdier. Note : For designs 2, 3, and 4, see the attached photos for the best way to insert the lid. If you insert the left or right side first, then press the other side, you risk breaking the model. Please insert the edge closest to the logo first, then push the tab back towards the other tab. It may be a bit snug, but if you insert it at a slight angle the first time, you can then easily slide it into place.