About this 3D model
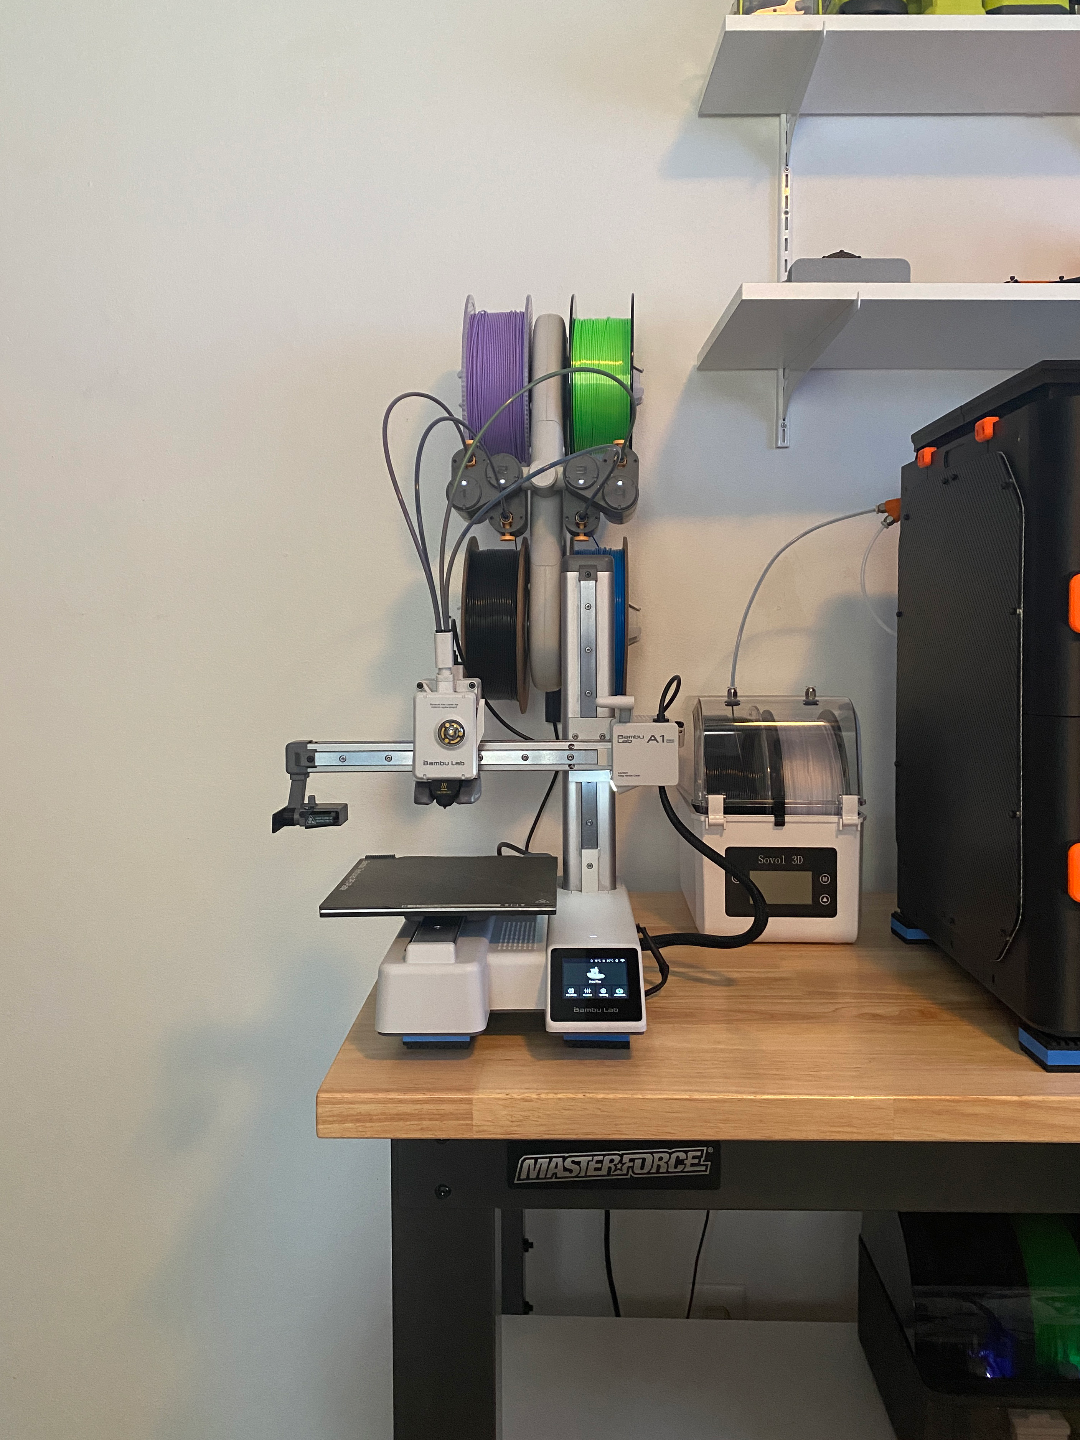
***Update 2*** Another user reported that this extension cable works with the AMS Lite to extend it if you do not want to make your own: https://www.aliexpress.us/item/3256802718701254.html ***Update 1*** I've uploaded a new angled wall mount as I had requests for one. Depending on which direction you mount it, the PTFE tubes will either angle up or down slightly. I have some pictures uploaded with it mounted at an upward angle. This does move it out a little over an inch further from the wall, which was necessary to make sure all of the spools cleared. The mounting holes, TPU gasket and TPU cable channel do not change, so if you have already printed/mounted the non-angled one, you can use the same gasket, cable channel and mounting holes as the first one if you want to switch. This is a wall mount for the Bambu A1 Mini AMS Lite. It doesn't require the original AMS Lite stand to save space and make a more clean design. The main wall mount uses four screws on either side to connect the AMS Lite to. The original stand only uses two screws per side, but it has holes for four. All eight holes are untapped and when you insert screws, it will self-tap threads into the plastic, just as the screws that Bambu supplies for this purpose do. The walls of the mount have also been increased in thickness from the original stand, so the stock screws Bambu supplies are too short. This thickness increase adds much more rigidity to the stand. There is a 3mm thick gasket that is the size of the base of the wall mount, designed to be printed in TPU and placed between the mount and the wall. This is to help reduce any vibration from the AMS Lite being transmitted into the wall, along with some slight strain relief. Finally, there is a cable channel piece that should also be printed in TPU, which is then inserted into the bottom of the mount. You can then press-fit the AMS Lite cable into this channel, which will keep it out of the way from possibly catching on your spools. The AMS Lite can be mounted upside-down, and you will have to do that if you don't make/purchase an extension cable, as the cable is very short. Ideally, you should obtain or make an extension cable, allowing you to mount the AMS Lite in the proper position so the numbers are right-side up, and then the AMS spool slots will correspond correctly in the Bambu Studio slicer and A1 AMS screen. With the AMS Lite mounted correctly, the cable will come out of the top, feed through the center of the wall mount and then down through the cable channel. I have been playing with the vertical placement of my AMS Lite, along with the distance of it to the A1 Mini to see how much I can shorten the PTFE tubes without having any issues. I have had limited success with printing some harder shore TPU from the AMS Lite, but if in doubt, mount it higher than I have mine in the pictures and don't cut your PTFE tubing. Like I said, I'm still experimenting and don't mind buying some extra PTFE tubing as it is cheap. Just make sure wherever you mount it, each AMS slot can reach the A1 extruder head in all positions it can move (left to right, and up and down). You should also use some common sense regarding wall mounting your AMS Lite. It isn't terribly heavy, even when loaded with four full spools. A full spool is roughly 2.2 lbs, so the entire assembly with the wall mount, AMS Lite and spools is probably 12-13 lbs total. Ideally, the wall mount can be mounted into a wall stud, but even if mounting in drywall, relatively basic drywall anchors are capable of holding around 40-50 lbs. Still, if mounting in drywall, I would recommend heavy duty drywall anchors for piece of mind. Most local hardware stores sell drywall anchors that can individually hold well over 100 lbs. For print settings, it doesn't really matter much how you print the TPU pieces. I wouldn't print them with very high infill, maybe like 10-15% so they still have some squish to them. The cable channel piece should fit snugly in the hole of the wall mount. I cannot predict all the materials, profile settings and ambient temperatures of everyone's setup, so giving you exact settings on printing the wall mount for the best strength is something you should work out for yourself. I would recommend using a PLA+ or Pro or Tough filament, which is a lot stronger than basic PLA. I made mine with PolyLite PLA Pro with 50% infill, slower speeds and low fan speeds to increase layer bonding. Obviously the faster you print things, and the more fan that you use, the weaker your parts are. If in doubt, do some test prints of cylinders and then try snapping them in half to see what settings you are happy with. Bambu's PLA Tough is very similar to PolyLite PLA Pro, and would also be a good choice. PETG would also be a good choice, and I have had many garage tools, jack stands, hose mounts, etc., made with PETG hanging in my garage for years with no issues. For mounting the AMS Lite to the wall mount, you will need eight #4 x ½" pan head