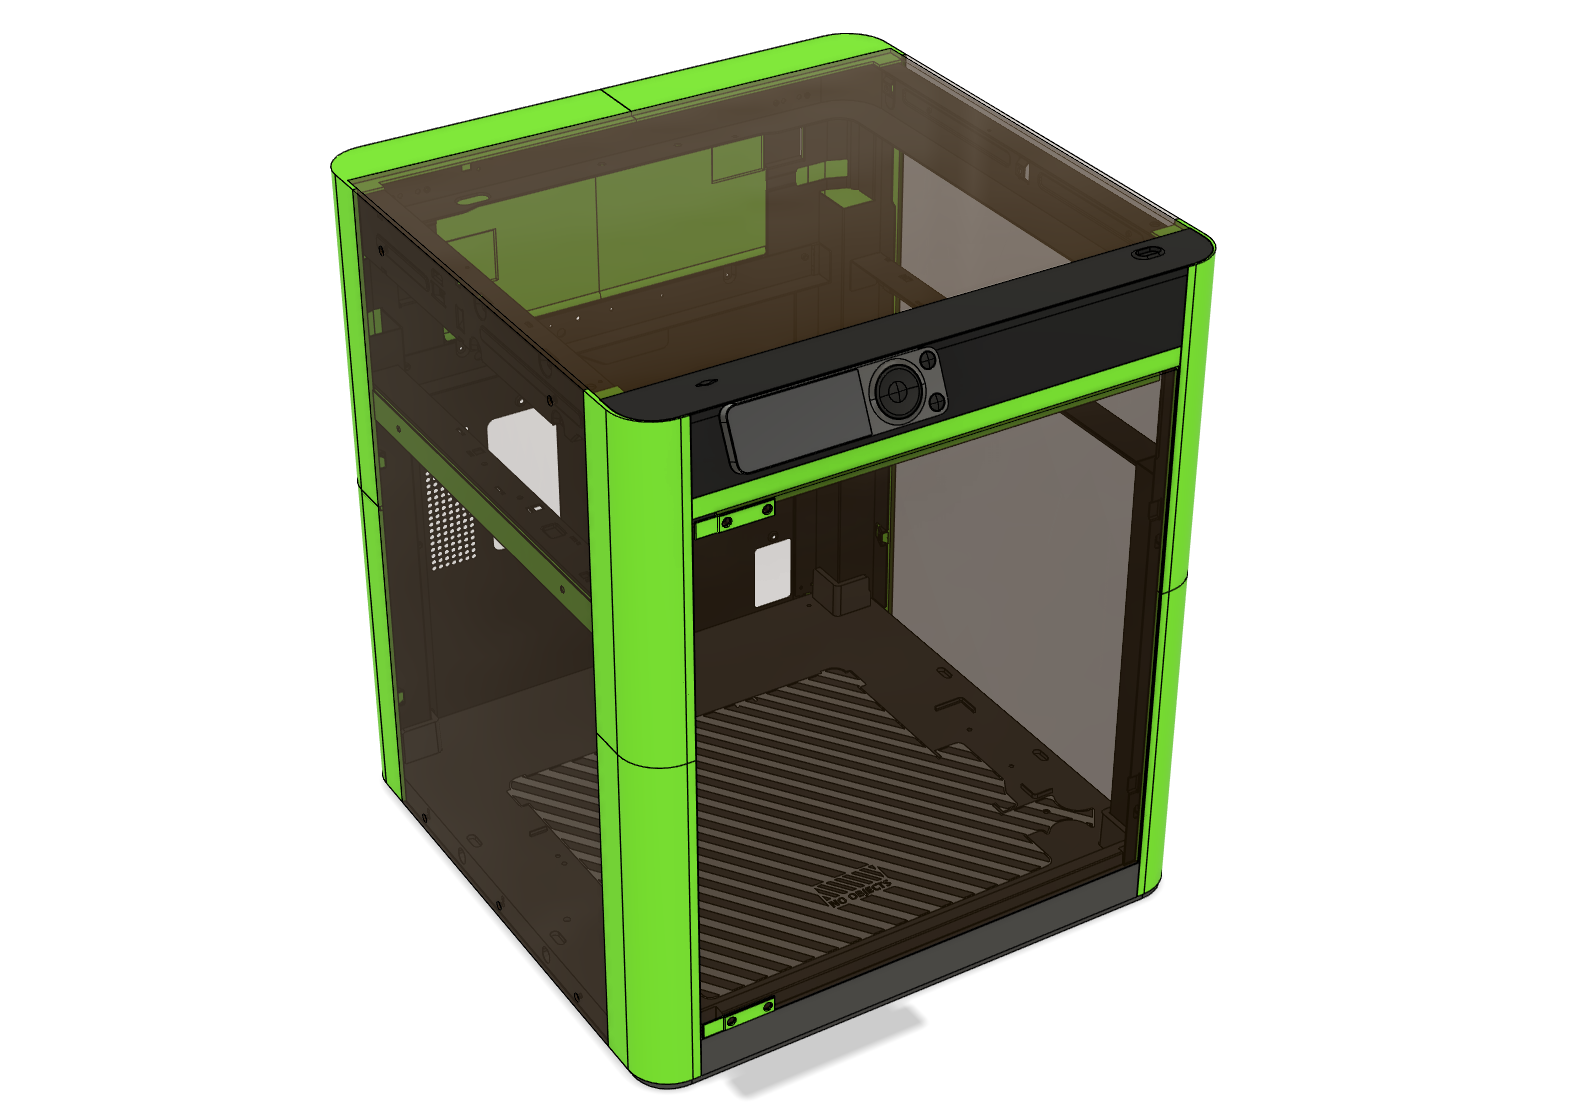
About this 3D model
The content is too long and has been truncated A minimalistic enclosure for the Bambu Lab P1P. It is designed to print with little material, fast, little to no supports and keep most of the original features of the case accessible with a possible upgrade path to existing models, that fit the bare printer without bulky stuff around. The bulk of the enclosure is covered with 3 mm sheet material (PMMA, PC, Wood, whatever floats your boat). No bulky hinges, it uses the original X1 door and (optionally the X1 Glass Cover Plate ) - or a replica of your choice in both cases). Key Features: slim fit cover with no extras belt-tensioner is reachable without disassembly ( like the X1 ) resource friendly (not much filament needed) pick solid side panels to your liking no heated inserts needed original Bambu and M3 screws only original Bambu Lab X1 door (optional) original Bambu Lab X1 Glass Cover Plate (optional) BOM / What you need? just shy of 500 g of filament (you know where to get this) 12+ hours of print time 30 M3x4 screws ( buy a set on Amazon ; affiliate link) 0,33 to 0,5 m² of 3 mm sheet material (PC, PMMA etc.) rough sizes are: 2x 285 x 449 mm (sides) 1x 384 x 312 mm (top) 1x 320 x 355 mm (door, optional) some plastic glue ( UHU Hart works for PLA, ABS and ASA; affiliate link) X1 door mounting kit + door (optional) X1 Glass Cover Plate (optional) It is done, but read this before building! The frame template from Bambu Lab quite differes from the real product, the cases seem to slightly differ from eachother, that is why there are so many weird shapes and cutouts, especially on the back. This is needed to maintain the overall flush look and it the apparent 3 mm thickness of all features on all sides, even if they are thinner on the inside. unfortunately, if you use a translucent filament, those features would shine through. i recommend to print a test piece, a slice of the left rear top part (the actual corner) for example Printing it is designed to print on the P1P and the parts will fit there on one go, if you just need it quick an dirty - the “0.28mm Extra Draft”-Profile with infill reduced to 10 % works quite nice with Bambu PLA Basic - the surface is not pretty but it works like a charm - i still recommend printing it in a few batches. maybe add supports with a more demanding filament or surface finish printing the thin upright parts are quite challenging and they might detach from the plate if you have problems, just embedd everything in tree supports - they are easy to detach afterwards and leave no marks Hide your seams If you don't want an ugly seam down the front of your case, hide the seam on the inside of the shell Fuzzy skin ftw! Also if you don't like the minor layer shifts, you can work around this issue to apply a “Fuzzy skin” on the Outer wall. 0,2 mm fuzzy skin thickness is OK with the built in tolerance of the parts, everything fits pretty snug that way - a fair warning: this vastly increases print time and costs about 5 to 10 % more filament Assembly The enclosure is designed to repurpose the already built in screw + the screws delivered extra with the P1P for the official printable shells (those are not metric though, they are self threading and work in metal and polymers). You need to look at he mounting locations, some of them are threaded, some of them are not - use common sense for the screws in short: Shell pieces use existing screws, M3x4 flathead or the additionally provided ones Panels use M3x6 countersunk (if you choose to countersink them) assemble individual corner pieces connect each matching top and bottom piece - they only fit one way since there is a built in tolerance to hide the seam in the front you'll have a pretty tight fit on the outside but a little gap at the back side - this is totally normal, don't force the hidden back side together, else you'll get a crooked part permanently join the pieces (optional) depending on the surface finish and material, the pieces are designed to friction fit i still recommend gluing the matching top and bottom pieces together, it is easier to handle this way however, i do not recommend gluing the back left/right panels together, since they are assembled with screws from the left and right side and are a bit fiddly to move in place mount the front pieces the front pieces are straight forward, each module uses 5 screws start with the left panel to get comfortable with the mounting positions, don't forget the upper screw hole, be careful not to damage the cable since the right side is recessed, it has a lip which block the scew holes partially, you can fasten them like shown in the picture remove the rear panel follow the instructions to remove the remove the rear panel first - unplug your printer! you'll be working right next to the MC board and bower board (you don't want to electrocute yourself) mount the right back piece viewed from the back: remove the upper 2 screws at the top left side where the backpanel will be, also the 2 screw