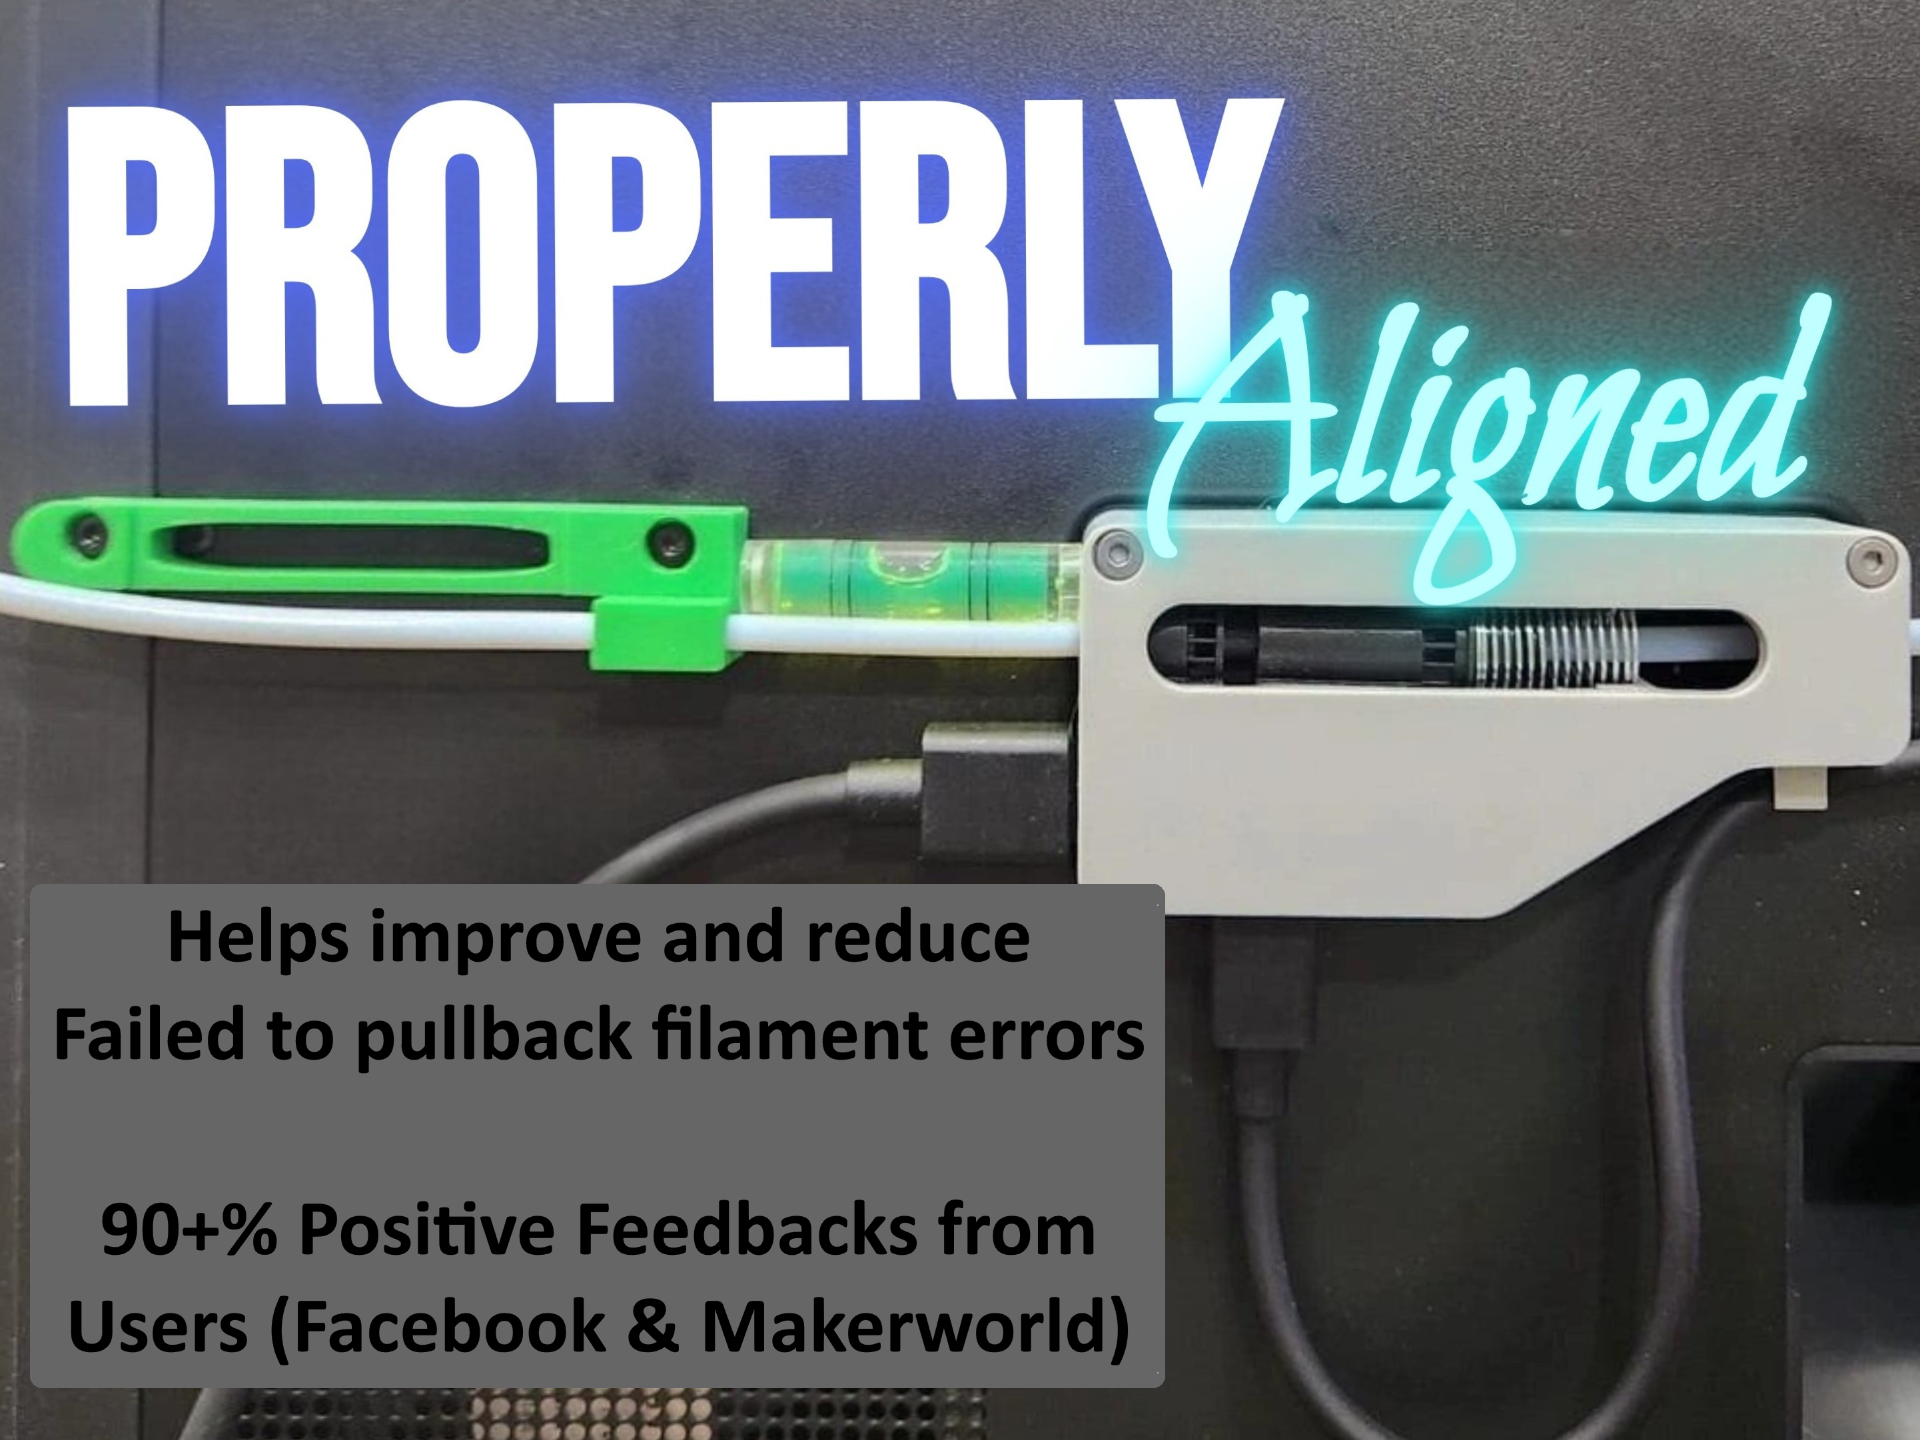
About this 3D model
I update, revise and improve my design for my fixes very often. Please only use my Print Profile (Labelled as Designer or SPStudio) to ensure this fix is updated & work well. Profile with Non-Designer tags may be of poor functionality or non updated model. Click on Like if this model helped you in some way. It is very important and will help increase the exposure of this design to more people who might need it. Cheers! Announcement New and Improved V2 Versions for the Ams Buffer Fix Before Buffer and After Buffer have just been released. Do check them out in my profile to see what are the improvement. Thank you for your continuous support. Update 5 Dec 7pm SGT: A new print profile have been added. X1C Special Condition Only - Its intended for a very small group of people with problem finding a fitting screw for their X1Carbon when trying to attach this fix to the rear panel. Please do not use this on your P1P P1S X1C if you can find the 2 fitting screws that are used for the installation of this fix. This print profile is NOT for you. If you have an X1C and you have problem finding a screw that fit the screw hole on the fix nearest to the Ams buffer then please scroll all the way down this page to see the installation process for your machine. Introduction Failed to pull back filament error can be caused by multiple different variables & factors. This is a part of an series of Ams fixes that i have designed which can complement each other when used together. I do suggest you install all my fixes together for the 0ptimal effect to help your filament travel properly across the entire system which in turn can help improve, reduce or remove any potential Ams errors. I have grouped all fixes into their respective Collection for ease of searching what to install. V2 Collection are improvements done on the shortcoming of V1 Collection. Feel free to try V2 Collection and if it doesn't work properly then you can try the V1 Collection . You can easily find each of the Collection by clicking on the Collections tab on my profile. Unfortunately there isn't a single fix that can 100% work for everyone. What works for others, may not work for you but my fixes is definately a great place to start and have worked for majority of the users. My fixes are precisely measured then modelled. A Proper Fix would have the highest chance to reduce or solve the error. If you are too bored to read the entire lengthy write up explaining the need for this fix, here is the TL:DR. What is this? Ams Buffer Fix For Failed To Pull Back Filament Error will correct and maintain a nearly 100% straight line to move the filament into the Ams buffer thus reducing wear on the external Ptfe tube. Its design allow the most smooth, least amount of friction and pressure for the proper angle to go into the Ams buffer thus greatly reducing the possibility of an Failed To Retract Filament error or similar errors from popping up. Who needs this fix? I believe that anyone with a Ams would benefit from this fix / enhancement regardless of do you have any problem or errors with the Ams / Printer. This will allow your Ptfe tube to be nearly 100% straight (laser and manually measured) when it entered the Ams Buffer buffer. In theory, there are only advantages and benefits after installing. There are literally no disadvantage to this fix. Have this fix been tested? This fix have been tested for on 1 X1C, 1 P1P and 2 P1S for about 93100 retractions so far. Why choose this fix instead of other similarly designed fix? This is ez to print but yet its very precisely measured and designed. This part shown in the photo below (distance from end of fix to the Ams Buffer) is carefully calculated only after several literations and tests prints. I have arrived to the mostly optimal gap to separate the fix and the Ams Buffer to allow the filament to pass through with a smooth movement with the least amount of friction. In fact this is one of the most important measurement in the fix. Pre installation Please make sure that the hole in which the Ptfe pass through does not have any filament blocking it that might happen in rare cases during printing, If it does use something like this screw bit or anything to remove the filament before proceeding to the step below. Please only remove the filament bit but do not widen the hole please. If your Ptfe Tube goes through smoothly then there is no need to do this step. Installation Video Important: This would be the most ideal route for the Ptfe tube if your Ams is on t0p of the printer. Its basically a huge C. Please try to make the Ptfe route like this. The most ideal length of Ptfe is 62cm IF your Ams is on t0p of the printer with NO riser. 62cm will be able to give you this ideal route. If you have a riser just adjust the route to be somewhat similar for the proper effect. Important Notes: Note 1: This will NOT be compatible for those with the multiple Ams units or if you are using the multiple Ams HUB and its made specifically to u