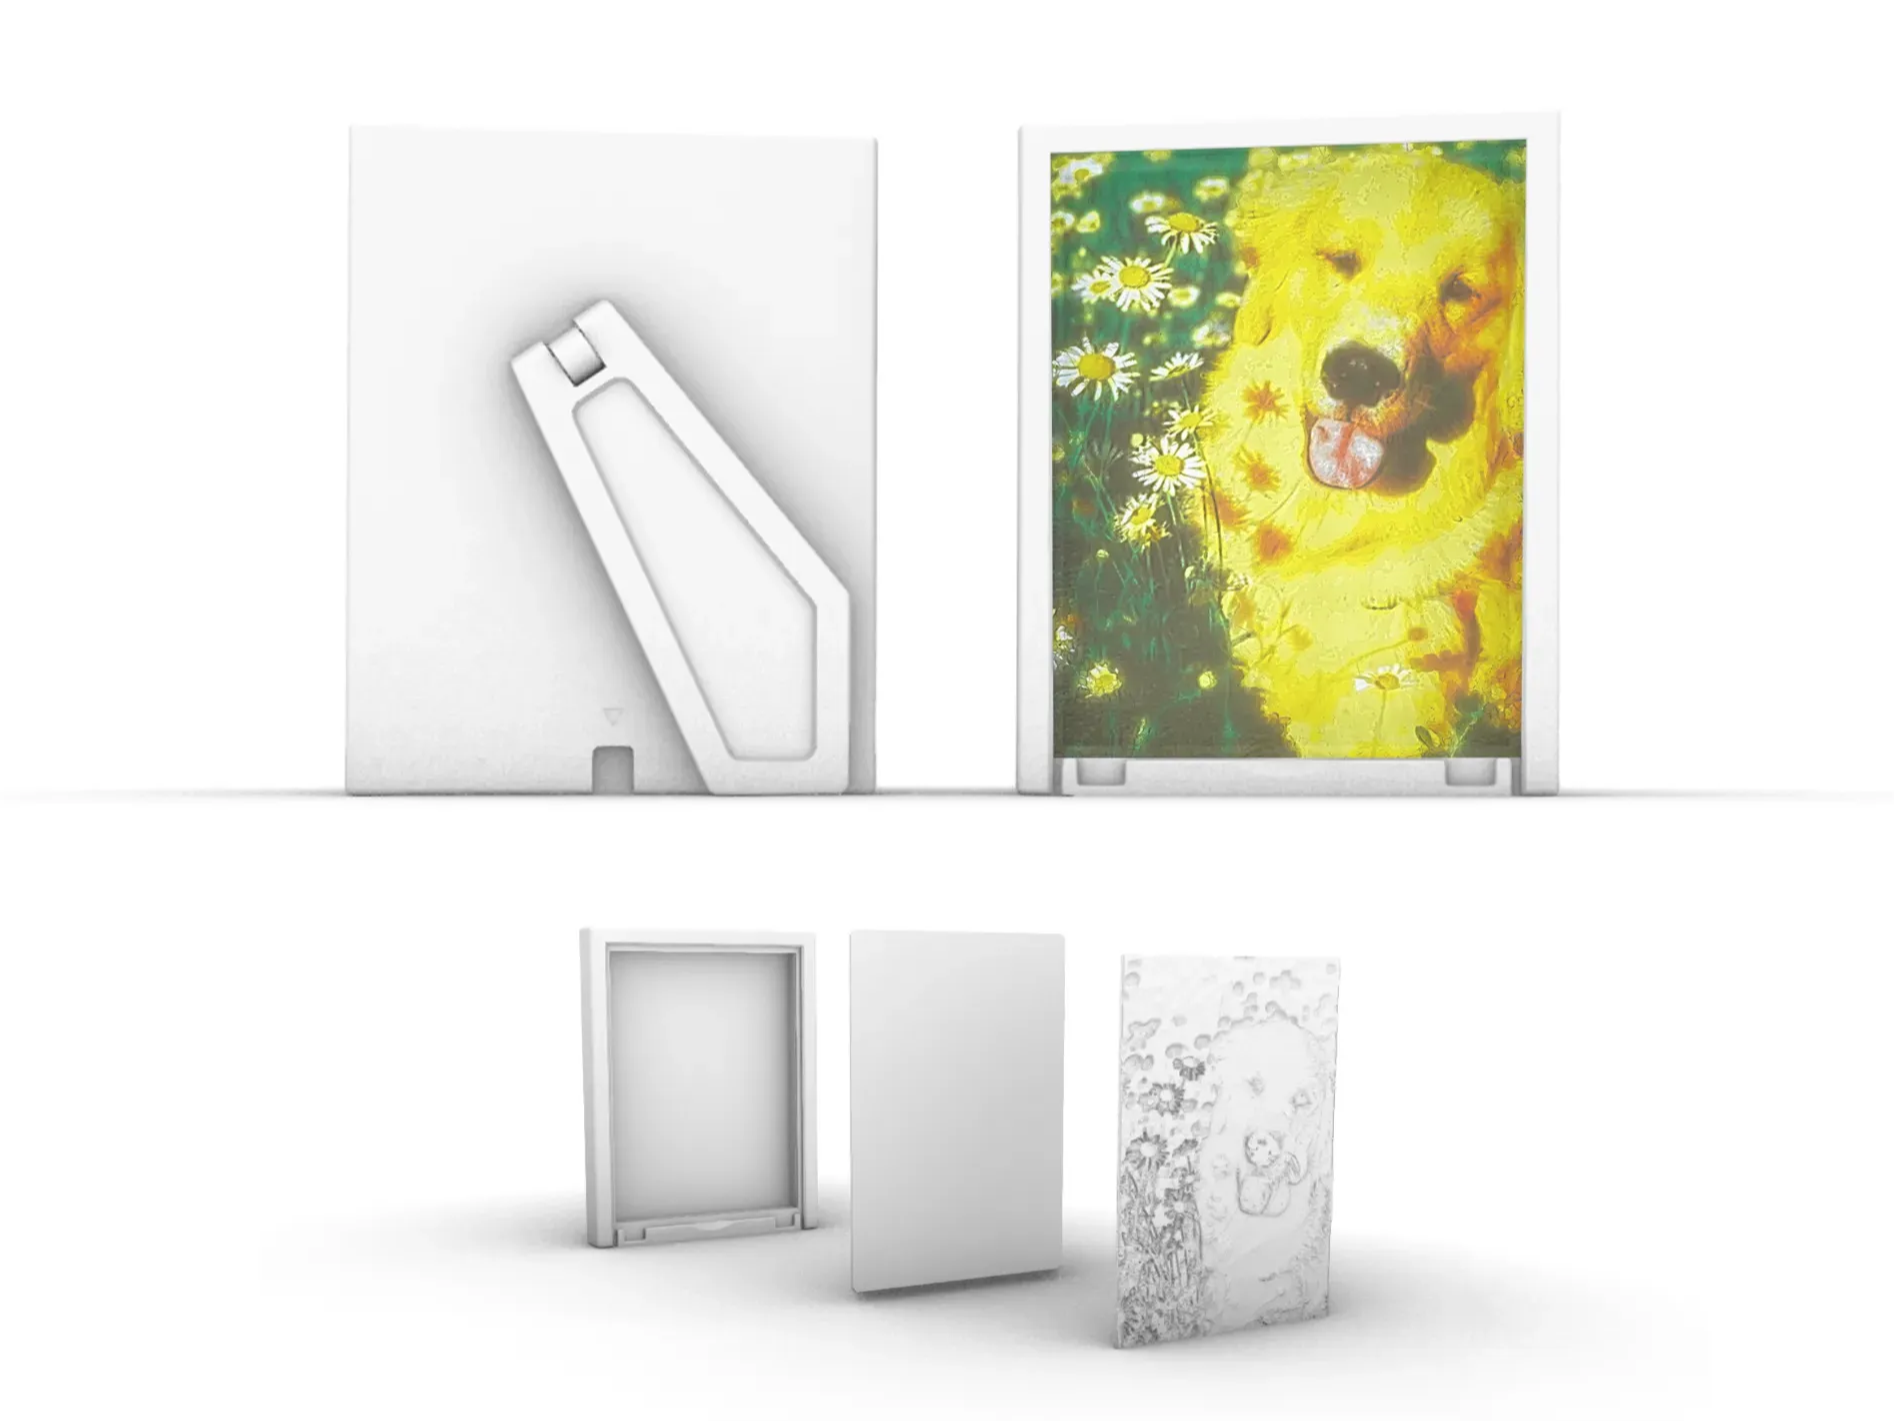
About this 3D model
Credits, first of all: Light Guide Plate, Frame, Test Litophane (Labrador) were respectively created by BambuLab, Lithophane Makers and larissatondim (As said here ) Why? I found litophanies amazing, but I never succedeed in all the steps at the first try. Here I'm trying to share my knowledge (after a lot of fails), sharing with you all my settings to succeed without struggling, starting from how to print the frame, to wich flush settings to use for the litophane itself. I included also the Light Guide Plate, wich is foundamental to a good result. Features: Frame: The Frame is oriented considering cooling fan; I lost a lot of frames (5h print ruined 30minutes before the end) beacuse first layers colded too fast, ruining adhesion of first layer, and later the frame detached from the plate. Use COLD PLATE, to get as much as adhesion as possible. Supports is setted as Tree Strong to use as less material as possible Supports are positioned on the back of the frame, shielded from the air of the fans (see first point) Bambu Lab logo removed Light Guide Plate Has walls settings recommended by Bambu Lab Has fill settings recommended by BambuLab Test Litophane (Doggo one) A litophane of a beatuful Labrador, with all levels (CYMK) already setted CYMK flush levels already optimized I always wanted a complete kit to be easy, this is as easy as it can be, I hope you find this helpful Here you can see some pictures I've printed: Litophane Complete Kit Logoless - Bambulab Frame Without Bambu Lab Logo Fast Links: Bambu Lab guide: link Litophane Maker: link If you want to know more, here the link to the BambuLab guide: https://wiki.bambulab.com/en/knowledge-sharing/CMYK-color-lithophane-printing-instructions