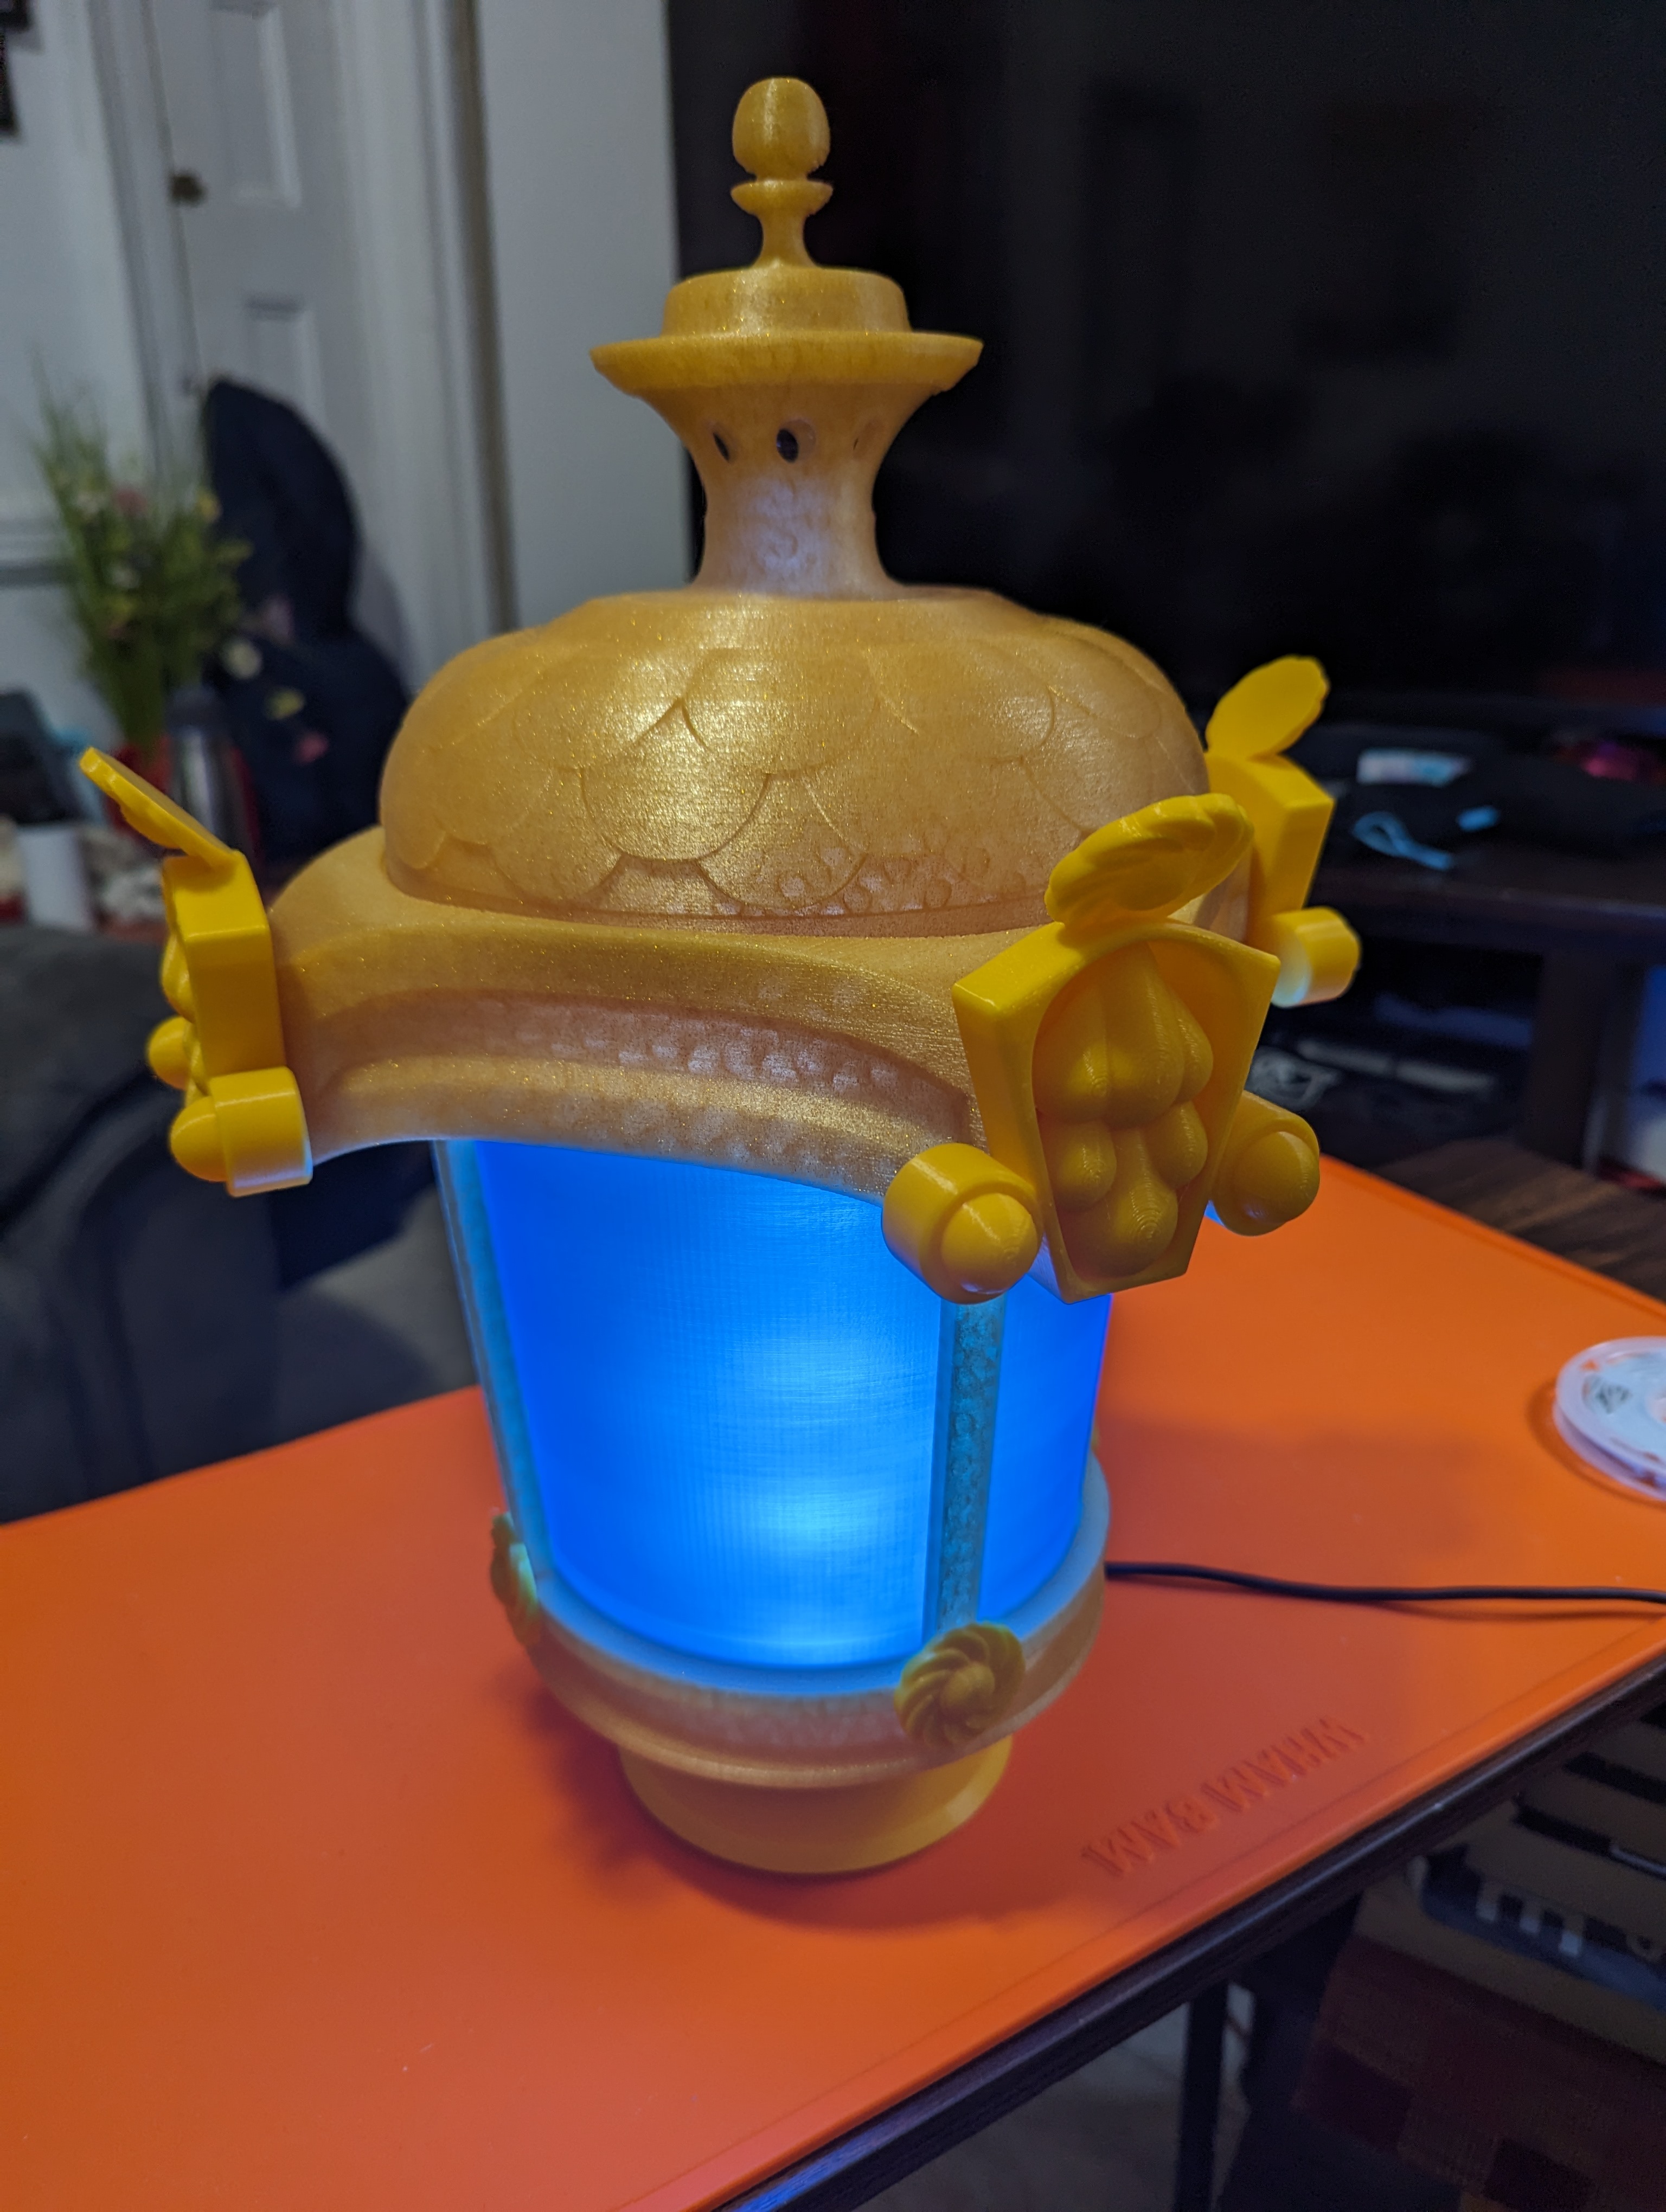
About this 3D model
Beginner STEM RGB Light-Up Lantern Project Materials: Inland Gold PLA Inland Light Blue Glass PLA Inland Gold Glitter PLA (Use with .6 nozzle for best results) Inland LED Strip Light Printer Settings: Print Time: 2d 23h 10m Total Pieces: 14 Infill 10% Gyroid Bed Temp 60c Nozzle 215 2 perimeters Glass Topper: Supports on Build Plate Only, Printed Upside Down Glass Holder: Needs Support Under Flat Hang Only Project Instructions - See PDF with Images Assembly Print 4 of each small and large lantern details (STL called Small Detail x4, Large Detail x4) Glue the small to the Glass Holder. The smaller detail piece has a cutout so that it can line up with the glass holder when gluing it in place. 2 drops of glue are needed. Glue the blue “glass” into the Glass Holder. If your print has a seam, make sure to hide it behind one of the pillars for a cleaner look. Glue on the Large Detail pieces to the Glass Topper Glue the Glass Holder and Glass Top. The glue goes into the 4 square holes on the Glass Top. Electronics Wrap the LED Strip around the Light Pillar. Gently pull the LED strip tight to use as many lights on it as possible. Peel back the adhesive on the back of LED's to stick the strip to the Pillar - no extra glue needed. Cut off the excess LED Strip. ***Do not cut the circuit. Cut it at one of the sections that has 4 tan ovals.*** Shown in the picture that has scissors cutting the LED strip. Plug in the LED into the included control box. Ensure the arrows line up. Screw on the Bottom piece of the Lantern and pull the electrical cord through the opening. Plug the electrical plug into the control box and hide all cords in the lantern. The light pillar should be fit into the bottom. Plug your lantern into an outlet and use the included remote to change colors, patterns, and brightness STL designed by dsk001_3d