About this 3D model
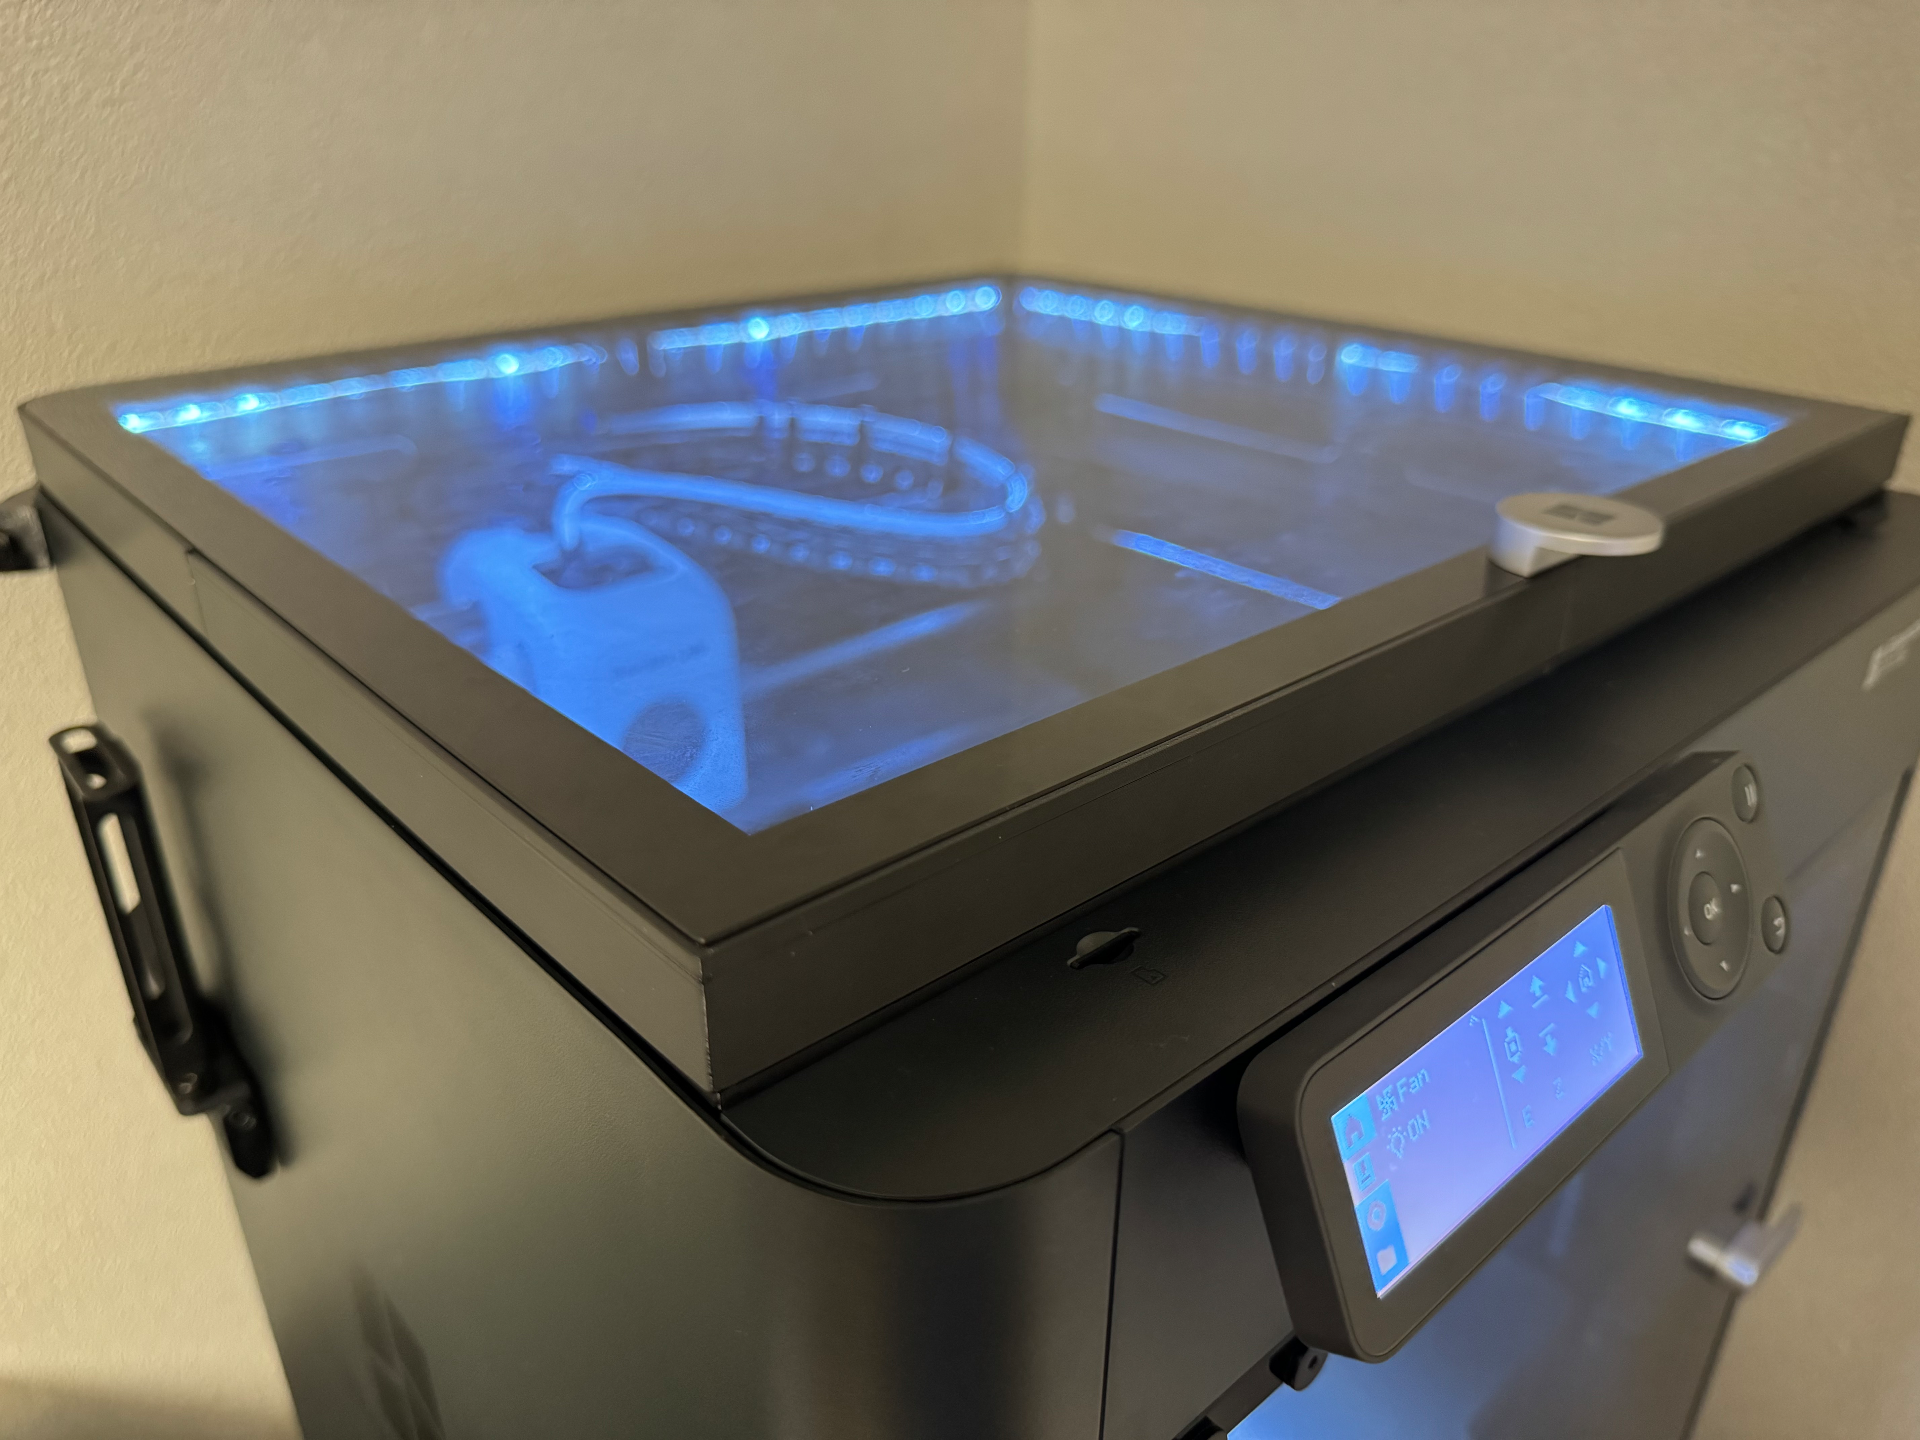
Information Hi, Guys!! My new product is now available! This is a SIS project to improve the seismic isolation of Bambu Lab printers! Please check it out! https://makerworld.com/en/models/915508 Overview Having trouble with dark lighting 3D printers? This LED Riser will solve all your problems! Easy printing Easy assembly No screws/glue required Tilted LED lighting in the chamber Interlocked with ON/OFF control It is adjusted to print at the perfect size. If shrinkage occurs, e.g. with ABS filament, it may make it difficult to close the glass top panel. If this is the case, adjust the print size according to the shrinkage. Boost Me This amazing LED Riser has garnered a lot of support from many users. Your encouragement gives me energy. Please give me a Boost! Caution Do not use PLA if you require higher bed temperatures. If you use a bed temperature above 70 degrees Celsius, print with ABS or PETG. What you Need Prepare the LED light ribbons sold by Aliexpress. With this LED tape from Aliexpress, you can choose between X1C and P1S/P1P. https://aliexpress.com/item/1005005952550058.html Assembly Instructions 1. Print out all parts Print all parts included in the profile. There are 4 risers and 8 clasps. 2. Insert the LED power cable Pass the LED power cable through the front left part. There is a hole in the corner to take out the cable. Take out the cable from there. 3. Insert LEDs into all parts Insert LEDs through all parts. Insert the LEDs from the edge of the parts and push them in. The load will increase when you turn a corner, but this is not a problem if you push the LED in little by little. 4. Fasten the parts with clasps. Fasten the parts with clamps at the front, back, left, and right, for a total of 8 locations. Push the clasps into position. It is easier to fix the lower part first, then the upper part. 5. replace existing LED power cable with new cable After the LED Riser is completed, plug in the power cable. First, turn off the printer. Locate the LED connector from the power supply area at the top inside the 3D printer. Disconnect the existing LED connector and connect the new LED power supply. Check the wiki for details. Connector location differs between X1C and P1S/P1P. X1C https://wiki.bambulab.com/en/x1/maintenance/replace-the-chamber-led P1S/P1P https://wiki.bambulab.com/en/p1/troubleshooting/p1p-led-failture 6. Check the LED operation Turn on the printer. Change the LED lighting setting and check if the LED lights up. If there is no problem, the LED should light up in conjunction with ON/OFF.