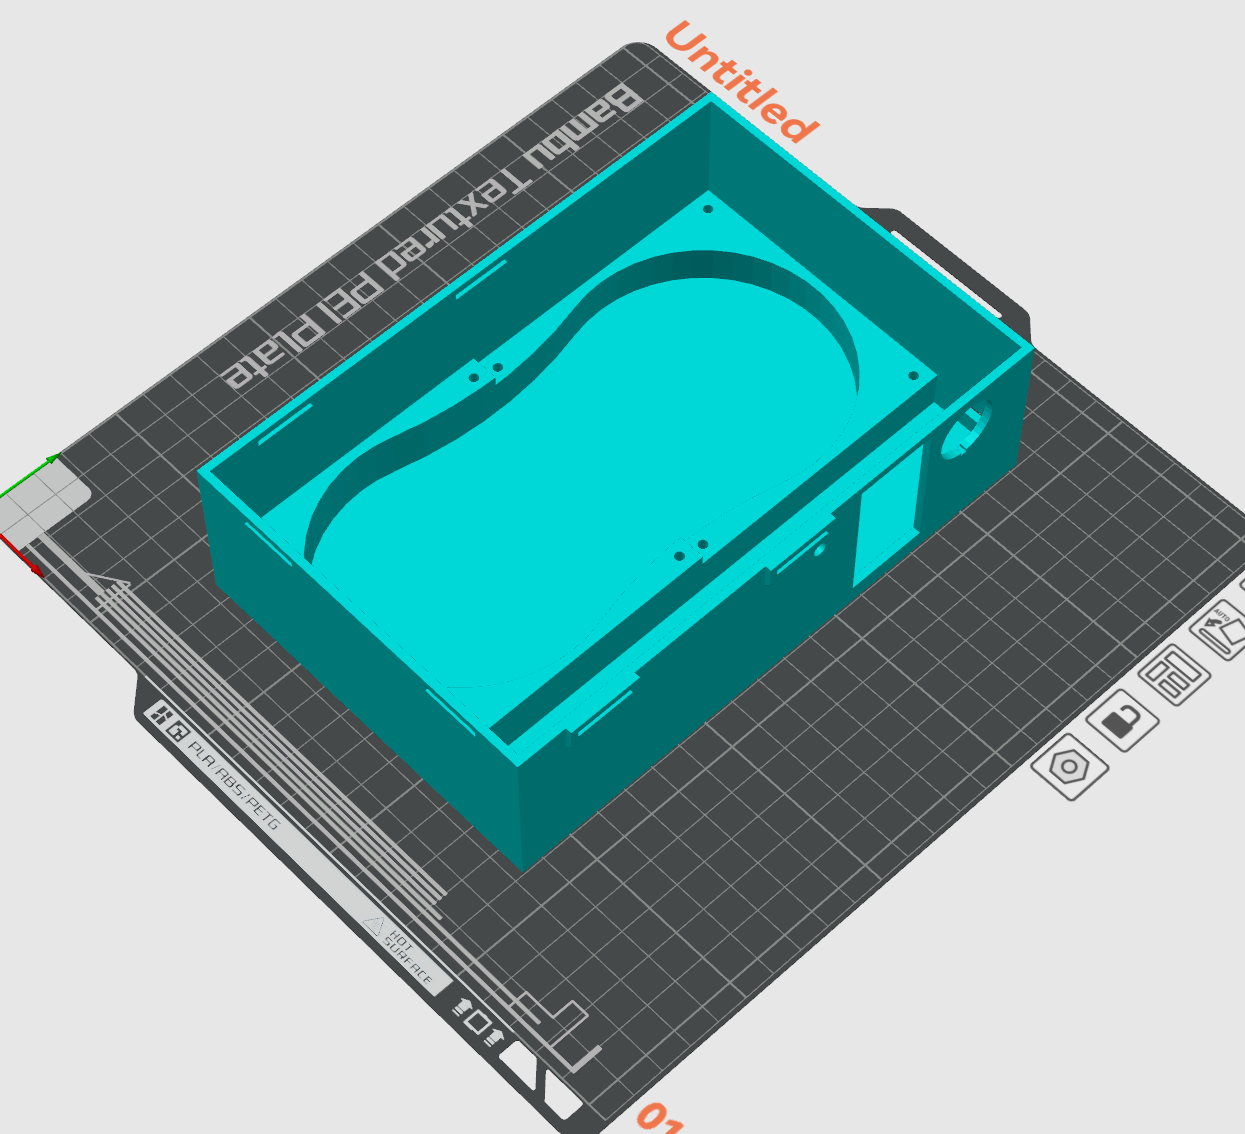
About this 3D model
This build involves 110V power. Follow this guide at Your Own Risk BOM $20 amazon basic heater: https://amzn.to/41diLV3 $5 temperature control: https://amzn.to/3RBChqY $20 better fan: https://amzn.to/46XGJom several wire nut: I used WAGO lever nut 2 x 2 connector 2 x 4 connector Circuit Build instruction: open up the amazon basic heater and take out the following components. power button 110 power cable 12v power regulator circuit heating element heating element housing - for the housing, you will need to cut off the three prones for using in this case front metal shroud 4 short screws not used part from the heater LED - not needed because controller has one already Switch - not needed Overheat breaker? - not used. It trips at too low of a temperature for this build 12V fan - it is not powerful enough for this design. I put the circuit into the housing in the following order 110V power cable power button temperature controller note you can squeeze cable below the temperature controller 110V fan using the 4 short screw voltage regulator Heating element and housing - I used some 4 mm screw for this. The heating element will have 110V. Be Safe. Do not reach near the front before you put on the metal shroud. When you hook up the controller for the first time, the heating element will be off. Do not worry. Read on. Front metal shroud can be fit onto the slot on the housing You might want this off to see if the connection is correct. You only need to see the fan and the controller to be running. Put the shroud on as soon as everything is connected Build note I suggest to use a Wago connector at Pin 3. That makes installation easier You might need some additional wire for Pin 3 and Pin 4 position. You will need to program the temperature controller. Long press the SET button will let you enter programming mode. And short press will cycle program mode. Press both button to enter a config. P0, Heating/Cooling: H/C, C - Change this to H. This is will turn on the heating element. P1, Return difference: 0.1-30, 2 - Change this to 1. This makes the system stabilize +/- 1 C around target temp P2, Set limit maximum: +110, 110 P3, Set limit minimum: -50, -50 P4, Temperature correction: -15 - +15, 0 P5, Delay start: 0-10, 0 P6, High temperature alarm: -50 - +110, OFF P7, Celsius/Fahrenheit: CS/FH, CS P8, Factory reset: ON-OFF, OFF