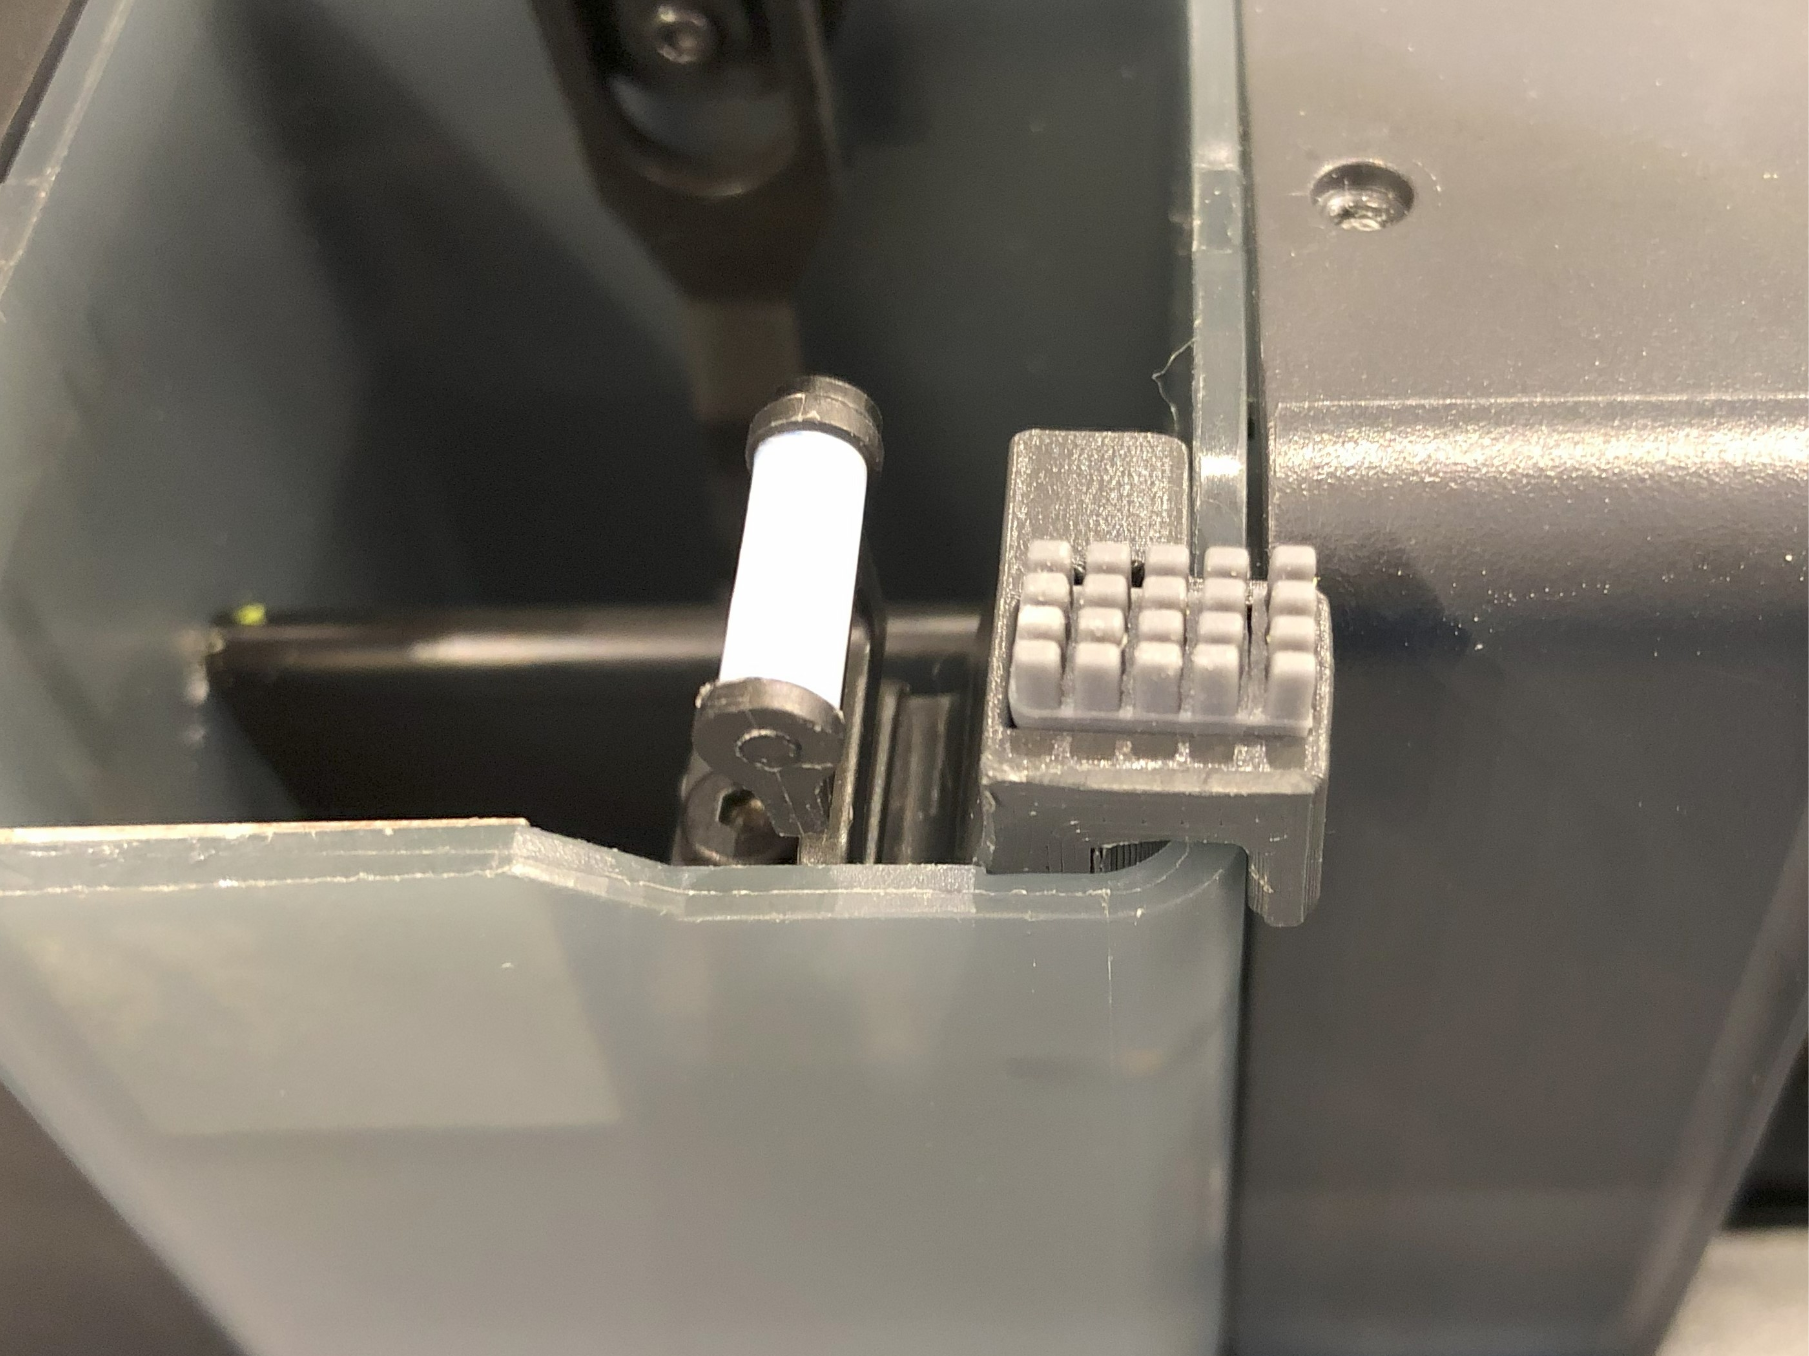
About this 3D model
Update 07.01.2025 I revised my design for the first layer scan, because of the issue that @Thunder_Eagle reported to me, thanks again for reaching out and sharing your experience. As reported I also found that the stock wiper was to high so i lowered the stock wiper position. Now the nozzle could travel easier over the stock wiper. I replaced the print-profile with the new version. It is the first print-profile named “PETG (New Version for first layer scan 08.01.2025)” You find the models in this folder “240717-New-Version-one-part” under: I also made the “Nozzle_wiper_x1c_with_a1_brush_one_part” 1mm higher to get a better cleaning. Thanks @Florin Popescu for the suggestion. Here i also uploaded the model with the ending_V2 in the folder above and updated the print profiles Have fun! Update 14.10.2024 Up on request I adapted @ZhangSheng idea to use the wiper with the first layer scan to my one part new version. Thanks to @ZhangSheng for contributing and sharing:-) You find models in this folder “240717-New-Version-one-part” under: I also uploaded a print profile for the X1C(in PETG) where to put the supports. Assembly see below. Have fun! ______________________________________________________________________________________________ Update 17.07.2024 All the contribution by remixing and commenting the model inspired me to make a design revision. Mainly i took inspiration form these models. https://makerworld.com/en/models/220156#profileId-238704 https://makerworld.com/en/models/126256#profileId-136683 And came up with a design of only one part. You find models in this folder “240717-New-Version-one-part” under: I also uploaded a print profile for the A1-Mini (in PETG) and the X1C(in ASA) for reference where to put the supports. The assembly is a little different. Only two screws are now necessary and installing the brush is the last step and could only be done if the part is already fixed on the poop chute. Mount the original nozzle wiper Mount the block to the poop chute Install the brush (cut to 10mm length) During testing I mentioned that the adhesion of the double sided tape that the A1-Mini Brush is fixed with, is a little weaker due too the smaller surface area. This could be fixed by a little superglue ;-), I just press it down now an then. Thanks to all for contributing!! Have fun! ______________________________________________________________________________________________________________________________ Addition 14.06.2024 I found the G-Code adaption which AdamL introduced with his model: The Scrubbler: Enhanced X1/P1 Nozzle Wiper very cool and a awesome idea, thanks for sharing this idea . I took inspiration from this and implemented my own version in the Change filament G-Code . Also I adapted AdamL ´s code for the Machine start G-Code so that the travel path is lower and fits my design better. During testing I mentioned that lower acceleration of about 15000 had a better cleaning effect. But could be that this is specific for my X1C. If you want to implement this i uploaded a instruction “240614_nozzle_rub_G-Code_adaption.pdf”, you find it under: “Documentation”. This is what it looks like: Machine start G-Code Change filament G-Code Have fun! _________________________________________________________________________________________________________________________________________ Update 08.01.2024 Quick update on the tray for both brushes. Added a small plug to the bottom of the tray to prevent it from rotating because there where some issues reported with that. New raw model files: A1-Brush: Nozzle_wiper_x1c_with_a1_brush v3.step tray_A1_v3.stl A1-mini-Brush: Nozzle_wiper_x1c_with_a1-mini_brush_v2.step tray_A1-mini_v2.stl Updated all my print profiles with a second plate which contains the new version. If want to use your own print profiles, use arachne wall generator and orientate the Tray like this: This compromises the print ability of the tray and supports are needed, use paint on supports like this: Support setting: ! Be care full to not hurt yourself when removing the supports in the tray, use pliers or a small slotted screwdriver ! Thank´s to all for the feedback ____________________________________________________________________________________________________________________________________________________ Update 04.01.2024 New A1 brush version, with following changes: Chamfer on the tray Lowered height of the block 0,5 mm Thanks @coreyward for the suggestions Addition for print settings: If want to use your own print profiles use the arachne wall generator to get a support for the overhang on the block. ________________________________________________________________________________________________________________ Update 26.12.2023 On request I adapted the design to fit the A1 brush. Under “Raw model files” there are now two folders, use the parts in the “A1-Brush” folder if you want to use the A1 brush. Both parts are needed to use the A1 brush . Just import the parts in one of the