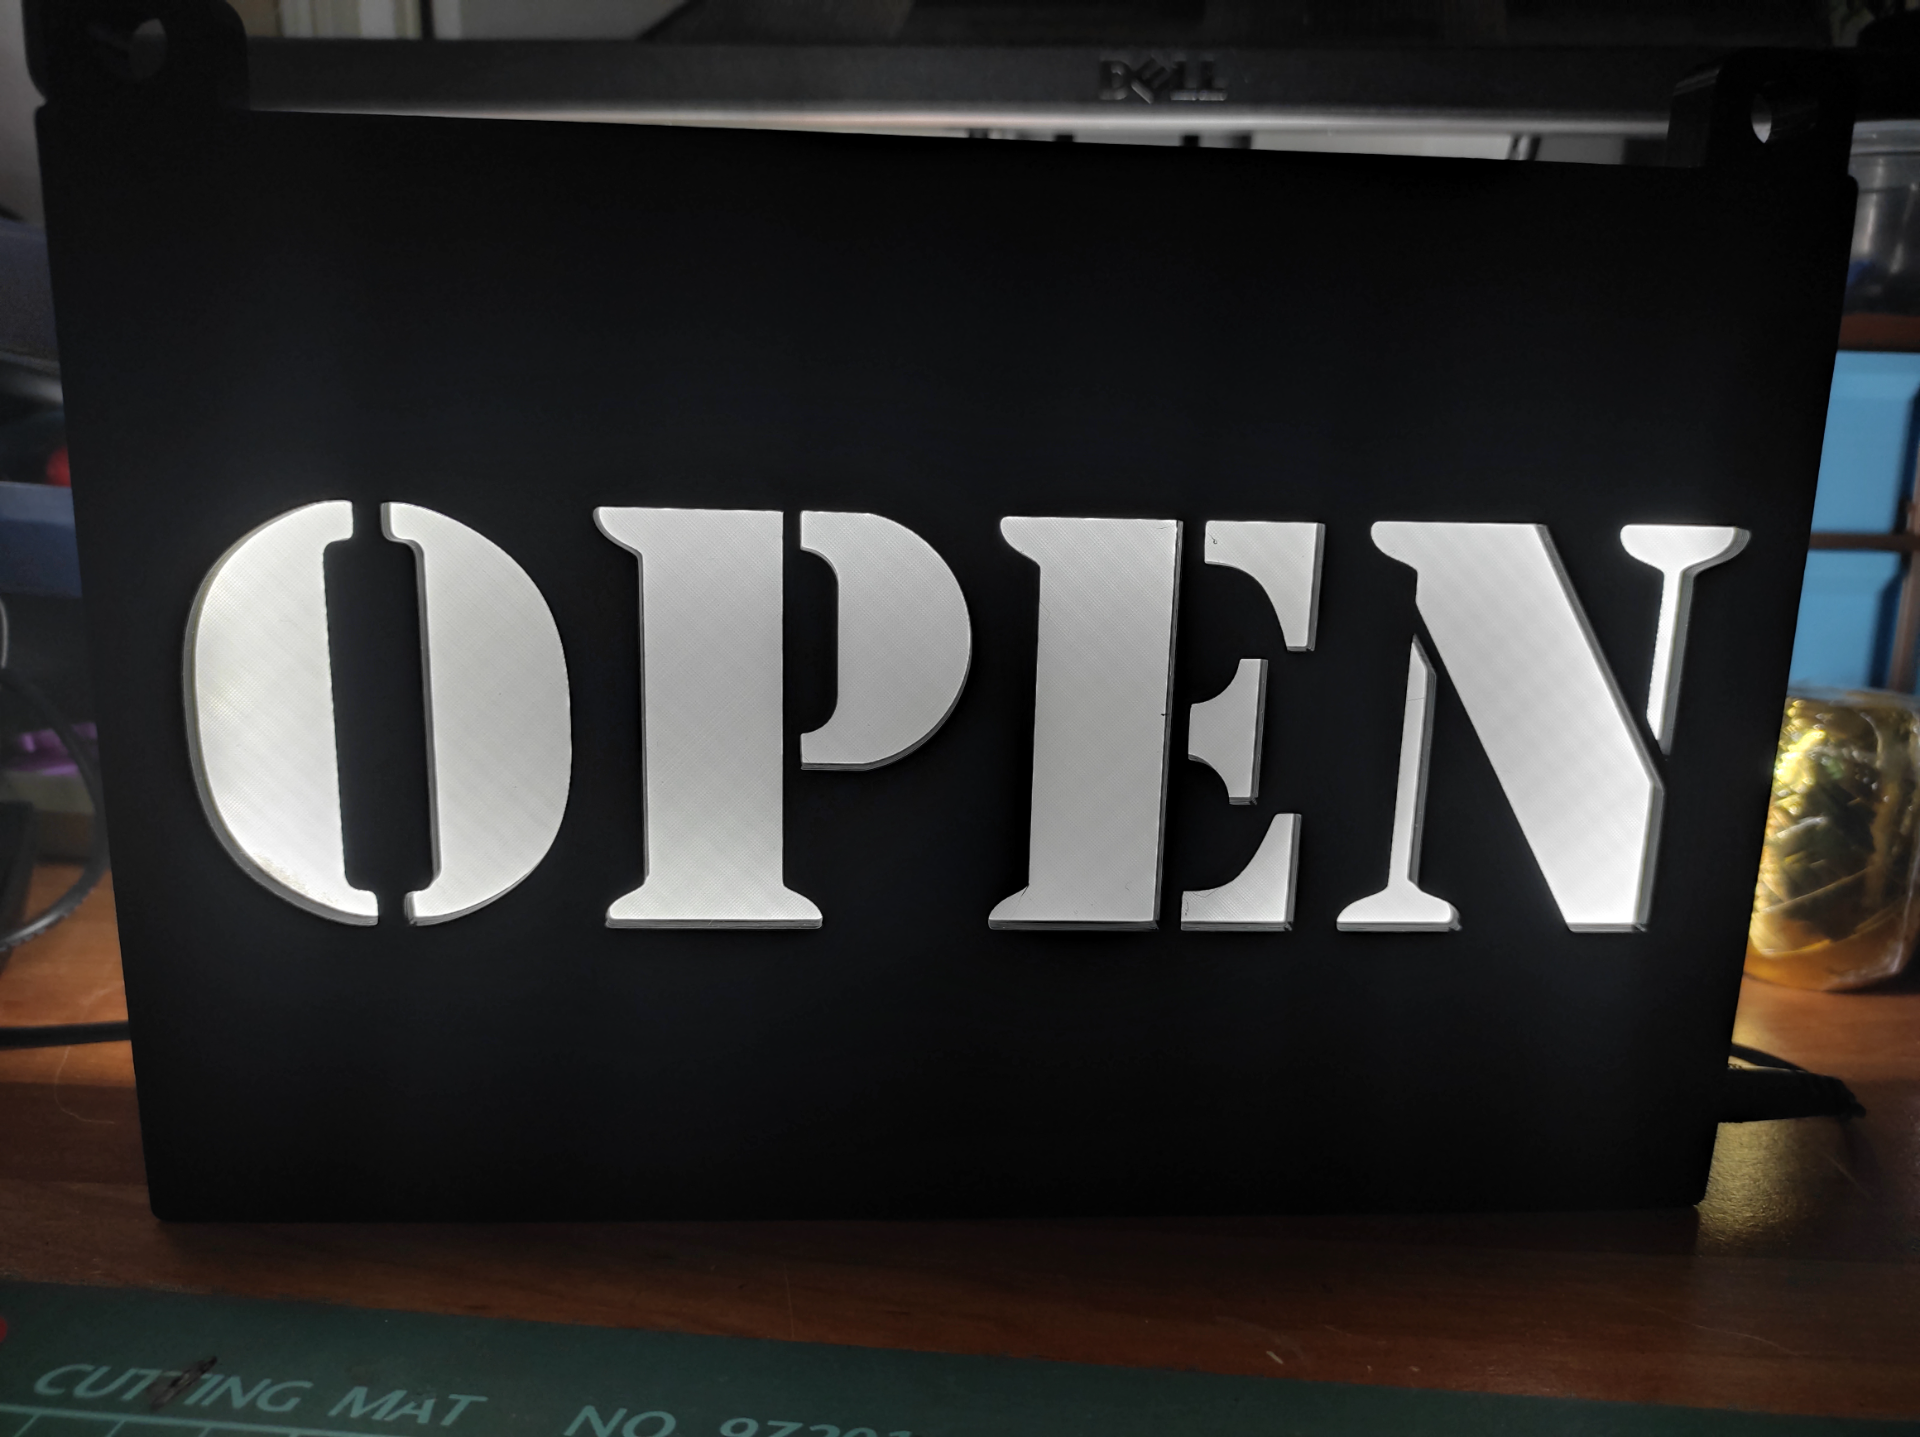
About this 3D model
LED illuminated sign for your shop. There are 2 versions of lightbox with holes for hanging (see on photo) and without hangholes. Dimensions are 23*15*4cm. Please see instructions and part requirements below. I printed the sign with PETG as I wanted to use stronger LEDs to increase temperature resistance. 45cm of LED strip (I used 12V, cold white 4,8w/m, 6000k, 410lm/m) 1 M3 nut 1 M3*10 screw with flat head CA glue approx. 20 cm of dual wire (I used 2*0.35) DC female connector 5,5/2,1 DC power supply, preferably with switch (I used 12V, 1000mA, 12W). Soldering iron, Insulation tape or heat shrinking sleeve. NOT FOR COMMERICAL USE!!! By buying this model you do not have permission to sell the printouts or finished product. 3D PRINTING SETTINGS Print the lightbox, diffusor and sliding backplate. Use colour of your choice I used black PETG for shelf and PLA, vanilla white for light diffusor. I printed it with 0.3 layer, 2 perimeters and 5% infill, use Brim to prevent warping (don't forget about it, it really warps). Glue the diffusor into inside slot in lightbox, use CA glue. Insert the M3 nut into slot as you can see on the photo. Prepare DC female connector with wires and put it into prepared hole. DC connector will fit perfectly, screw the plastic cover on the connector to secure it and prevent any movement. Solder the LED strip and glue it around the letters (as shown on photo). Insulate the wires and close the box with the screw (be gentle).