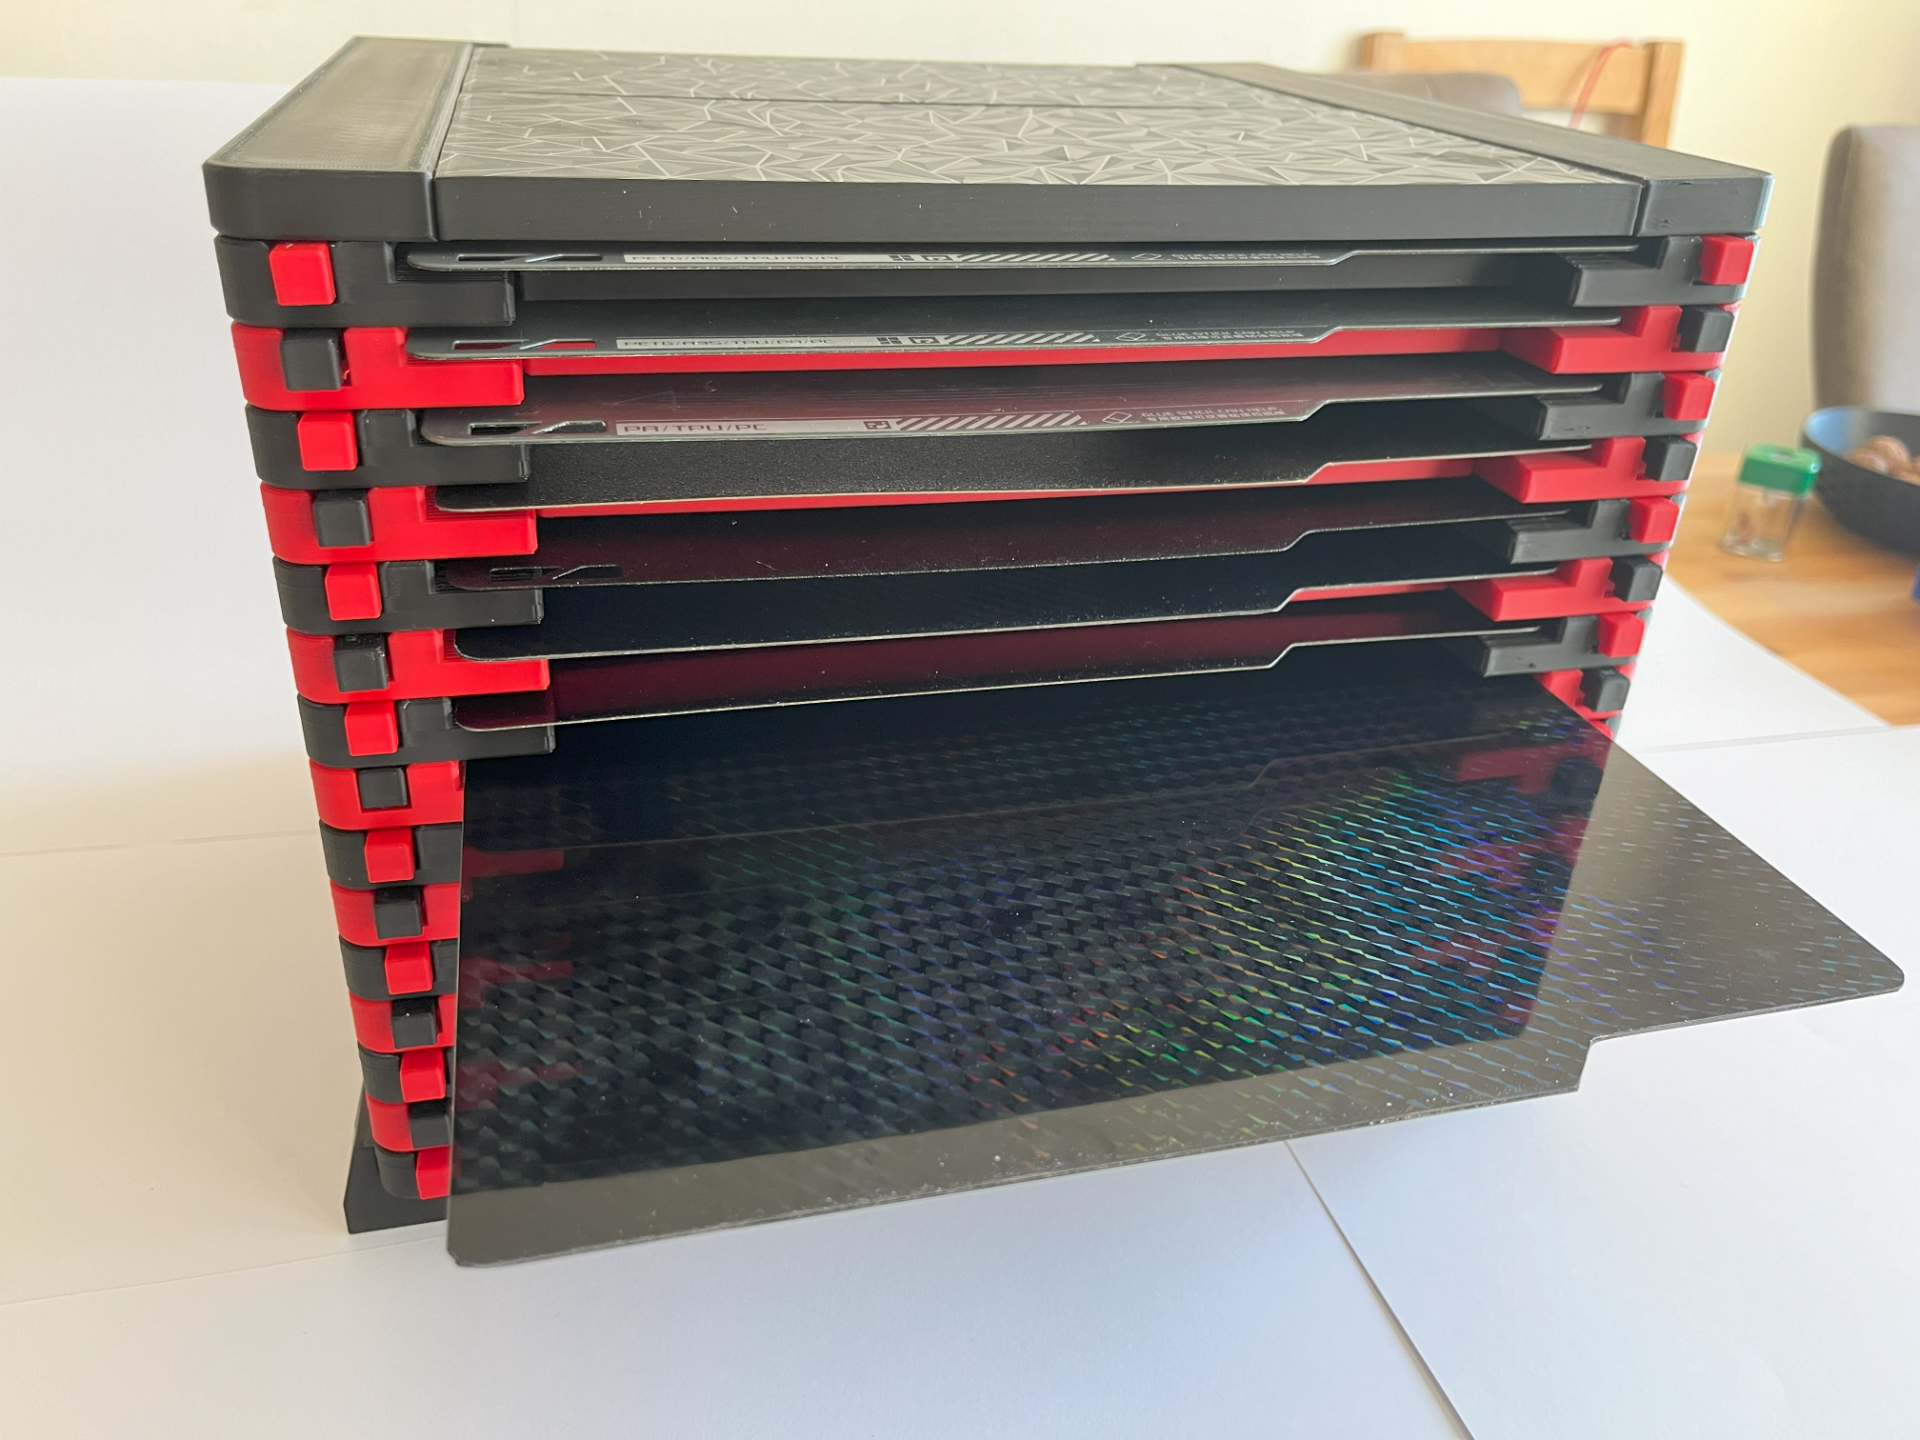
About this 3D model
ENGLISH: Why did I take the MPPC? There were only holders that could accommodate a certain number of printing plates. Over time, I have acquired more plates and disposed of several holders. I wanted to create a printing plate holder that could be expanded and store the plates so that I can easily find the plate I need. INFO: This is the first version “v1” of the MPPC. I ask that you refrain from creating remixes for now, as I plan to integrate a modular Tollbox. Version v2 will be open for remixes, but the foundation of this version will remain intact. This model requires no screws. If you encounter accuracy issues with the trusses, you can adjust a scaling factor for them in the slicer (I recommend using -0.05 steps). I have included a section of the connectors, so to save material, I recommend printing the test connector first to ensure it fits all other components. PRINTSETTINGS: I printed all components using eSUN ABS+ with 3 walls, 3 lids, and 3 bottoms, with a 15% infill, without support or edges. eSUN ABS+ should be printed on the X1C rush bed at 105c to prevent warping. If you print eSUN AB+ with the P1S, you should print a border, as the P1S can only handle a hot bed temperature of 100c. ATTENTION: Set the Infill direction to 90o If you have any suggestions or improvements, please feel free to contact me. DEUTSCH: Warum habe ich den MPPC gemacht? Aktuell gab es nur Halterungen, die eine bestimmte Anzahl an Druck Platten aufnehmen konnten, ich habe nun schon mehrere Halterungen wieder entsorgt, da ich mit der Zeit immer mehr Platten gekauft habe. Hier wollte ich Abhilfe schaffen und mir einen Druckplattenhalterung bauen, die erweiterbar und die Platten so lagert, damit ich schnell die Platte finde die ich benötige. Das ist meine erste Version „v1“ des MPPC ich möchte euch bitten, noch keine Remixes anzufertigen, da ich noch eine modulare Tollbox integrieren möchte. INFO: Dieses Modell kommt ganz ohne Schrauben aus. Wenn Ihr mit der Passgenauigkeit der Traversen Probleme haben solltet, könnt Ihr im Slicer einen Skalierungsfactor bei den Traversen einstellen (ich empfehle mit -0,05 Schritten zu arbeiten). Ich habe dazu einen Ausschnitt der Verbinder mit beigelegt, somit empfehle ich euch, um Material zu sparen, zunächst den Testverbinder zu drucken, wenn der passt Feuer frei für alle anderen Bauteile. Gedruckt habe ich den Tower mit eSUN ABS+ auf dem X1C & P1S dabei, habe ich festgestellt, dass bei meinem P1S die Bauteile geringfügig größer waren, dennoch haben alle Teile von beiden Druckern gepasst. DRUCKPARAMETER: Gedruckt habe ich alle Bauteile mit eSUN ABS+ mit 3x Wände 3x Deckel und 3x Boden 15% Infill ohne Support und ohne Rand. eSUN ABS auf dem X1C Hetzbett auf 105c sonst habt Ihr warping. Wenn Ihr eSUN ABS+ mit dem P1S druckt, solltet Ihr einen Rand mit drucken, da der P1S nur 100c Heitzbett Temperatur kann. ACHTUNG: Bitte den Parameter Richtung der Füllung auf 90o setzen, da die Bauteile um 135o verdreht auf der Druckplatte liegen. ich habe ein weiteres Druckprofil hinzugefügt. Wenn Ihr Anregungen oder Verbesserungsvorschläge habt könnt Ihr mir gern schreiben.