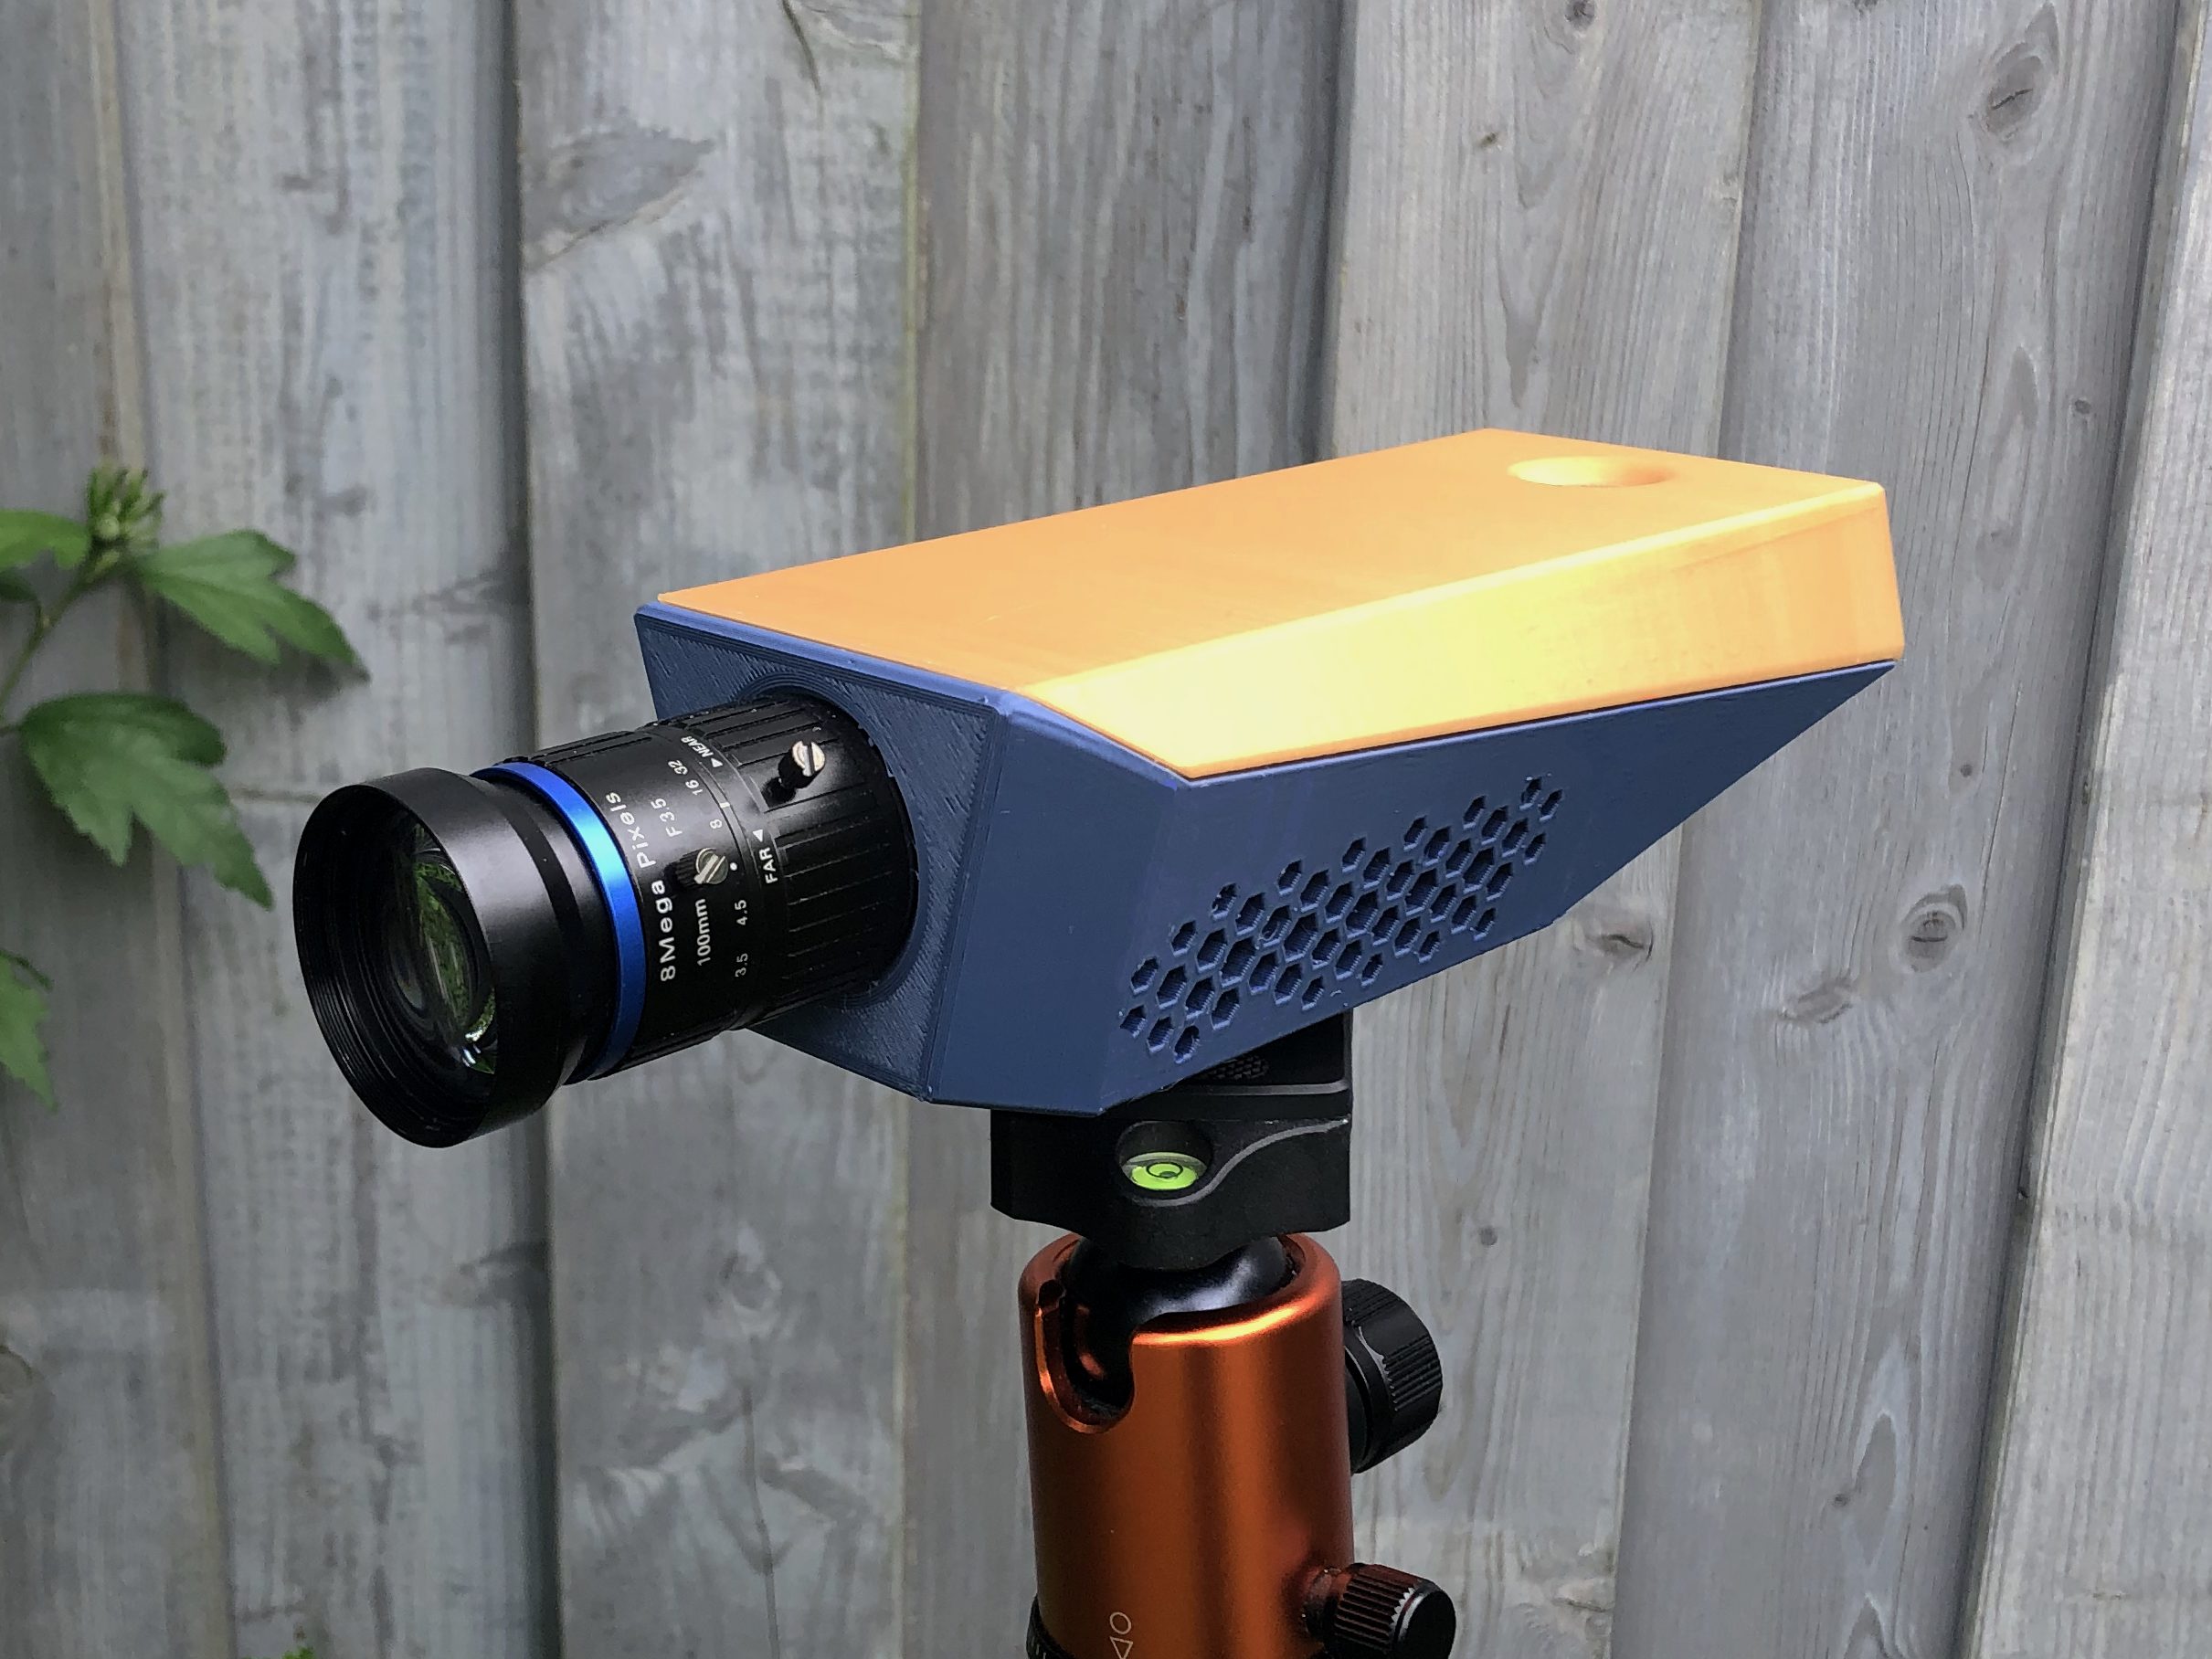
About this 3D model
MATERIAL Raspberry Pi 4b Raspberry HQ Camera C-mount lens. In my case a 100mm telephoto lens . Cooling housing for RPi 4b (total height below 24mm) Anker 2000PD or Anker 325 Powerbank USB-A to -C cable Threaded inserts for tripod mount. I used this one: ¼" x 21,7mm 4x M2,5*10mm screws 4x M2,5*20mm screws SOFTWARE I'm using RPi Cam Control which lets me see the video stream and take photos from my laptop or phone via wifi. PRINT INSTRUCTIONS This model does not require any supports when printed standing upright and is just compact enough to fit into the Prusa Mini's build-volume. I printed it in PLA but other materials should also be fine. ASSEMBLY Melt the insert into the bottom of the “body” part. Follow the instructions for doing so carefully. Attach the HQ camera to the "body" part using the M2,5*10mm screws Put the Raspberry with the cooling housing into the recess. Connect the camera to the raspberry pi with a ribbon cable. Make sure not to damage the ribbon cable. In my case it worked best to lead it underneath the raspberry. Place the power bank inside the compartment above the Raspberry pi. Click in the lid and power the setup via the USB C to USB A cable.