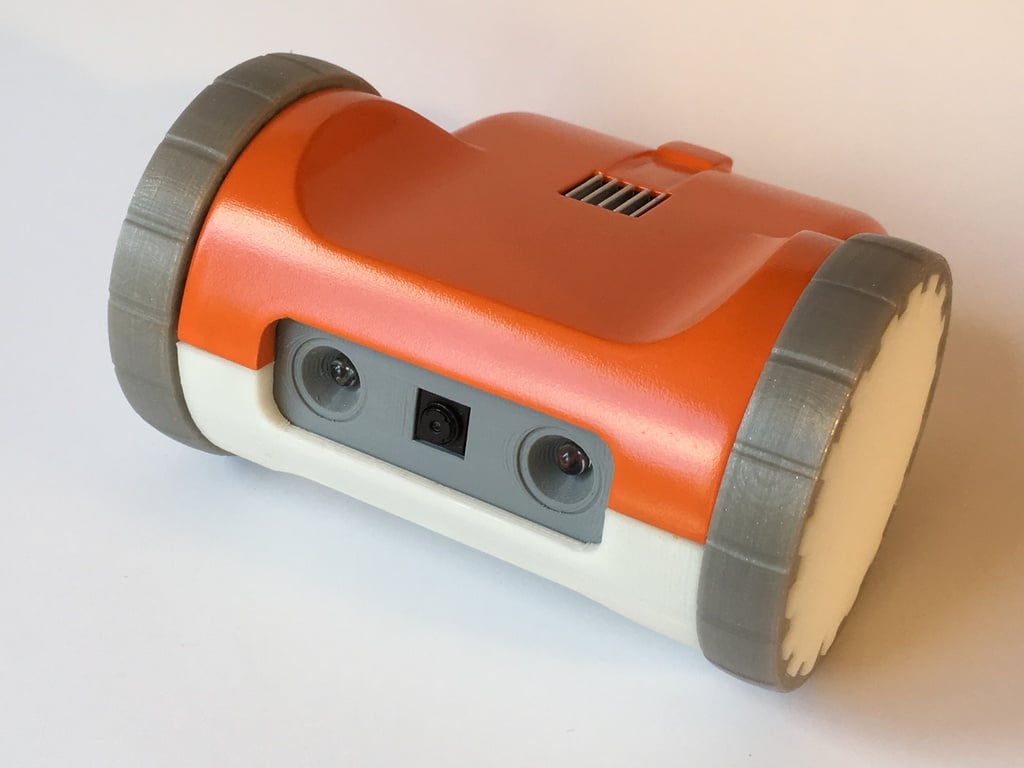
About this 3D model
Summary More info: https://hackaday.io/project/25092-zerobot-raspberry-pi-zero-fpv-robot/log/97988-the-new-zerobot-pro How to get started 2018: https://hackaday.io/project/25092-zerobot-raspberry-pi-zero-fpv-robot/log/156016-how-to-get-started-fall-2018 Video: https://www.youtube.com/watch?v=oSEvLNrP1fQ Raspberry SD card Image: https://drive.google.com/file/d/163jyooQXnsuQmMcEBInR_YCLP5lNt7ZE/view?usp=sharing Fusion 360 CAD Files: http://a360.co/2oQVQwL The ZeroBot Pro is an updated version of the ZeroBot from last year. It includes many new features such as a charging port, more battery capacity, battery voltage sensing, headlights, camera mode, safe shutdown and a new UI. Print Settings Notes: Print the two shells with the inside facing the print bed. You will need to include a lot of support material. Simplify3D works best for this, but Slic3r or Cura with optimized settings should be fine as well. I used support with lower density for the most part and higher density for the last 8 layer up to the part. This saves a lot of filament. The tires should be printed with Ninjaflex or something equivalent to ensure good grip. Everything else can be printed in PLA.