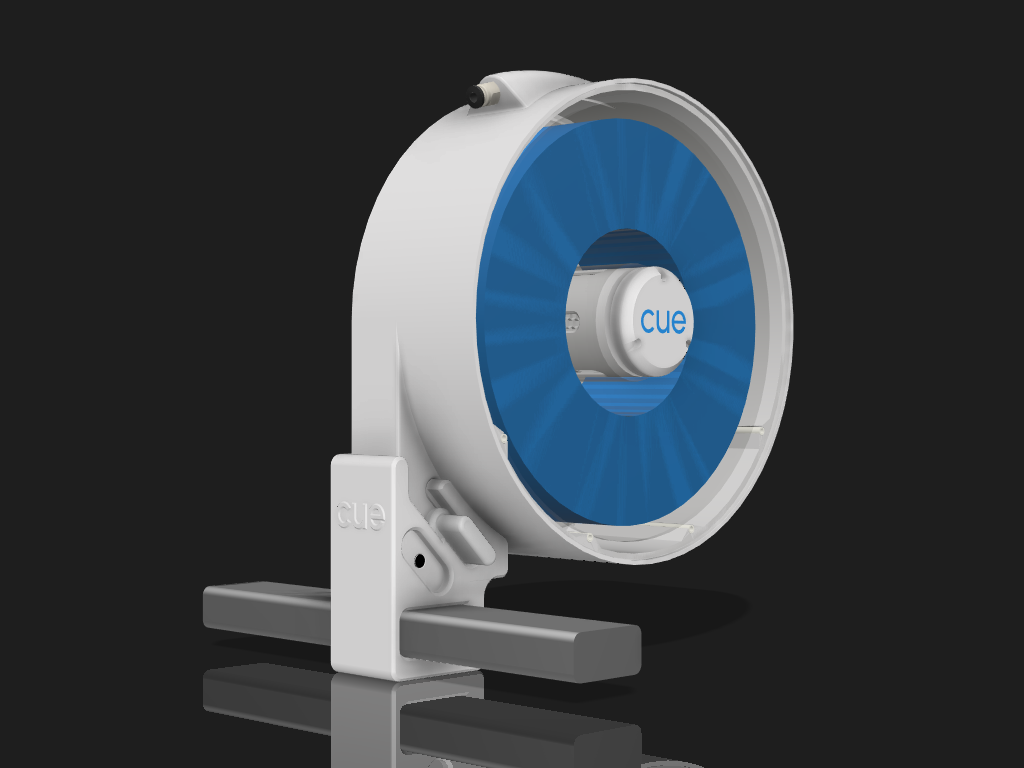
About this 3D model
NOTE: Please read the instruction guide below. I try to make the guide as comprehensive as possible and will fine-tune it along the way with user inputs. I do my best to double-check and test the print profile I create. They are up to date with whatever changes I made to the designs. If you are using profiles made by others, please check if they are updated. UPDATE 06 Mar 2024 Expanding the CUE ecosystem, I have added a bracket for Prusa Mk3/4 and a tabletop bracket (CUE UP) for A1 mini and Prusa Mini. Please choose the correct print profile for the different printers. In addition, I am working with US and EU vendors to provide CUE and also CUE hardware kit (pre-cut acrylic cover, and all the parts in the Bill of Material) . Users can buy CUE read-to-use or print their own and assemble with the hardware as a project. More information on vendors coming soon. INTRODUCTION Living in Singapore, South East Asia, the high humidity makes printing pet-g challenging due to the hygroscopic nature of the material. A spool of pet-g cannot be left in the open for long prints and can result in stringing and print failure. I enjoy printing with Bambu Lab PETG-CF , but it requires a dry box to use on the Bambu Lab A1. So I designed CUE . CUE is an acronym for Cute, Unique, and Enclosed. It is a single-spool passive dry box CU-case that can be slotted into the CU-bracket (mounted on the A1); The CU-case with the filament spool inside can be removed and stored away when not in use. The spool rolls on PTFE tubes for smooth movement. A reusable silica bead cartridge (Dri-Cell) can be easily replaced without the need to open the CU-case. Due to design limitations, CUE will fit spools with the following dimensions. OD 200-201mm ID 52-54mm Thickness ≤ 71mm Spools tested: Bambu Lab spool Polymaker cardboard spool Hatchbox Prusament spool Esun plastic spool FusRock clear plastic spool Creality spool As with all my design process, I set a few parameters and requirements when designing CUE : Easy and lean design to print. Easy to use ( as much as possible) Mounting on the top gantry of the A1 Sturdy and reliable when fully loaded. Secure mounting using screws. Keeps the air within the case dry using reusable silica desiccant. BOM Ø6mmxL3mm magnets 6pcs M3xOD5mmxL4mm (or M3xOD5mmxL3mm) Brass Inserts 6pcs M3x10mm BHCS (or M3x8mm BHCS) 6pcs 3mm Acrylic Cover 1pcs (svg & dxf in zip file) PTFE tube OD4mmID2.5mm 72mm 130mm 4pcs (use the 72mm rig) 1pcs PC4-M10 Pneumatic Coupler 1pcs PRINT GUIDE One set of CUE (plates 1,3,4) uses about 418gm of filament and takes 11h10m The rigs and accessories (plate 6) use 63gm of filament and takes 1h55m The project profile is tuned for Bambu Lab A1 using Bambu Lab PLA Basic filaments . Build Plate 1 & 2 You only need to print either plate 1(dual colour) or plate 2 (single colour). The time taken to print single or dual colour is about the same as there are only 3 layer changes. I prepare 2 sets of Dri-Cell to be printed because it's always good to keep a spare set. Build Plate 3 This is the CU-case for the filament spool. Support is needed. Print time is about 7h30m and uses 288gm of filament using my print profile. Build Plate 4 Consist of the cu-bracket for A1 (or Prusa Mk3/4 if you are the 3mf for Mk3/4) Build Plate 5 Consists of the stl for CUE UP, a tabletop stand for A1 mini and Prusa mini. Build Plate 6 Consist of: 2 sets of ptfe tube covers and connectors. 72mm rig to cut the ptfe rollers. You will need 4 pcs per CU-case Cu-case magnet installation rig. INSTALLATION GUIDE Before installation, remove the support structures on the CU-case. You will also need to get the acrylic cover cut to size: the OD=215.6mm and ID=32mm. I have included the dxf and svg in a zip file under the RAW Model Files section. Install the Ø6mmxL3mm magnets into the CU-key and CU-bracket. Ensure the polarity is right so that both parts snap together. Install the M3xOD5mmXL4mm brass inserts into the CU-bracket. Slot the CU-bracket onto the top aluminium gantry of the A1, roughly at the centre. Do not install the CU-bracket at the edge of the top gantry. This is because it will knock against the x-axis gantry. You need a minimum of 35mm gap. Use the M3x10mm screws to secure the CU-bracket with the CU-bracket cover. 1 2 Install the M3xOD5mmXL4mm brass inserts into the Dri-Cell. Use the M3x10mm screws to secure the grill cover to the Dri-Cell when in use. Insert Dri-Cell into CU-case to check fitting. If fitting is an issue, you will need to reprint the grill cover with more elephant-foot compensation (0.18mm) If the fitting is good, press fit 2 Ø6mmxL3mm magnets into the Dri-cell. Please ensure the polarity of the magnets is in the same direction. (VERY IMPORTANT). The holes are supposed to be tight (Ø6.1mm) , I use a mallet to tap them in. The Dri-Cell holds up to 60 grams of silica desiccant which for me can last around 3 weeks. 1 2 3 4 Insert the CU-case into the CU-case magnet rig Place the setup on a solid table to press