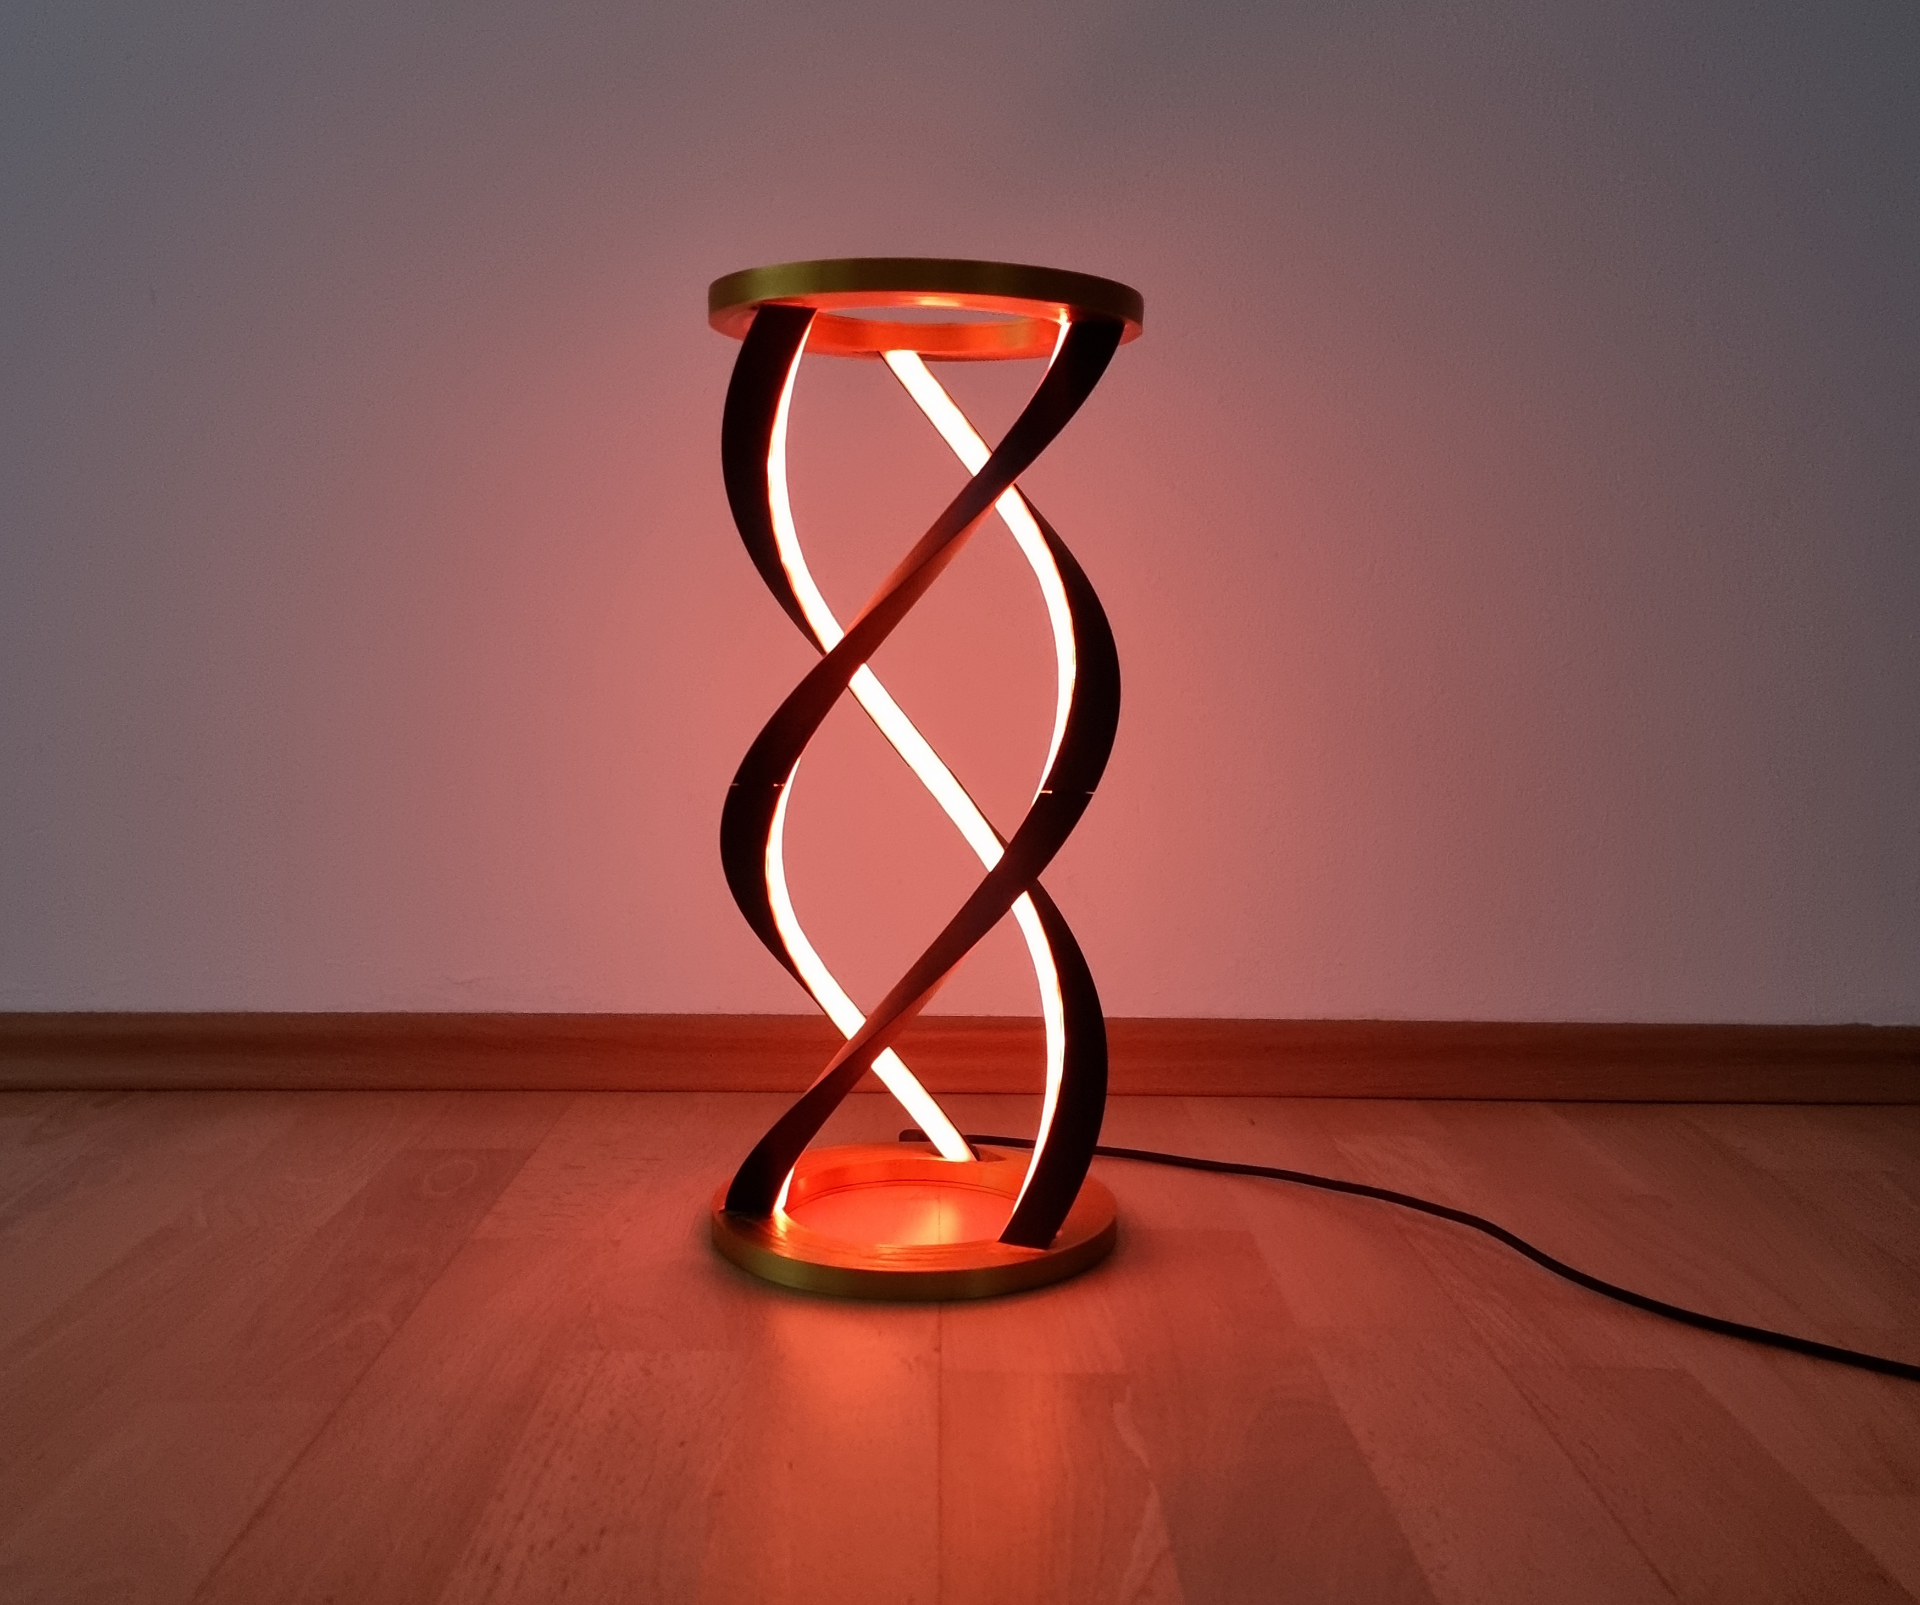
About this 3D model
Also visit BIG Spiral Lamp V2 [WLED] less filament reduced printtime easier assembly WLED video tutorial You can find the battery upgrade (V1 only!) here Description: Hi guys, finally → it's done :) You need some hardware: 1x USB-C plug board with charger capability (if you want to use the battery addon skip that part as I replaced it. see the other project for more details) https://www.amazon.de/gp/product/B07XG5F9T3/ref=ppx_yo_dt_b_asin_title_o00_s00?ie=UTF8&psc=1 1x Arduino Mini https://www.amazon.de/AZDelivery-PRO-MINI-ATmega328-16MHz/dp/B07RY894D5/ref=sr_1_3?keywords=arduino%2Bmini&qid=1704537139&sr=8-3&th=1 Arduino flasher: https://www.amazon.de/gp/product/B01N9RZK6I/ref=ppx_yo_dt_b_search_asin_title?ie=UTF8&th=1 1.5m ws2812b LEDs (3x30 LEDs or 3x50cm stripes) https://www.amazon.de/dp/B0BTVBTHQ5?psc=1&ref=ppx_yo2ov_dt_b_product_details Jumper Cables https://www.amazon.de/gp/product/B01EV70C78/ref=ppx_yo_dt_b_search_asin_title?ie=UTF8&psc=1 The filament I used: Bambu black: https://eu.store.bambulab.com/de/products/pla-matte-filament?variant=43992833261787 Bambu gold: https://eu.store.bambulab.com/de/products/pla-silk?variant=46636020531548 Bambu white: https://eu.store.bambulab.com/de/products/pla-matte-filament?variant=43992833229019 Initially I wanted to print the diffusors with transparent PETG. I used an older spool. It worked like a charm but I got out of filament as I had some failed prints (you should really use my print profile as otherwise your prints might fail! These profiles work 100%) Instructions: Preparations: Print everything with 100% speed. Do NOT use other modes than normal mode! Cut the LEDs (3 stripes) If you are not using the 60LEDs per meter stripe measure the length → just insert the stripe into the lamp. The leds should end within the lamps body on both sides this way (you just see a small edge of the stripe): Flash the Arduino: Count the overall LEDs Edit my source code (see documentation → download, remove “.txt” and open in the Arduino IDE) with that number Flash it (see the end of the description → ATTENTION: on Windows 11 do NOT use ArduinoIDE 2.X → there seems to be a problem with the flasher. Use the old ArduinoIDE 1.X instead!! ) Cut the cables in the half, strip the insulation and solder everything ( if you want to use the battery mod flash the code from the other project as you would need to unsolder two cables in order to connect the flasher again ): Stripes → 3 * 3 Cables → use the male plug for the output and the females for the input (see flow) USB-C → 2 Cables → use the male plugs for the output Arduino → 5 Cables → use 2 females for AC and 3 males for power out & data lane for the stripes NOW CONNECT EVERYTHING AND CHECK WHETHER YOUR SOLDER-POINTS ARE OK! Assembly: Now just follow my pictures. I will add text to the passages where you need extra information. Insert the stripes to the bottom of the lamp (where the boards are places). Start with the first stripe. It needs the female plugs at the lamps bottom. Then insert the second stripe the other way round. Then insert the third stripe (the same way as the first one). Insert the small diffusor. You may need to push the LEDs a bit. Be careful to not move the hole stripe! It should never change its position on the bottom. Pay attention to this the whole time! Now add the big duffusors. Lay the top of the lamp next to the assembled bottom and insert the stripes. Add the remaining small diffusors. Move the small diffusors and the stripes step by step until you can also insert the big diffusors. Move the stripe, big & small diffusor step by step. Pay attention that the stripe only moves within the top. It should never change it's position on the bottom part! Pay attention to the cables and move them trough the holes as soon as you reach them. Finally you are done with the assembly :) Now connect all the cables (follow the LEDs in the spiral if you are confused). Plug the USB-C to the power and check whether everything is still working. Glue the boards if necessary. You may also have to tape the cables. Then add the lids. You are done and now own a f*cking cool spiral lamp :) (by the way.. can you guess the movie ;)) Have fun with it! BR, B@sti Postscript - How to flash the Arduino First of all you need to download the IDE. DO NOT USE THE 2.X Version as there seems to be a problem with the flasher (this once cost me a weekend for nothing..). You can download the IDE here → Legacy IDE (1.8.X) - Windows as ZIP . If you have another OS than Windows then just navigate to this page , scroll to Legacy IDE and choose the right package. Extract / Install the software Open the Software Install the Neopixel library → Sketch → Include Library → Manage Libraries → search for Adafruit NeoPixel (by the times of writing the Version is 1.12.0) → Install Download my INO-File from the documentation. Delete the .txt ending and the auto added UUID. The file should end with *.ino and should be in a folder with the same name (without the