About this 3D model
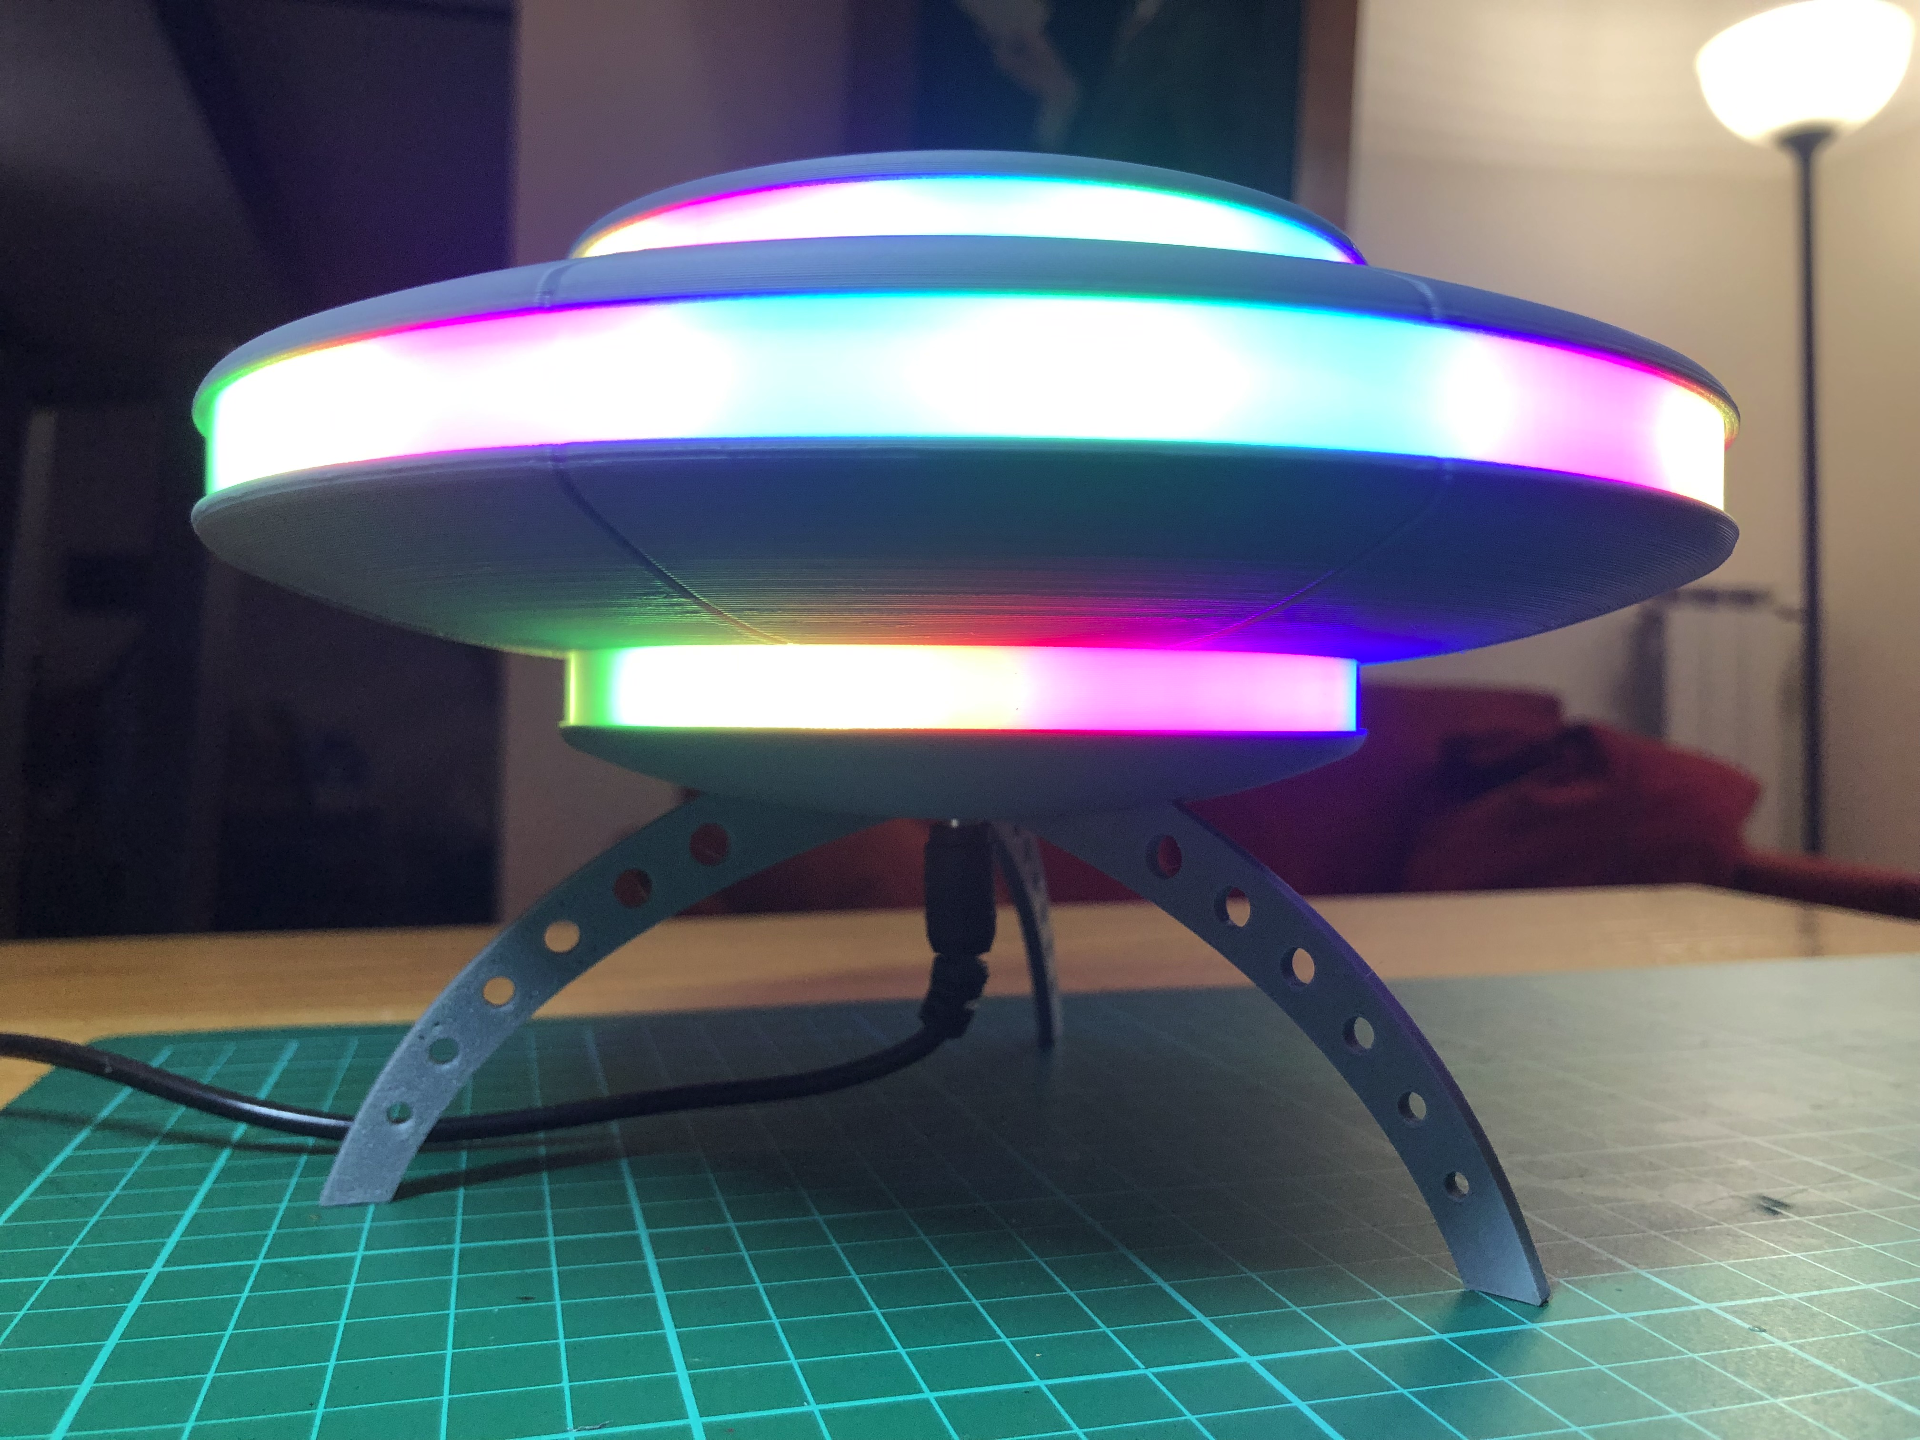
UFO LED Desk Lamp UFO-styled desk lamp using WS2812B LEDs and an ESP32 controller running WLED YOU'LL NEED: 1mt WS2812B LED strip ESP32 or other controller* Optional microphone (like MAX4466 or MAX9814) for audioreactive version 5v DC Power supply or USB cable** Electrical wires and soldering equipment * As long as it fits in the UFO of course. I used an ESP32 with WLED so the instructions will be for that, but you could use for instance an Arduino Nano running FastLED… ** It's not advisable to power the LEDs directly from the board. If using a USB cable strip the end and connect it to the LED strip power “in” wires. Don't forget to set the Max Current in WLED Config/LED Preferences to 500mA if using a USB2.0 cable or 900mA if using USB3.0! SUGGESTED PRINT SETTINGS: SAUCER Variable Layer Height (Adaptive, Smooth) Wall loops: 3 Sparse infill pattern: Octagram Spiral Sparse infill density: 8% Top surface pattern: Archimedean Spiral Add a Modifier Cylinder, centered, size 130x130x30mm with Top surface pattern: Concentric If a Modifier cannot be added, use Top surface pattern: Concentric for the whole model TOP & BOTTOM Variable Layer Height (Adaptive, Smooth) Wall loops: 3 Sparse infill pattern: Octagram Spiral Sparse infill density: 8% Top surface pattern: Archimedean Spiral RINGS & DIFFUSERS Use Outer and Inner Brim Wall loops: 3 Top surface pattern: Concentric LEGS Wall loops: 3 Ironing: Topmost surface Top surface pattern: Monotonic Top shell layers: 5 Bottom shell layers: 5 Sparse infill pattern: Honeycomb POST-PROCESSING: The rings and diffusers may need some deburring where the brim was, and the grooves for the ring locks in the top/bottom saucer and top/bottom will need some clean-up in (there will be some delamination due to bridging, removing the loose strands will ensure better rotation of the locks and will not have any structural and/or cosmetic impact). PREPARE THE LED STRIP: Cut the LED strip into one 50cm and two 25cm segments (the 25cm strips should be the ones with “in” and “out” connectors, i.e.: in<-->25cm<-->50cm<-->25cm<-->out). Connect the segments together with 10-15cm wires in this order: 25cm strip with “in” connectors -> 50cm strip -> 25cm strip with “out” connectors (these can be cut off): LED strip cut in 25-50-25cm segments and wired together You can use a USB cable to power the strip, but will have less Amps available (dimmer LEDs) NOTE: 144 LEDs/meter will give the best effect but the connection pads are very small and hard to solder on, and have to be cut very precisely. 100 LEDs/meter will be a bit sparser but easier to work with. Connect the ESP32 to the LED strip ( here's a wiring diagram --it's for a LED matrix but the connections are the same) Connect the ESP32 to your PC via USB to install and setup WLED ( https://install.wled.me/ --it won't work on Firefox use Chrome instead) (for more info on WLED: https://kno.wled.ge/) In WLED, go to Config/LED Preferences and set the appropriate Maximum PSU Current for your power supply. Setup the LED type and lenght of the strip with these settings (change the # of LED to 144 or 100 or however many LEDs are in the strips). In WLED, create 3 segments, so you can apply different effects to the top, bottom and middle LEDs: for 144 LEDs/m strip: Segment 0: start LED 0 - stop LED 36 (bottom segment) Segment 1: start LED 36 - stop LED 108 (middle segment) Segment 2: start LED 108 - stop LED 144 (top segment) for 100 LEDs/m strip: Segment 0: start LED 0 - stop LED 25 Segment 1: start LED 25 - stop LED 75 Segment 2: start LED 75 - stop LED 100 If you're using a microphone, set it up in WLED/Config/Usermods with these settings (for MAX4466 or MAX9814 mics). Now it's a good time to check that everything's working as it should :) ASSEMBLY: Assemble the top & bottom saucers with the middle ring finding the correct position to line up the grooves. Put in the top & bottom rings so that the holes in the rings for passing the wires line up: Remove the top saucer for now. Wrap the middle (50cm) segment around the middle ring: Put the middle diffuser in and lock the top and bottom saucers around the middle ring: Wrap the "end" 25cm strip around the top ring: Put the top diffuser and screw the top in: Wrap the “start” 25cm strip around the bottom ring: Connect the ESP32 and the power cable or barreljack to the LEDs (pass the cable through the bottom hole or insert the barreljack in it): Put the bottom diffuser in place, lock the bottom in, and insert the legs: My other LED projects: https://makerworld.com/en/u/3965042544/collections/101475