About this 3D model
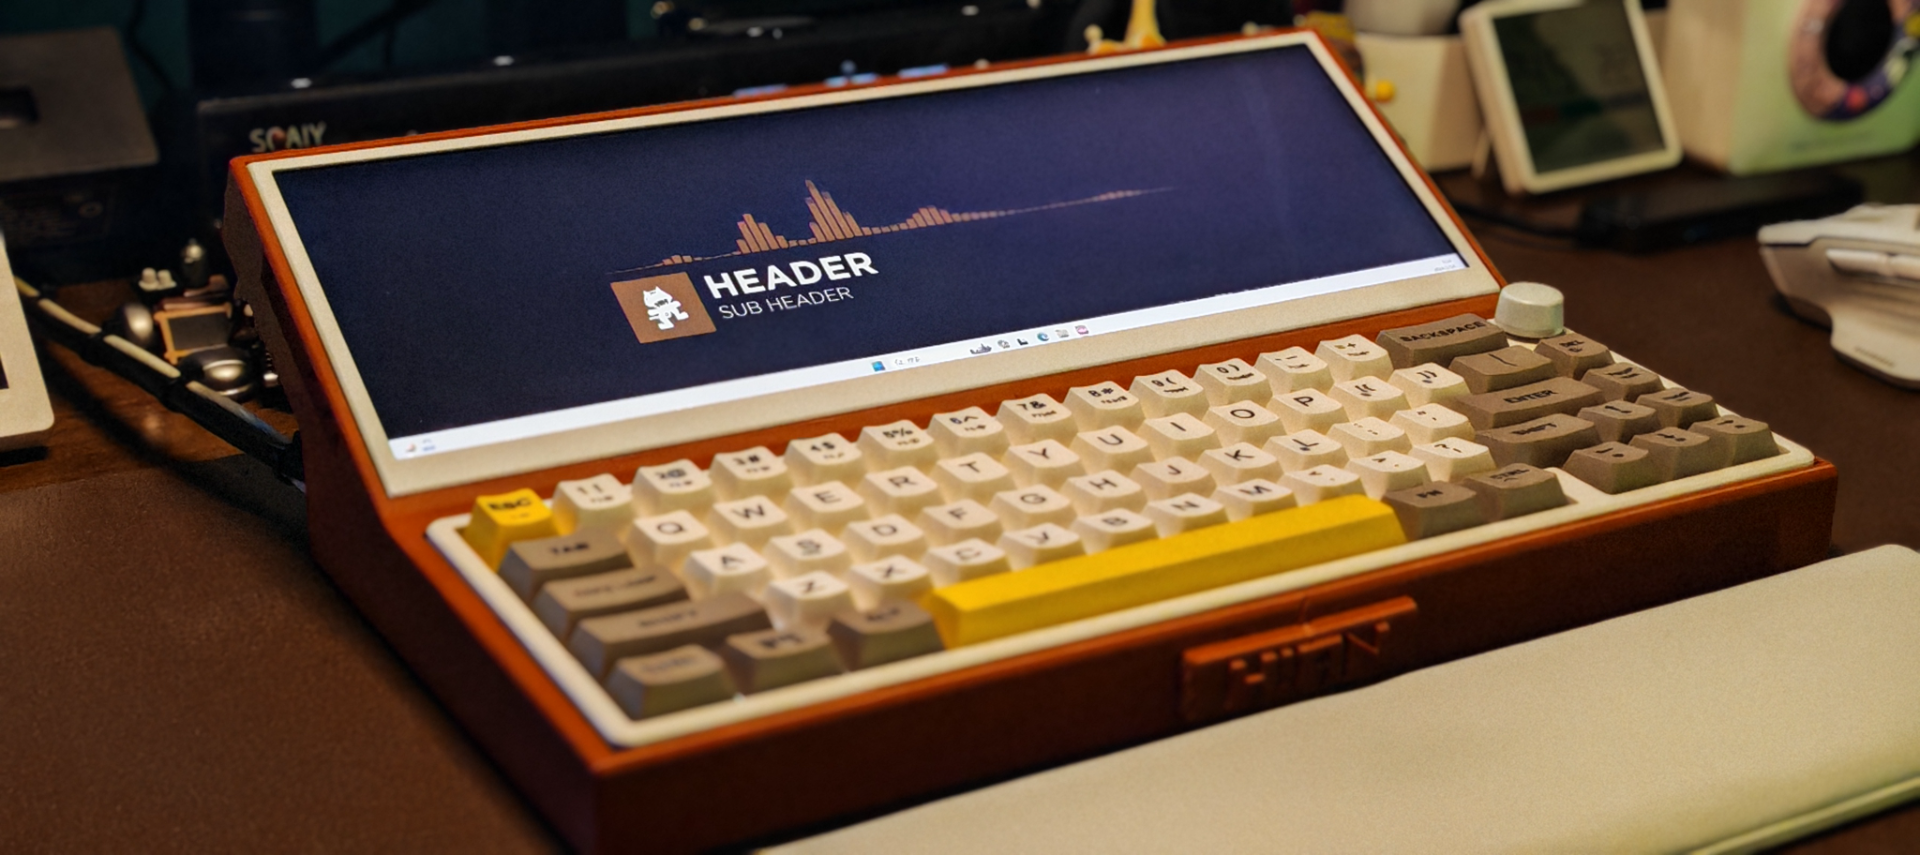
DIY mechanical keyboard with a screen I found a 12.7-inch screen online, with a resolution of 2880 by 864, a long display. Then I found a mechanical keyboard with 66 keys and volume adjustment function, the size is just right. Then it’s time for 3D modeling. At first, I wanted to make an all-in-one keyboard, but later, considering the warranty issues, we decided to split it. If the screen or the keyboard breaks, the warranty would be affected. Also, what if I regret it one day, or the usage environment changes and I need to use them separately? That would be a big problem. So, I decided to assemble them without damaging any device. First, refer to the picture, the layout is the keyboard at the bottom and the screen at the top, but he designed a flat one. We can’t do that, since we have to look down at the screen all the time, and that would definitely cause neck pain. So, we need a screen with an angle. I tried a few angles, like 20 degrees, 30 degrees, and 45 degrees. The best viewing angle should be 45 degrees, but with a 45-degree angle, the screen is too high and blocks the view, and it looks bulky. Finally, I chose 30 degrees, which is a compromise. It feels comfortable to look at and doesn’t block the view, and it doesn’t affect our viewing experience too much (the impact of angle). I’ll skip the modeling part. To avoid damaging the screen, I created a rectangular opening on the left side to expose the function area. On the right side, I used a bent connector to connect the protruding HDMI and Type C ports, so the cables can be connected from the base to ensure aesthetics. The back has heat dissipation holes and a retractable cover. In the middle of the base and the display heat dissipation plate, I added two squares to create a dovetail joint. The front connection cannot be hidden because the keyboard needs to be placed inside. So I made a logo in the front, making the logo part thicker, allowing for the mortise and tenon structure. There are three mortise and tenon structures in total, which makes it easy to assemble and doesn’t require other parts. Finally, I rounded the edges of the outer frame to prevent the sharp corners from scratching people during use. I didn’t integrate the wires because I saw some people using DP cables with power supply online, which can be directly connected to a portable screen, with only a Type-C port, which can also solve the keyboard power supply problem. But it’s too expensive. The cheapest one costs 200, so I gave up. I can’t see him, and he can’t see me. I don’t want to think about it anymore. After the DIY keyboard is connected, the settings are quite simple. Right-click the mouse, open the display settings, and in the screen section, drag the DIY display below the main display, confirm it, and then the mouse can naturally slide down from the first display to the second display. If you have wallpaper software like Wallpaper, you can set the wallpaper separately. We can set an interactive wallpaper for the secondary display, such as when the display plays sound, it can display a wave-shaped bar, which will fluctuate with the sound. When you need to use the display, simply drag the window to your secondary display. I will upload the STL file to the modeling platform for everyone to download. If you have any questions or suggestions, please feel free to message me. It took me 9 hours to complete the printing.