About this 3D model
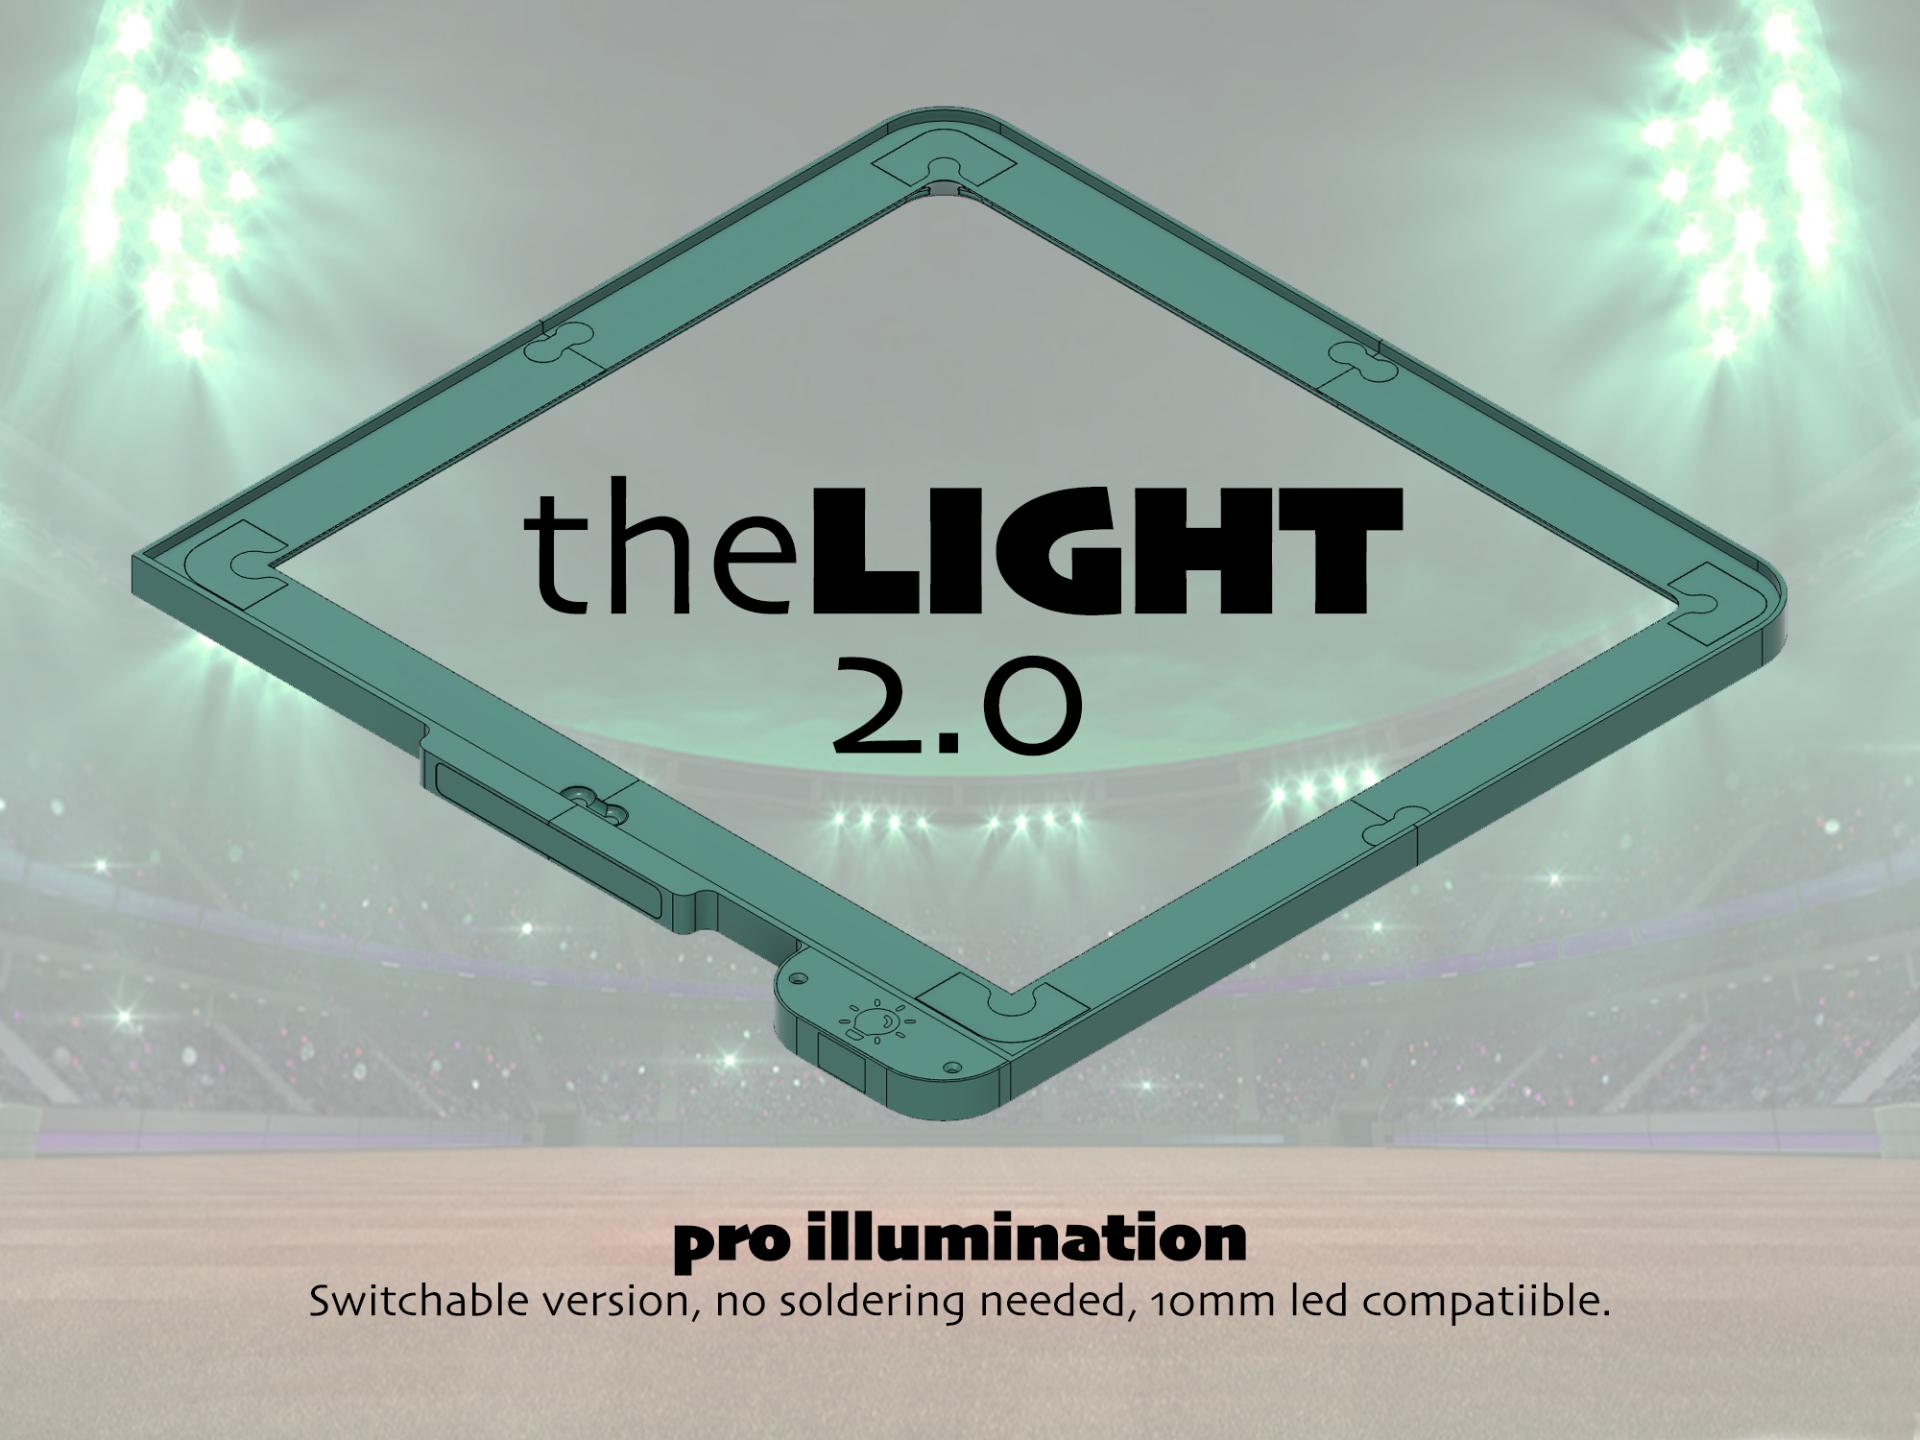
Hello everyone, despite the great success that theLIGHT has had, many people have contacted me asking for various changes. I decided to create and publish an upgrade that can satisfy everyone. The main improvements compared to the first version are the following: it is no longer necessary to cut the LED strip or use the soldering iron; you can also use the 10mm LED strip; you can easily use an external power source (for X1C); the light can finally be turned off with a button; the system is super modular so you can create many setups depending on your needs (4 examples in the images). All this works was done while keeping the great vantages of the first version: lighting with perfect inclination; light and invisible riser; stable construction; the riser mustn't cause vibrations; professional look; allow the extruder to work at its best. Disclaimer 1: you need to have a supporting filament for this project! Disclaimer 2: the front right part was designed to insert a switch like the one you will find at this link: https://www.amazon.it/dp/B08CY41YT5?psc=1&ref=ppx_yo2ov_dt_b_product_details If you want to use a switch as you desire, you can choose the customizable profile or download the "1C" file from the STLs and modify it as you wish. I wanna give you also the link of the EVA pad and of the LED used. Eva pad: https://www.amazon.it/dp/B0C98FWSPD?psc=1&ref=ppx_yo2ov_dt_b_product_details Strip Led: https://www.amazon.it/dp/B09LYDCVNZ?psc=1&ref=ppx_yo2ov_dt_b_product_details Also remember: the pieces are large, to avoid warping be careful to keep the auxiliary fan off. Now I wanna give you a fast guide to assemble the riser (I use it with "setup A" powered by the USB port and connected to the switch.): once you've printed everything and divided the LED from the usb cable you could mount the frame making sure to put the shortest pin at the front. I fixed the entire assembly with drops of epoxy glue. connect the USB to the printer and let it come out of the hole on the top of your Bambu making sure you have enough wire as in the photo pass the LED strip cable through the appropriate hole proceed to slide the entire strip into the appropriate channels. In this version it will not be necessary to cut it and you can tackle the corners like this: the result you should have before pasting should be this: at this point I tested the absorption of the LED because the printer can power a maximum of 1.5 Ah in 5V: if everything is ok you can proceed to put the connectors on the positive poles of the USB power supply and the LED strip. These connectors will connect to the switch. now you can close the caps and apply the EVA adhesive you will have a result like this: now all you have to do is position the raiser above the printer and connect the positive poles to the switch and connect the GND cables (for this I used a quick release clamp so that I can remove everything quickly in case of need): close the cover with two m3x8 screws and here is the final result!