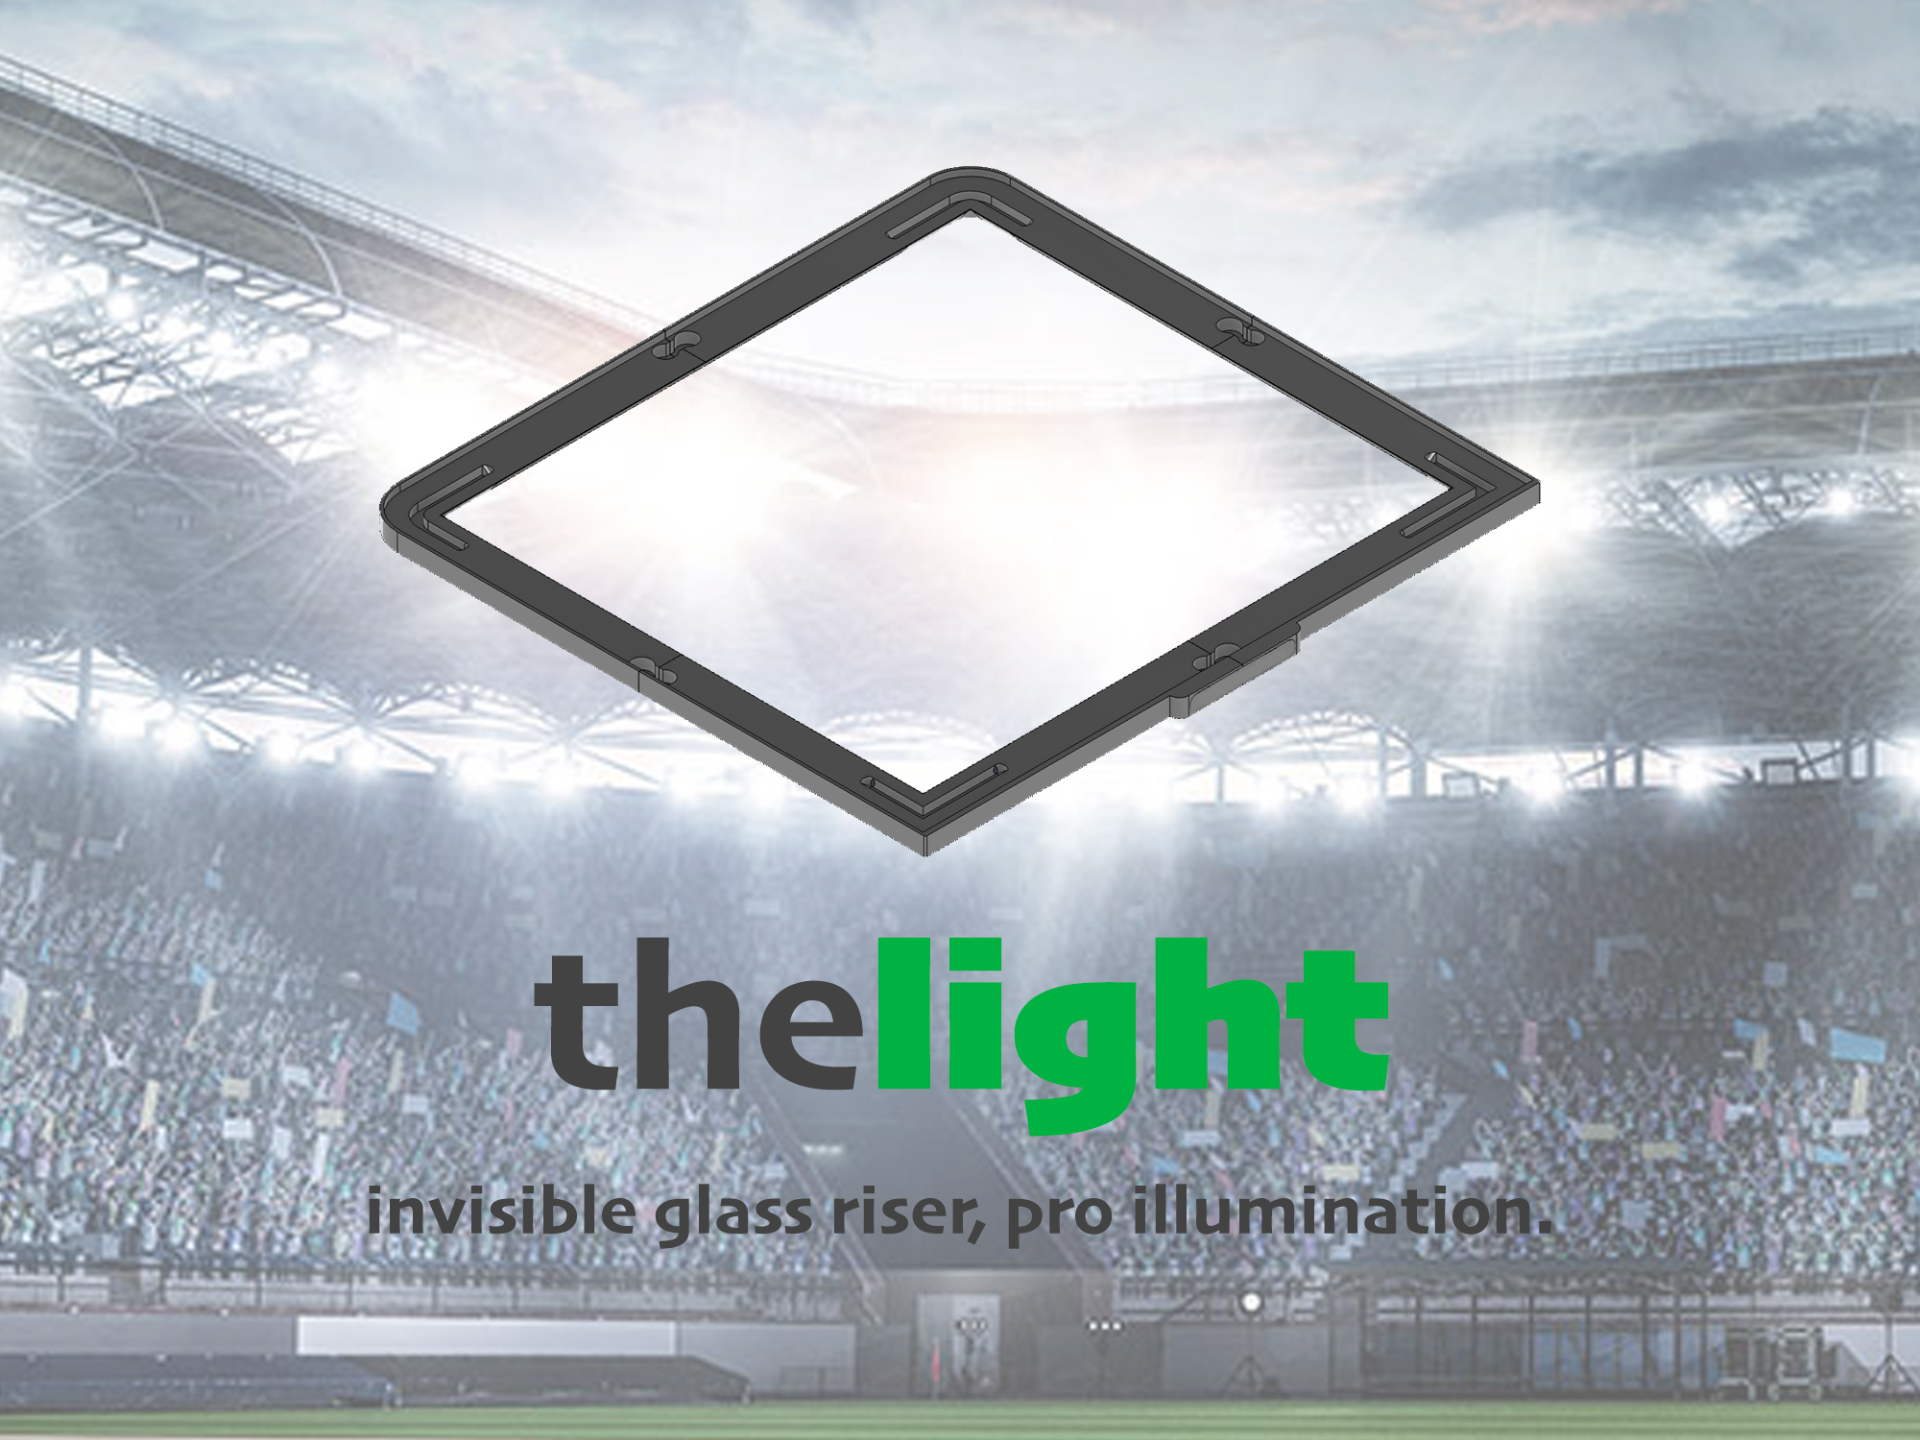
About this 3D model
an update of this object has been published: https://makerworld.com/en/models/152071 Hello everyone, I was looking for more light for my printer but the upgrades I found in MakerWorld always had something that didn't convince me. So I decided to design mine according to my needs. lighting with perfect inclination; light and invisible riser stable construction the riser mustn't cause vibrations professional look allow the extruder to work at its best Disclaimer: the project was designed for the P1S printer which has a usb port on the front. If you have an X1C you can still print this project: in the STL files you will find a part of the frame perforated towards the outside which will allow you to power the LEDs with any external source (BackRight HOLED, print this instead of the simple BackRight)! Before starting with the project there are 2 important things you need to get for a perfect result (Slide 3): Led strip 8mm thick. I've used this: https://www.amazon.it/dp/B0B24NL224?ref=ppx_yo2ov_dt_b_product_details&th=1 1mm Eva Pad. I had this: https://www.amazon.it/dp/B0C98FWSPD?psc=1&ref=ppx_yo2ov_dt_b_product_details Also remember: the pieces are large, to avoid warping be careful to keep the auxiliary fan off. Now I wanna give you a fast guide to assemble the riser: once you've printed everything and divided the LED into 4 parts of 23,75 cm you will find yourself with these materials: mount the frame making sure to put the shortest pin at the front. I fixed the entire assembly with drops of epoxy glue. insert the USB connector wire leaving between 19 and 20 cm outside. Pass it until you reach the first LED you will have to solder (the right one) now you can connect all the other LEDs until you obtain this result: fit all the wires into the appropriate holes: now you can cut some EVA strips and glue them both at the bottom and at the top to close the holes. I cut 23mm strips for the top and 15mm for the bottom. The result was truly awesome! it's time to connect the riser! what a light!