About this 3D model
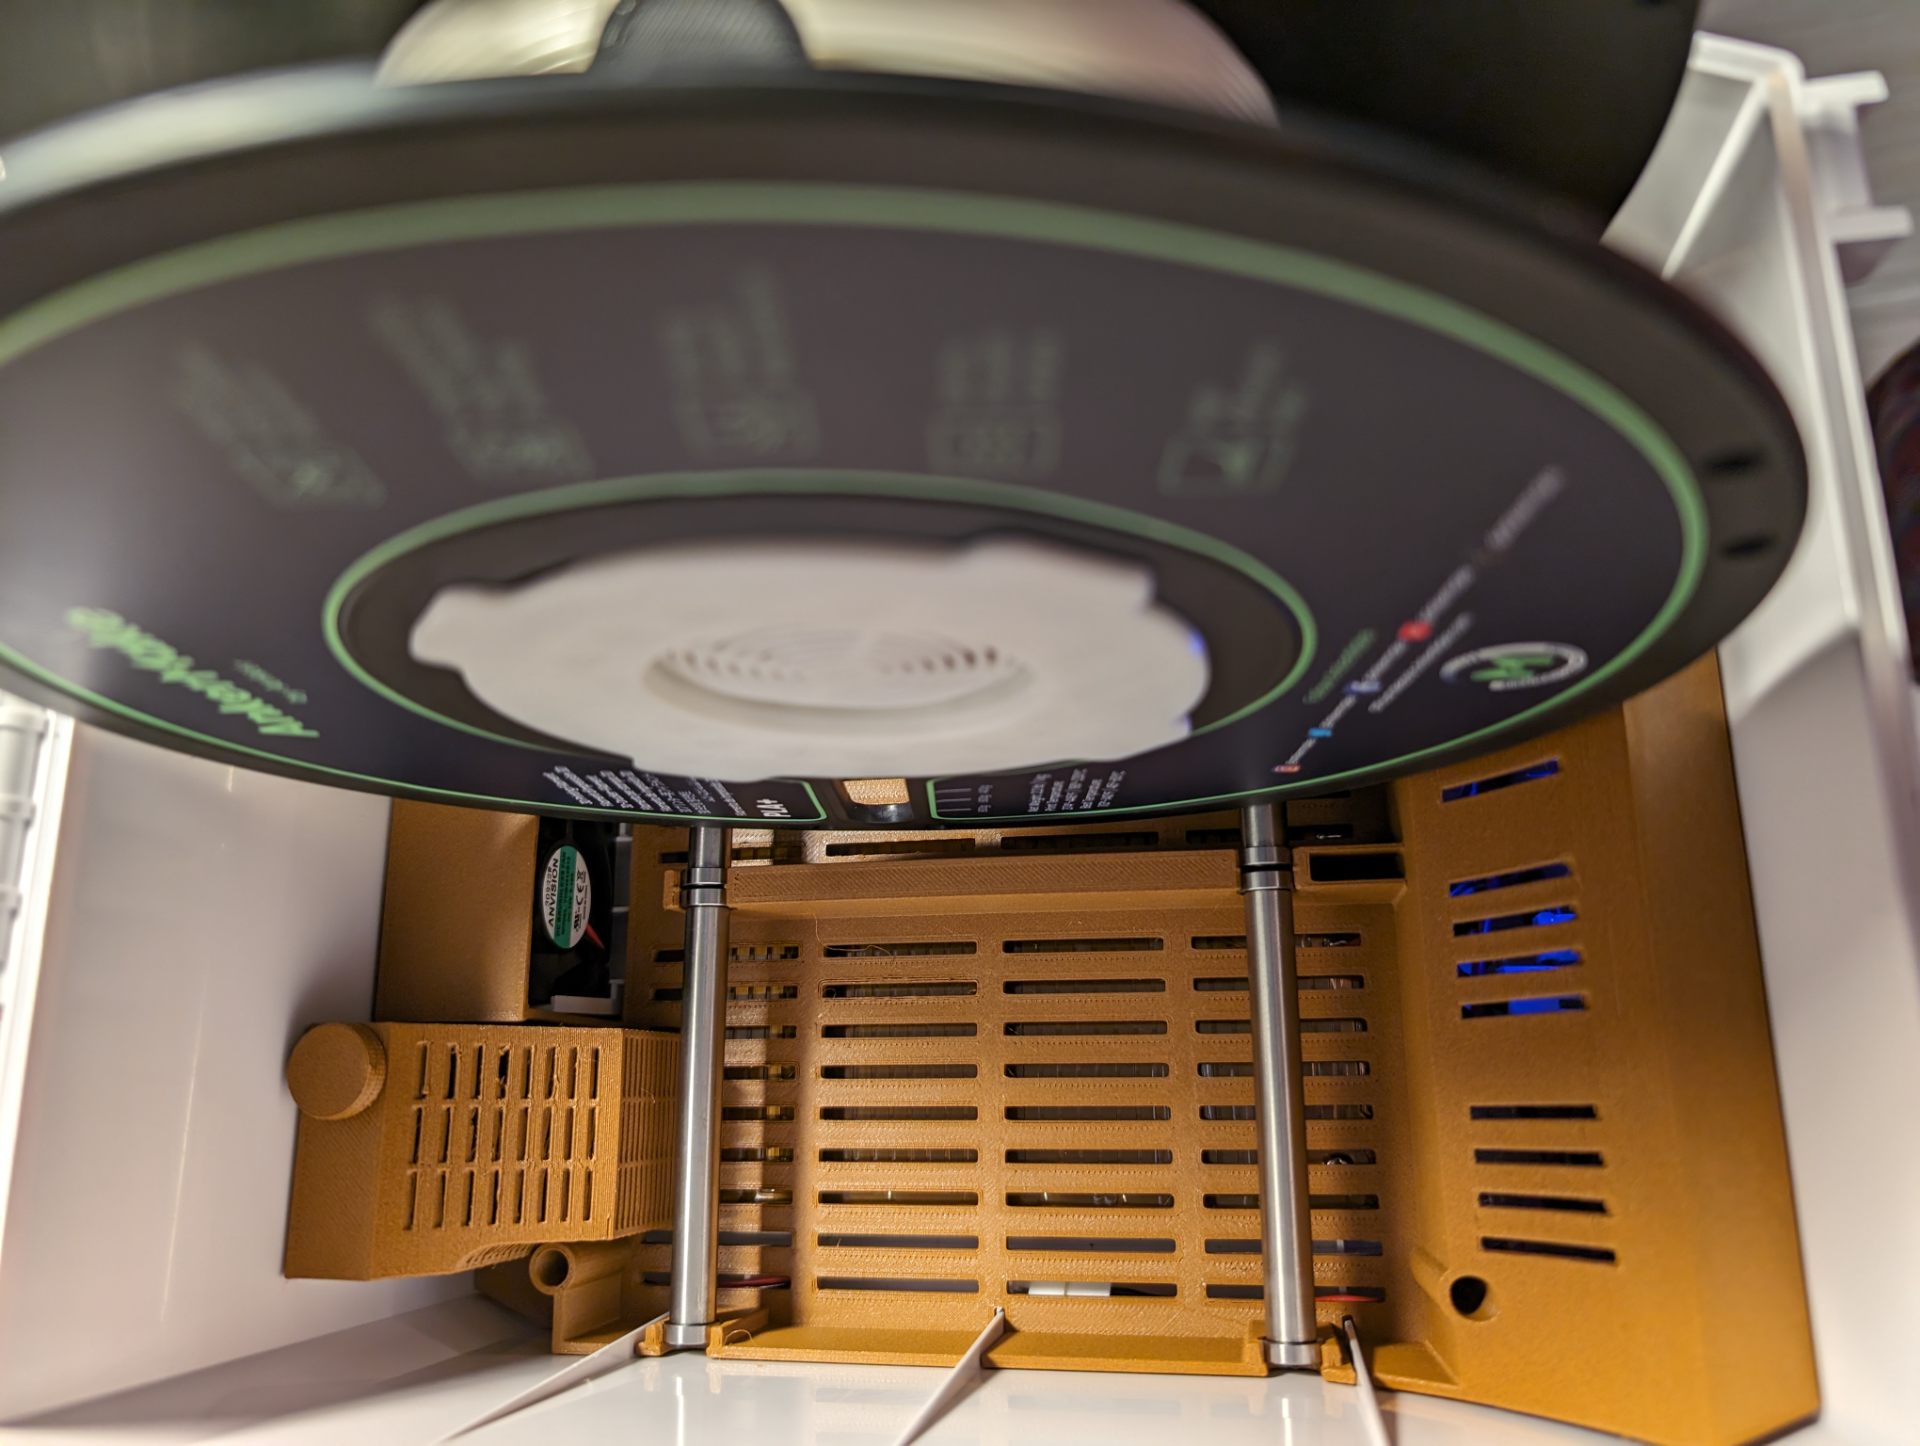
Some custom parts and other mods for the SOVOL SH01 filament dryer (also badged under the brand Comgrow). I noticed there was a decent cavity towards the back of the box that's blocked off and designed this alternative insert to make that space available for desiccant. Custom Parts Custom insert with space for more desiccant Desiccant box Closable vent hole cover Other Mods Replacement Fan Independent temperature and humidity sensor Thermistor upgrade (improved accuracy) Additional vent holes / PTFE tube through-holes Tools & Parts Deburring tool - I bought mine from Aliexpress. If you don't want to wait, here's one I found on Amazon . 41mm hole saw - This is the one I bought on Amazon . 4010 12V fan - I bought this Anvision one from Amazon . JST 2-pin connector (optional) - Here's a kit I found on Amazon . 100 K Ohm thermistor - I used this Comgrow thermistor on Amazon . Notes Opening for desiccant box is a little small and difficult to work with. I might try moving it to the side of the container instead. Vent hole cover fit could be improved. Please let me know how it's working for you and if you have any ideas. I plan to drill some additional holes and add grommets but haven't had time to get it done yet. Disassembly Most of the things here will require you to first remove the stock insert. Unplug the dryer from power. Unscrew the four screws holding down the insert. Carefully lift the insert straight up out of the box. Custom Insert My main goal with the custom insert was to open up some of the space in the back of the box that is blocked by the stock insert. There is a bunch of space there to place desiccant packs. Alternatively, you can use the desiccant box I designed to fit in that spot. Layer Height: 0.2mm Supports: Optional break-away, read discussion Material: PETG (or High-Temperature PLA) Infill: 20%, Cubic The fan shroud has a part with a slight L-shaped bend that will require supports to print correctly. I initially tried using supports generated in the slicer (I use Orca Slicer) but found they kept breaking on my printer. Instead, I created optional break-away supports that can be used instead. The placement allows for bridging to work correctly while still using a fairly small amount of filament. I've included a 3mf file with the insert and support loaded. I used PETG-CF for mine thinking the rigidity would help prevent the insert from sagging. I think it's going to vary from filament to filament whether this is a good idea. To insert the filament rollers the bearings need to snap in place. My PETG-CF, while rigid, was also very brittle and one of the arms holding the bearings snapped off. Regarding PLA, I found the heat plate on the bottom got over 80C when heating up. There's a small gap but I suspect most PLA will soften and eventually sag down with 2kg of spools sitting on it for hours. If you want to use PLA you should probably try a high temperature variety. For the infill you'll want to use something that will aid in rigidity. I found that there wasn't really enough space for gyroid to do much and opted for Cubic. Desiccant Box The desiccant box is sloped to match the clearance for filament spools. Layer Height: 0.2mm Supports: No Material: PETG (or High-Temperature PLA) Infill: N/A In the model viewer it will look like the inside of the cap is sealed. This is a 0.2mm layer that allows the slicer to bridge the top and allowing for the receiving threads to be printed. You'll just need to cut away the stray strands with a deburring blade or just scissors. The cap should be printed with the top facing down so no supports are needed. Closable Vent Hole This adds a closeable vent hole to the top of the cover. The vents allow humidity to escape without having to prop the lid up. You'll need to cut a 41mm hole to fit this in, which happens to also be the same diameter as the hole necessary for the independent temperature and humidity sensor mod. You may want to add additional vent holes on the sides of the lid. Layer Height: 0.1mm Supports: No Material: PETG or PLA Infill: N/A Since this is at the top of the box and away from the heating element it should never see temperatures in excess of 50C so you can safely use PLA here. The cap portion has a rotating print-in-place center. The outer lock ring is threaded to secure with the bottom portion that's fit through the hole from the inside of the lid. I've also included an optional seal you can print in TPU to help maintain a seal when closed. The spacing of the spinning center has 0.2mm clearance so you'll need to have your printer tuned enough to handle that. You may need to flex the ring a little bit to break apart some contact points and let the middle spin freely. Replacement Fan The stock fan started developing a horrible grinding noise a few weeks after I bought it. I replaced it with this one that also seems to move air faster than the stock fan. I also didn't want to deal with more wiring in case I needed to replace the fan again so