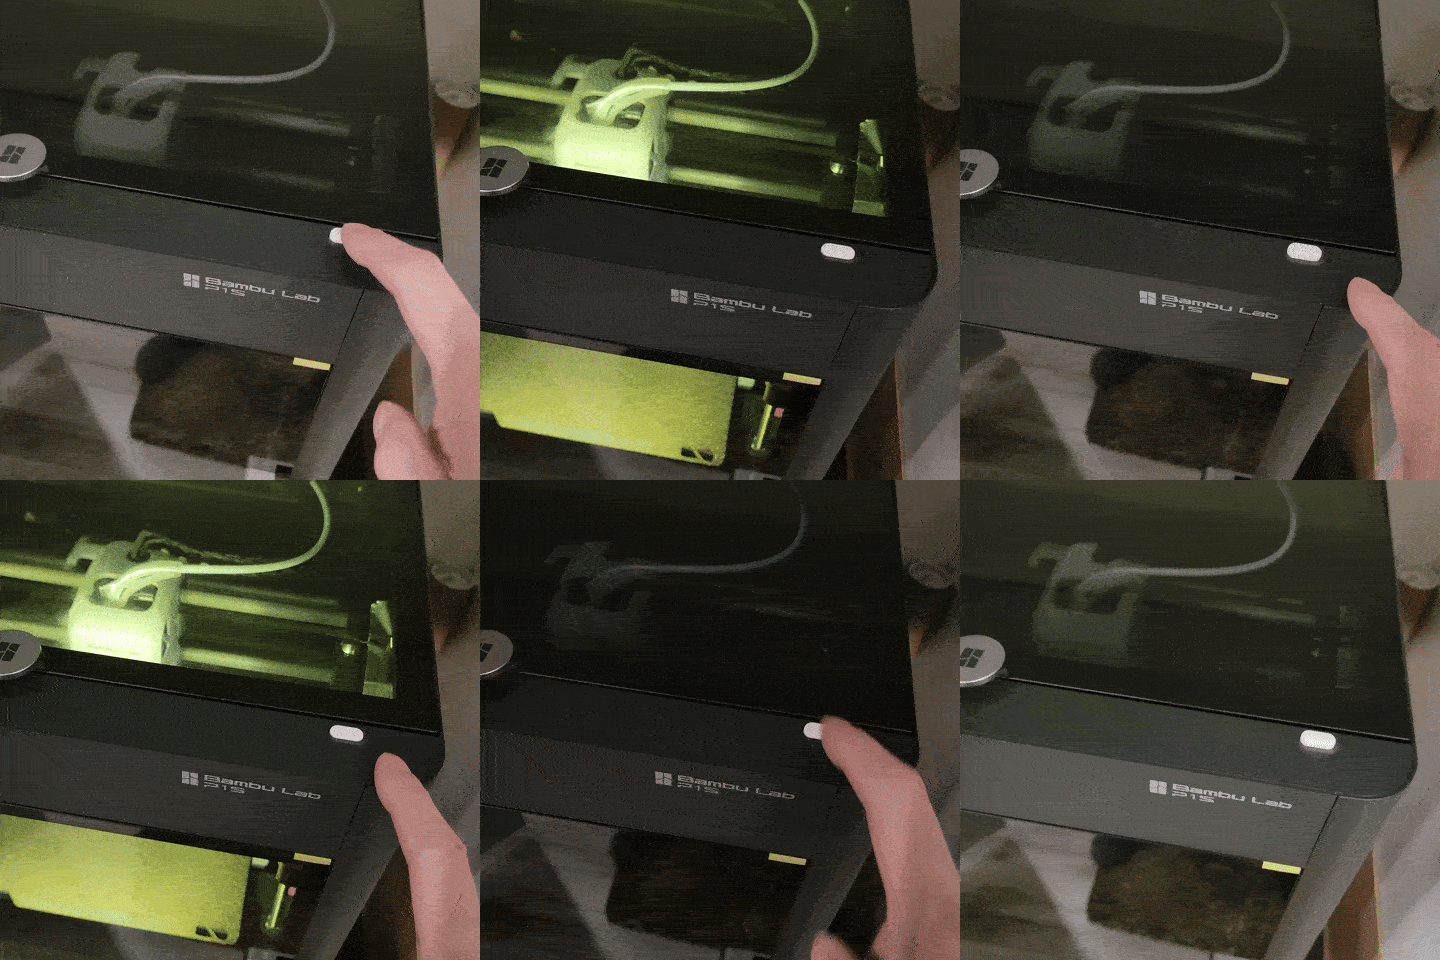
About this 3D model
Button fit in the hole that works as a swtich, to control Led light or other electronics inside. No need to remove any panel from the printer. Parts needed: 8mmx8mm self locking switch, three 5mmx2.5mm magnets (optional) OR some double side tape / Blu Tack 1 Print the button house with the pin upward, no support needed 2 Print the button 3 Wire the cricut to you need 4 Fit in the switch untill it snap in 5 (optional) Fit in the magnets on the bottom 3 holes 6 Install the housing first, fit the pin to the small hole already on the inside metal panel (magnets is helpful here, or just use some tape / Blu Tack to help it stay) 7 Install the button from outside, through the panel hole