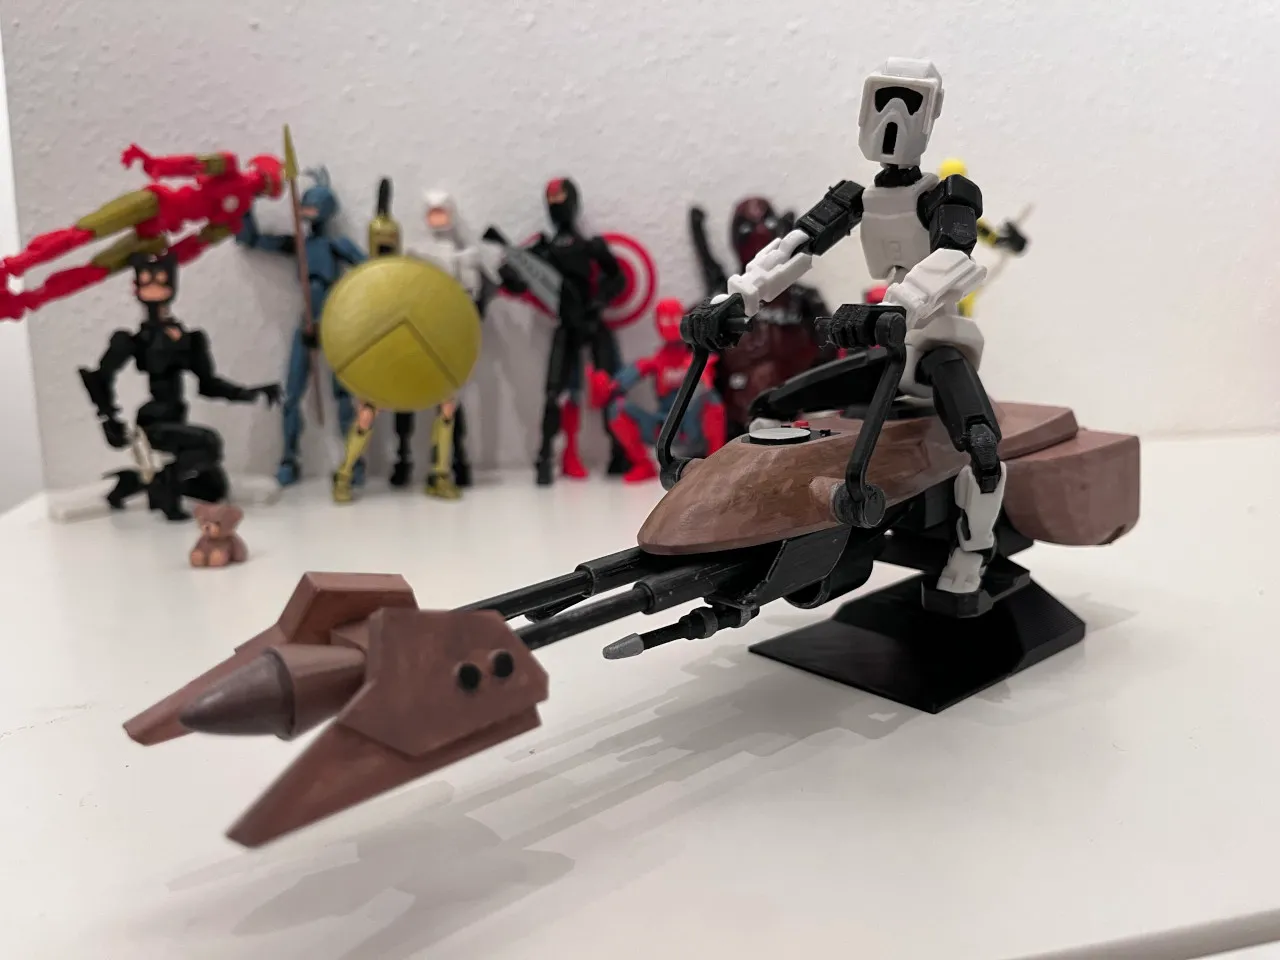
About this 3D model
V1.4, 16. Aug. 2024: Minor changes to the simple base Minor changes to the display V1.3, 20. Dec. 2023: Simple base added V1.2, 19. Dec. 2023: Shorter lever rods Shorter lever handles Panel added V1.0, 17. Dec. 2023: first release This is a remix of “ SpeederBike ” by Sci3D Used the seat and mudguards Designed anything else with Tinkercad Description I proudly present the DUMMSpeeder :D The original model looks really great, but unfortunately the model is not easy printable with FDM printers. So I started to redesign almost all the parts myself with Tinkercad. The model is partly screwed together with M3 screws and consists of easy to print parts to get the best printing result. It was also designed with easy post-processing in mind. The design is inspired by various models. Printing notes: Parts such as rods are printed horizontally to achieve the greatest possible rigidity and can be easily post-processed afterwards. Recesses and pins are mainly intended as a positioning aid for gluing. It is impossible to find the right tolerances for all printers and not everyone has a well-adjusted printer. Therefore, this solution seems to me to be a good compromise. Add-On: Get your Scout trooper here Assembly: There are some parts that are screwed. Some parts MUST not be glued. See the following assembly instructions. All other parts must be glued. The screw holes are designed to be narrow. Widen them if necessary. Use as short screws as possible. The holes are quite deep, so you can use longer screws if they lose their grip at some point. Parts: Nose Nose base Nose mount Front left Front right The inner rings help you to center the nose parts Parts: 2x front rod thin 2x front rod thick Parts: Frame Parts: Intake Use 2 pieces of filament (TPU) to connect the holes of the air intake with the small holes of the frame (simulated fuel pipes or such). Parts: Foot rest 1x M3 bolt Parts: 2x Mudguard 2x Engine Parts: 2x assembled mudguard Rear Parts Assembled frame Seat Button 2x M3 bolts Parts: 1x M3 bolt Assembled rear parts Parts: Laser mount Laser There are 4 different laser mounts (3.8mm - 4.1 mm inner diameter) Print them all and choose the one that stays on the pin of the frame without glue. If you glue this, you will no longer be able to reach the screw underneath. Glue the laser to the selected laser mount Parts: The speeder you have assembled Exhaust Insert the exhaust into the rear part at a slight angle and then push it in. Do not use glue! If you glue it, you won't be able to reach the screw underneath. Parts: 2x Levers 2x Lever handle 2x lever rod Parts: The levers you have assembled Push the levers into the seat and do not glue the lever rods to the seat. This allows Dummy 13 to adopt different poses Parts Weapon mount (optional) Use glue or double-sided adhesive tape to attach the mount. Parts Panel (optional) Use ironing to get a smooth surface The panel is simply inserted into the seat. You may need some glue. Parts Simple base (optional) This is a very simple base. A more advanced base may coming soon. No glue!