About this 3D model
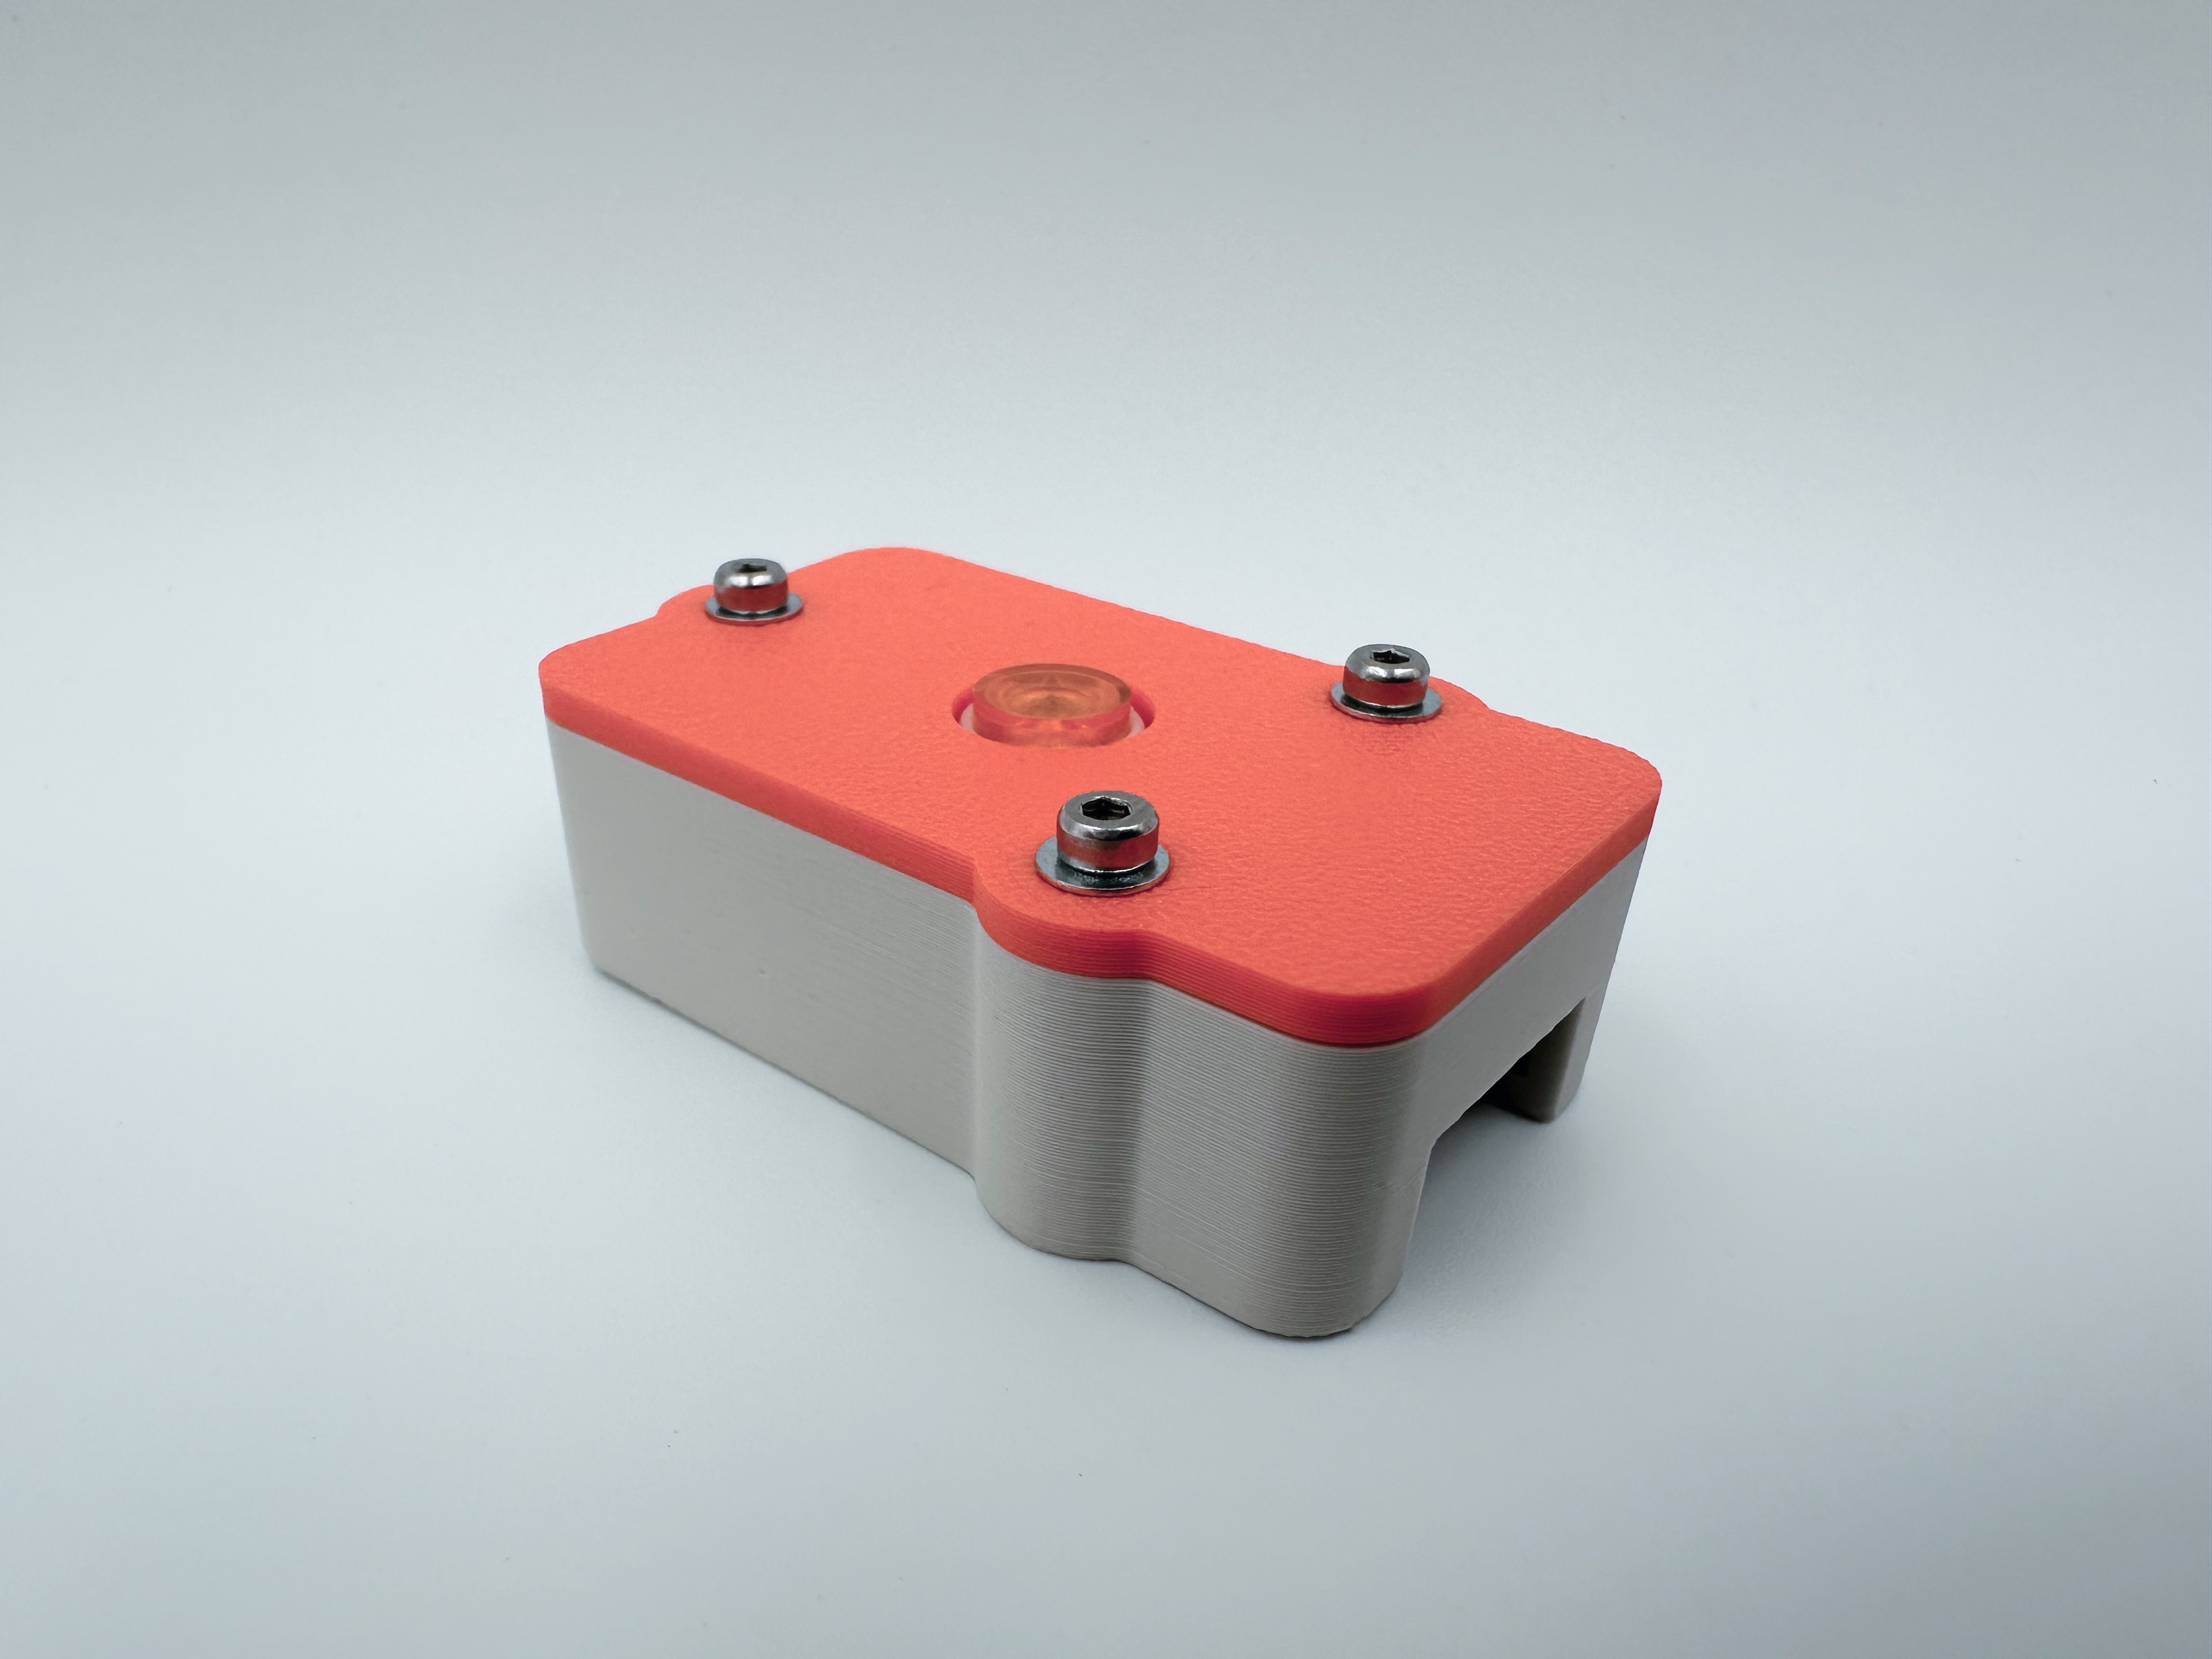
Using this in a project and it needs a case, so here it is with a few variants including a screw mount, magnetic mount and a basic case. Required For Assembly 3x M2x12 screws 3x M2 washers 3x M2 CNC Kitchen/Ruthex or similar sized inserts A grove LED button , there are various different colours Soldering iron The magnetic case variant requires 1x 8x2mm disc magnet. The screw mount version has a 5mm hole in the case for a screw. Assembly Install the M2 inserts in the 3 holes in the main body of the case. If you are using the magnetic mount variant of the case, glue in the 8x2mm magnet into the hole in the middle. It's a good idea to add a small dab of glue there. If you are using the screw mount variant of the case, mount it to its final location now. Gently insert the PCB into the main body of the case. Attach the lid carefully, use the button to move the PCB while placing the lid to ensure it is central. Screw in the lid with the M2x12 screws and washers. Congratulations, you are done!