About this 3D model
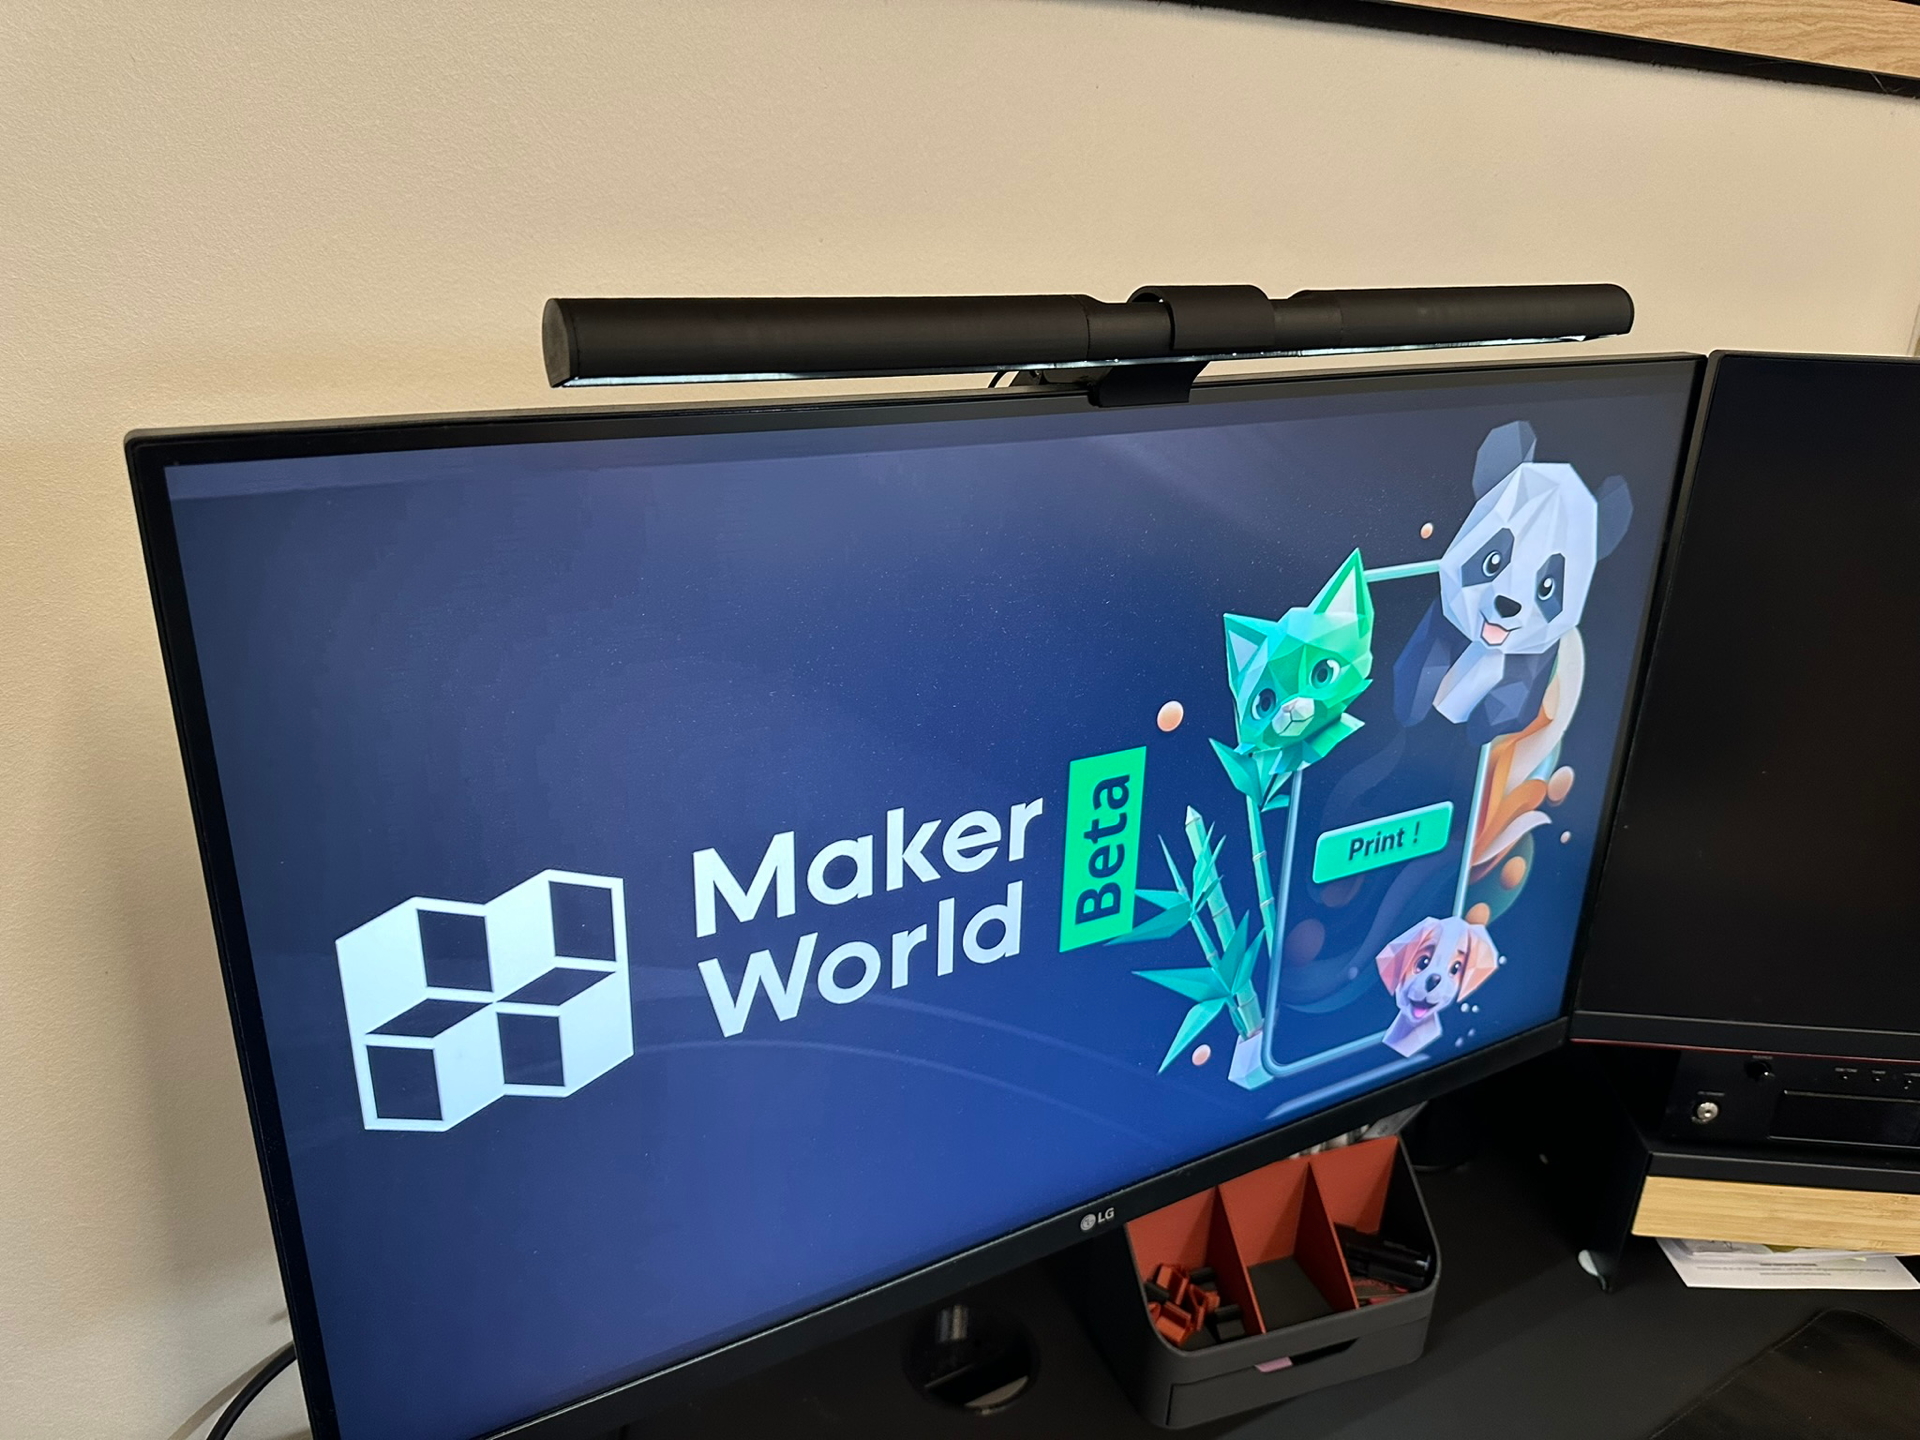
Introducing the Monitor Light Bar - your ultimate companion for immersive and glare-free computing experiences Placed on top of your monitor, this light bar casts a gentle, downward flow of illumination onto your workspace, effortlessly eradicating shadows and banishing eye strain. Designed to have an indirect illumination which ensures a uniform light distribution, bathing your desk in a soft, diffuse glow without a hint of harshness. Designed to prevent reflection on your monitor screen, allowing you to focus intently on your tasks without distractions. The monitor light bar can be configured as desired: 300mm 400mm 500mm or mix the tubes as it fits your needs. Illuminate your workspace with brilliance and finesse. PS. if connected to one of USB-ports on the monitor, it will turn on and off with the monitor/computer. What you need: The printed parts 1 M3x35mm fastener 1 M3 nut LED strip Wire Power supply Heavy material (sand, rucks or ?) Tin foil Glue Screwdriver Soldering iron Scissors/knife Step 1 Glue the tin foil to the inside of the tube, opposite side of the holes. and trim it Step 2 Glue the alignment pins in to the center tube Step 3 Glue the 3 tubes together Step 4 Measure and cut the LED strip and wire to size Step 5 If not using a USB cable or other small connector, remember to feed the wire through here now Step 6 Feed the wire through the light bar and solder it to the LED strip Step 7 Glue the LED strip to the light bar (as far up/as close to the tin foil as possible) Step 8 Put on the end caps Step 9 Fill the container with a heavy material (I used sand) and put on the lid (might be a bit snug) Step 10 Screw the items together Step 11 Assemble the 2 parts together Step 12 Place it on your monitor and enjoy :)