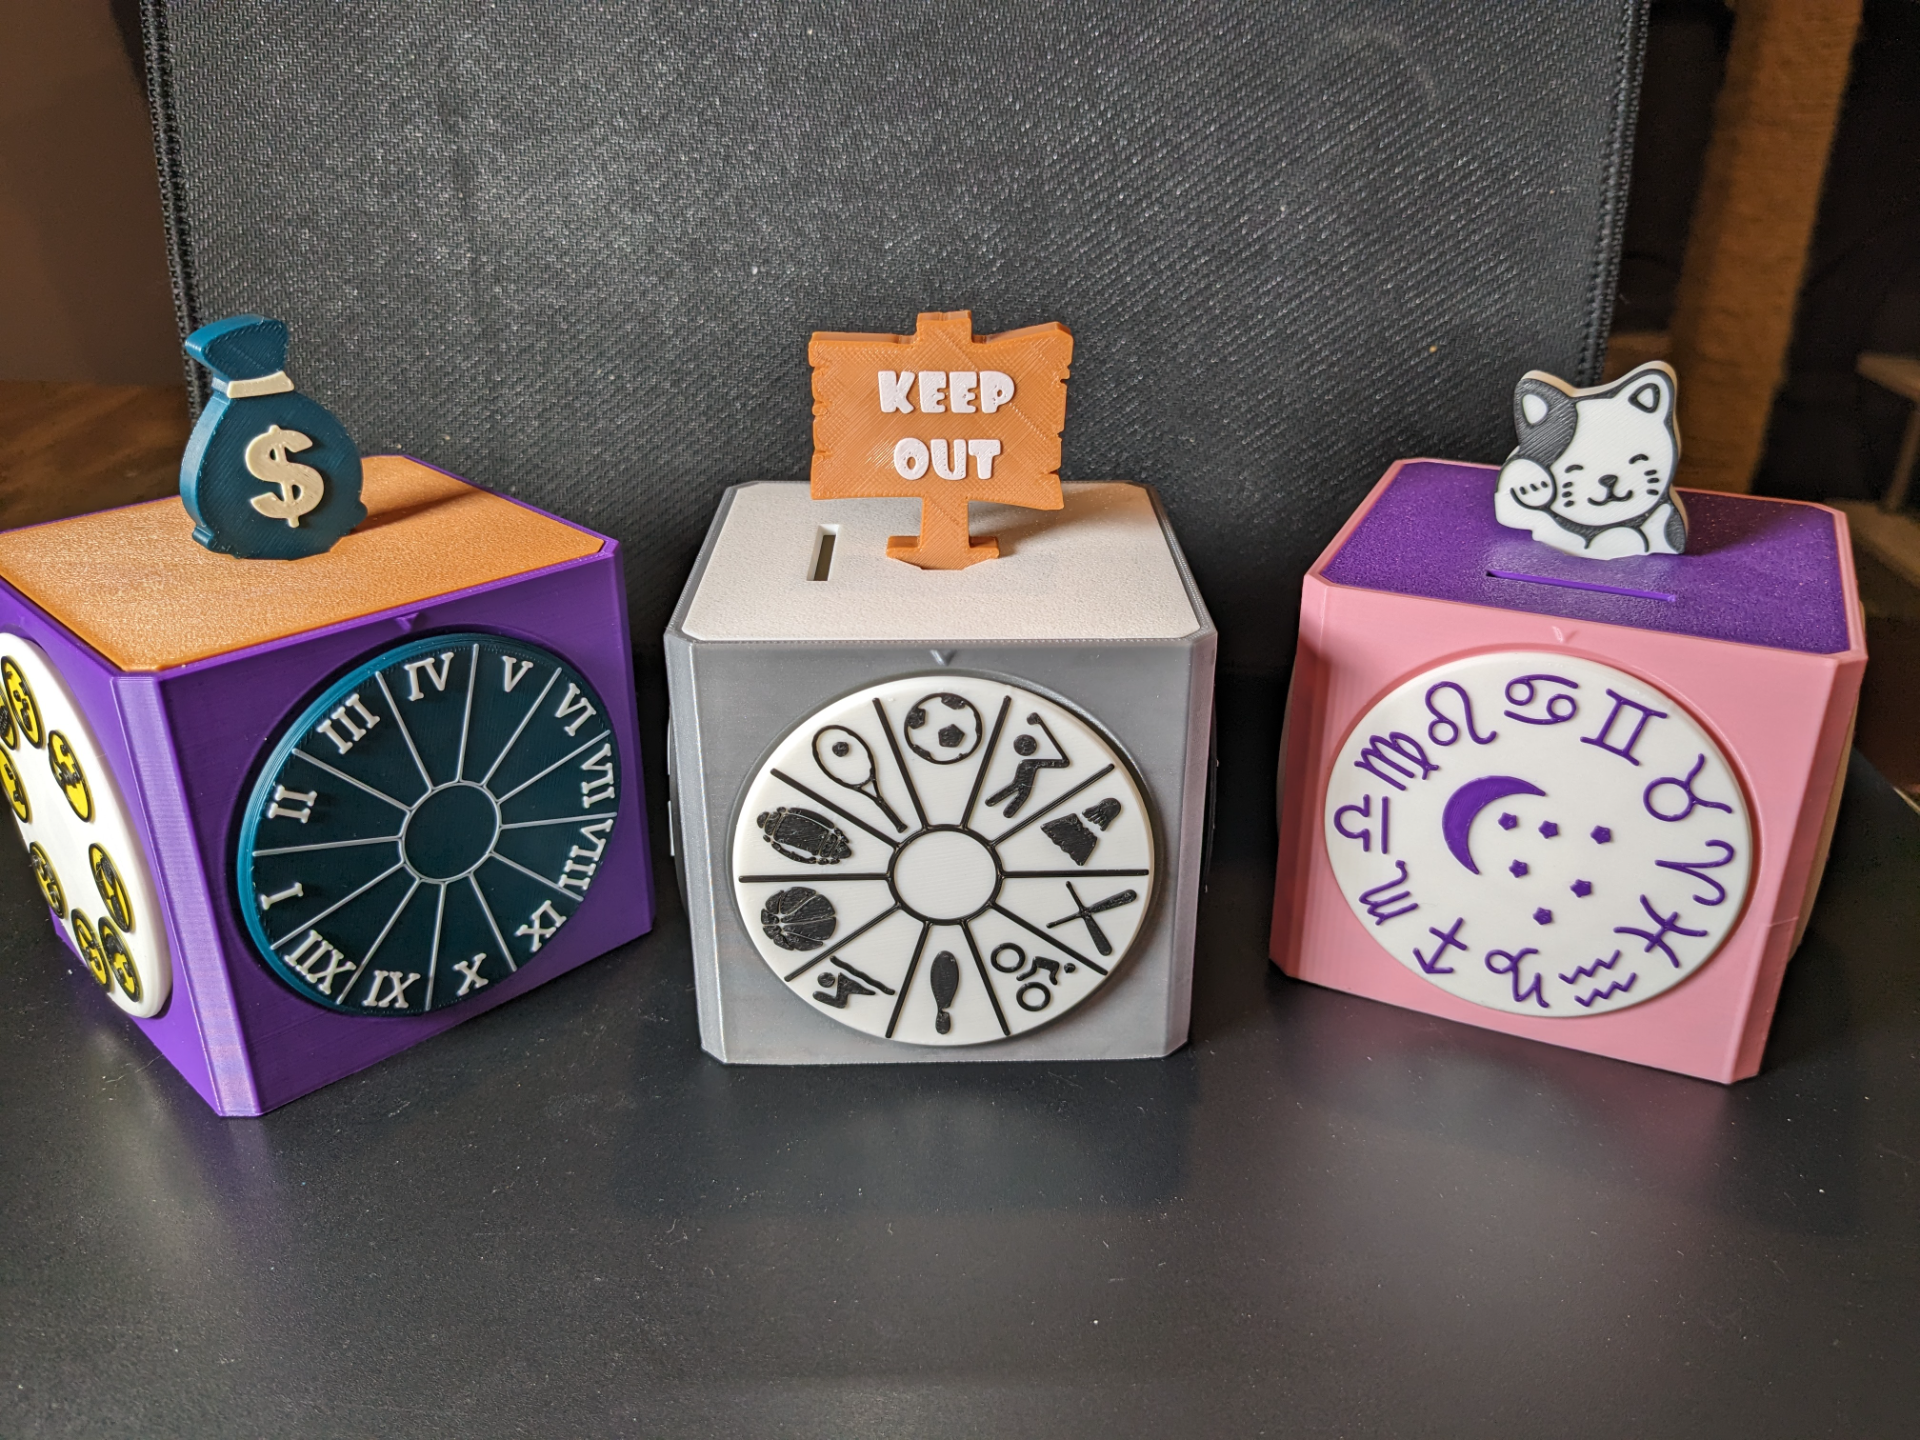
About this 3D model
This is my take on a Combination Lock Box. The inspiration for this was wanting to provide a personal/fun touch when giving money or gift cards for birthday gifts and such. The lock box works by needing to rotate each of the four dials to have the proper symbol aligned at the top, to unlock. What dials are used and combination, can be personalized. For an added personal touch, can include a top handle of choice as well. I've included STEP and Fusion 360 files for creating own custom dials and handles. My hope is others will be inspired to post and share more dials and handles. Read below for instructions/guide on what to print, or watch this video for a complete overview: 3D Print Personal Combo Box Assembly Print settings: No Supports or Extra Parts needed, and Glue Optional. I print every part using .2 layer height with 8% cubic infill. All my prints were done with PLA of various types, brands, colors. Here is a tutorial video I threw together for creating own custom handles and dials: 3D Print Personalized Combination Box - Dial/Handle tutorial Core Parts The following are base parts that all lock boxes will need: MainBox (x1) - This is the core box and is the largest part to be printed InnerDial (x4) - This dial will be 'internal' and are a core part of the locking mechanism, need 4 of these. LowerLockDisc (x8) - The lower lock discs are also internal part of the locking mechanism, need 8 of these (don't worry these are small) Core Assembly First set the MainBox on its side so one of the sides is facing upwards. Insert two LowerLockDisc through the square 'access' slots in the side of the Main Box (Note these discs will be loose until the Inner Dial is put in). With the Box still positioned on its side, slide one of the Inner Dials into the slot, position it so its center hole aligns with the Box side hole. Once this inner dial is in place, you can freely rotate the box, as the lock discs will be secure in place. Repeat this same thing for each of the other 3 sides. NOTE: When inserting the inner dial, you don't need to worry about which way it's facing. I do like to insert it such that the rounded part of the inner hole is facing up, just to make inserting the couplers later a little easier. Outer Dials Dialnn_desc (x4) - What outer dials you print will be based on personal preference. Note the dials come in 3 flavors of 8, 10, or 12 choices. DialCouplernn (x4) - Each dial needs an accompanying DialCoupler (e.g. an 8 choice dial would use the DialCoupler08, and so on). The 08 versions use an Octagon connector, The 10 version use a 10 point star connector, and the 12 use a 12 point star. The reason for the 3 connector types, is because need to be able to align any choice on the dials. Two Color Printing: Dials have raised 'etching', to do two color printing, set filament change at layer 22 (assuming .2 layer height) The Dial08_EmojiFace dial can be printed with 3 colors to great effect. For this, set change at layer 22 and again at layer 24. Outer Dial Assembly First need to insert a DialCoupler, from the inside of box, through the InnerDial (this can be the most fiddly part of the whole assembly). Note: the coupler will only go through the inner dial one way. Look for where the rounded part of the InnerDial hole is positioned, and align the coupler to match. The coupler has arrows on both the inner and outer sides that point to the 'top' (or rounded position). This connection is designed to be a tight fit, a decent amount of force may be needed. (The first time, it may be good to test out this fit outside the box, just to get a sense of how coupler sets into the inner dial). Once the coupler is in place, then take the appropriate outer dial and position the desired 'combination value' to align with the arrow on the coupler. The dial will be in an unlocked position when the arrows on the coupler are pointing straight up, this is the guide for setting the outer dial to the desired value. Once positioned, press the coupler and outer dial together, the fit is designed to be tight, and press fit may be good enough. Initially I do not advise super gluing the dials until everything is set, can always "pop" the outer dial off later and apply super glue if wanting to ensure outer dials don't come off from coupler. TIP: Initially the dials may "stick" or turn somewhat difficult. Perform some spins with the dials to loosen things up. My experience is that without supports, the holes in the box can have some "rough" elements, which just rotating the dials can smooth out. The dials should spin pretty easily, but still with some friction. Cover I've designed this lock box to support two flavors of locking: Single Stage = This mode is simplest and only requires printing one of the 1Stage covers. This approach is probably good enough for most cases. Two Stage = This mode has several parts to print, but provides a mode that is very difficult to guess by feel. The core box and dials support either locking mode, so can s