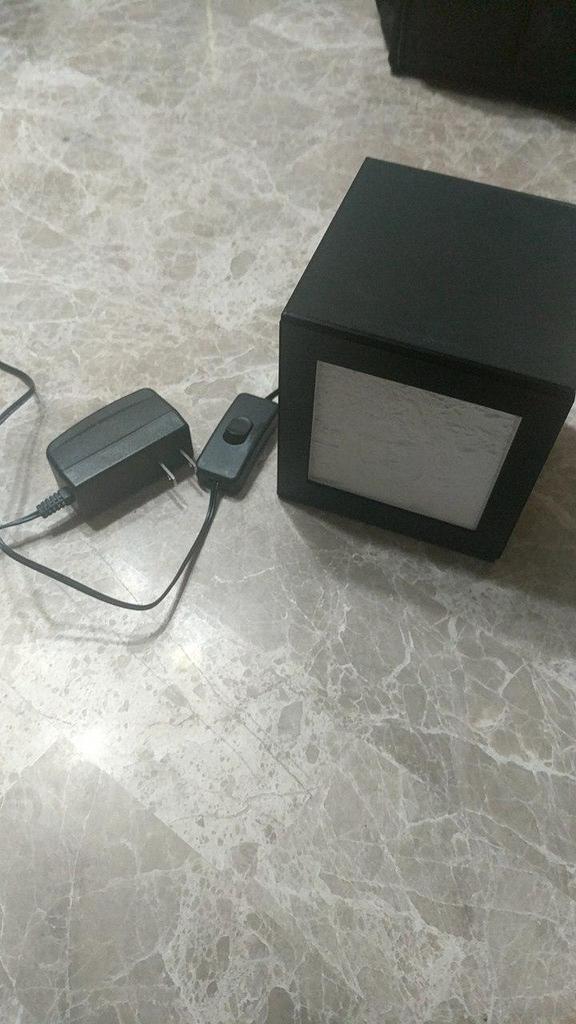
About this 3D model
Summary Video of it in action: https://www.youtube.com/watch?v=jT6lD1psAAw I remixed the awesome, yet simple lithophane box by dirtsky so it would hold my panes a bit better and tighter without any "wiggle room". I also ditched some of the "v2" modifications from dirtsky because I couldn't get them to print in a way that actually worked for me, so this is a mix of altereted v1 parts and the v2 top and bottom pieces put together. I also added an in-line switch to mine, along with a directly wired power supply (no barrel jack connector needed this way). See BoM below. In order to create your own box, please use this site here: http://3dp.rocks/lithophane/ Use the settings in the photos of this thing to create your panes, it's important to have the settings the same (or at least very close if you want to start tweaking them) in order to get a proper print. Important note is that it has to be 90x90mm as this is specifically what the box is designed to hold. Bill of Materials used is below with Amazon links. LED Strip: https://amzn.to/2NOJKzp Power Supply: https://amzn.to/2A8Ap3c Power Switch: https://amzn.to/2OjByrD Glue Gun: https://amzn.to/2Ac9YtH LED Connectors: https://amzn.to/2mNEOip Note that I didn't use the LED connectors in my project because I just soldered them with some wire I had laying around, but it turned out fairly ugly honestly (good thing nobody will see that part!) - If I make another one, I will be buying these LED connectors instead. If you want to go the connector route, make sure you get the correct size connector (8mm vs 10mm) for whatever LED strips you have! Wiring this up should be fairly straight forward, cut your LED strips in sets of 3 (see my photo) and connect them together with wire/solder, or those connectors linked above. Solder on the power connector (after you put it through the back plate hole!) and put some hot glue down through the hole to hold it in place and give some strain relief. Then just super glue the sides to the base, and super glue the top on if you don't want to ever be able to remove it. Done!