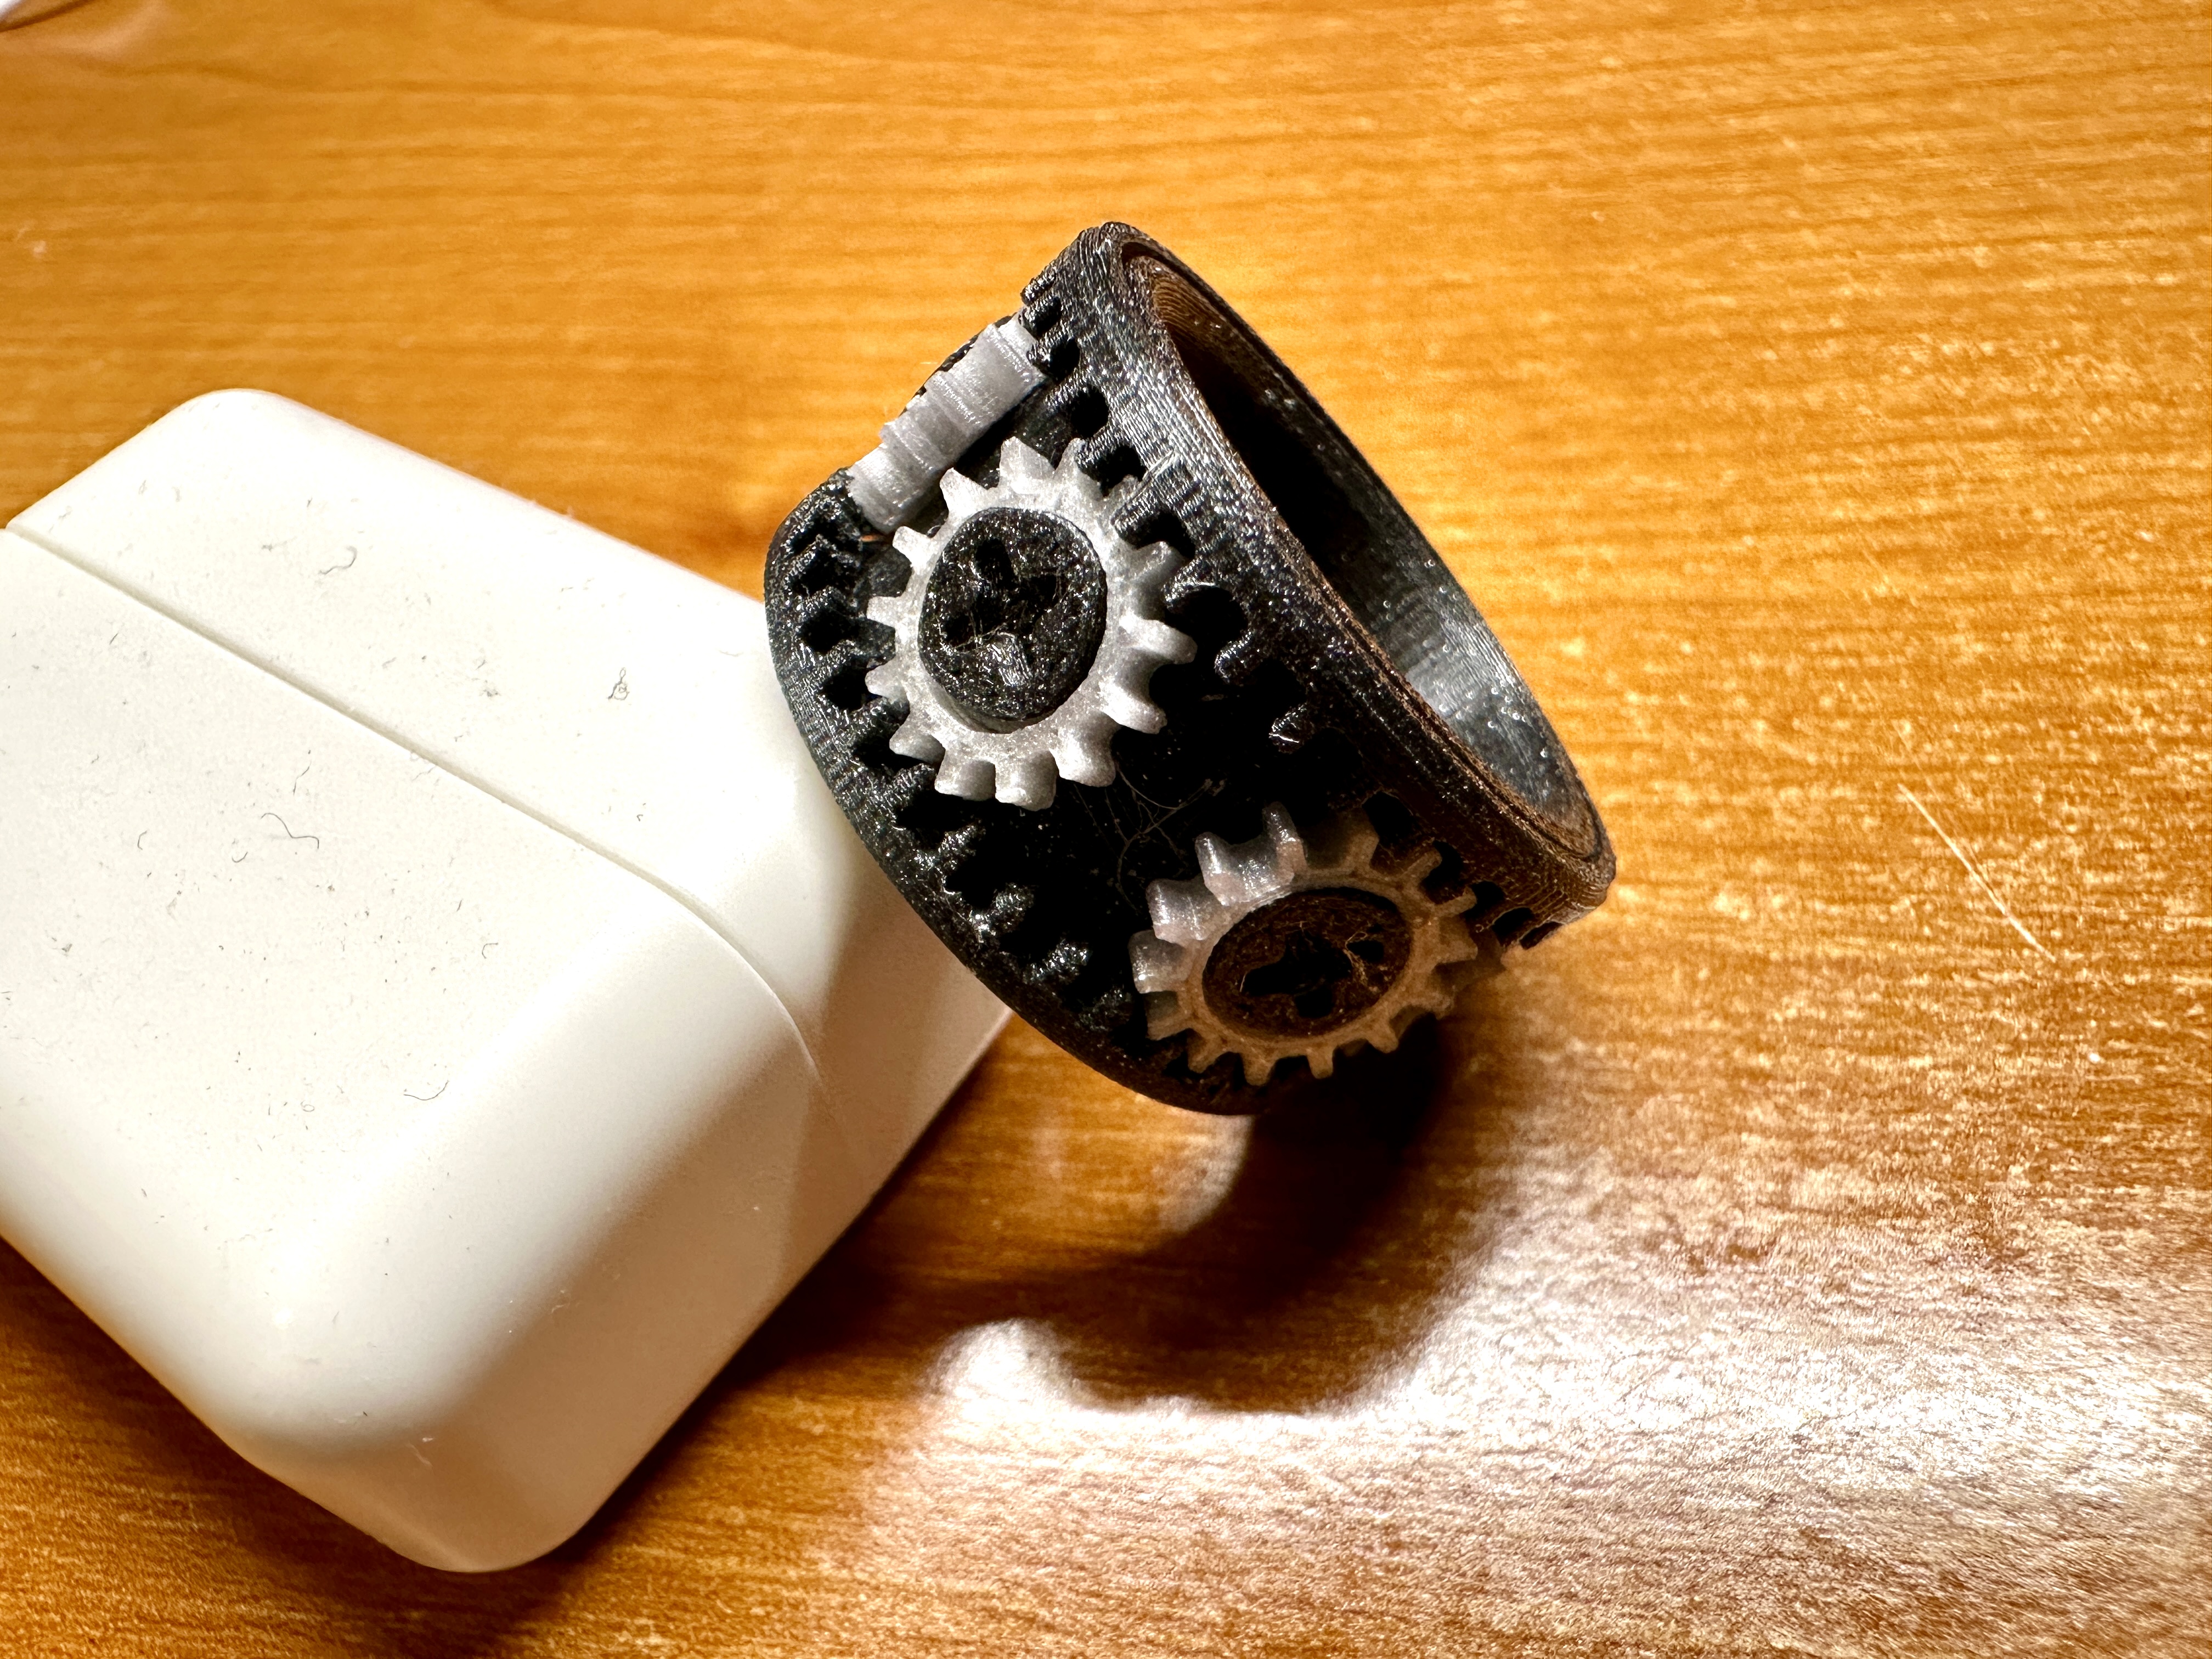
About this 3D model
This is a design exercise to reverse engineer a commercially available Gear Ring into a fully 3D printed working model. UPDATE - added 23mm and 19mm versions BOM 1x - Gear ring main body with the outer rings 6x - Gears 6x - Studs PLA or any kind of plastic cement. Slow curing is highly recommended. Assembly Very carefully and remove the organic/tree supports from the main body Lay out all the parts as shown in photo Ensure all the gears are oriented correctly and ready to be installed. Test fit the stud through the gear and correctly installed would look like photo shown with the stud protruding out Move the outer rings on the main body to the outer edge as shown in photo Test fit the stud through the gear and into the main body Apply very small amount of cement to the recessed hole in the main body Install the stud through the gear and into the main body as shown in photo. Once this first gear is set. install another gear on the opposite side of the main body as shown in photo. Once again allow the cement to cure Very gently test rotate the outer rings. Install the remaining gears. Moving parts have a 0.4mm tolerance Fixed parts have a 0.2mm tolerance This is a working model more than an actual EDC fidget ring. Don't rotate too fast or apply too much force while rotating the gears. Happy New Year!! and Happy Printing :)