About this 3D model
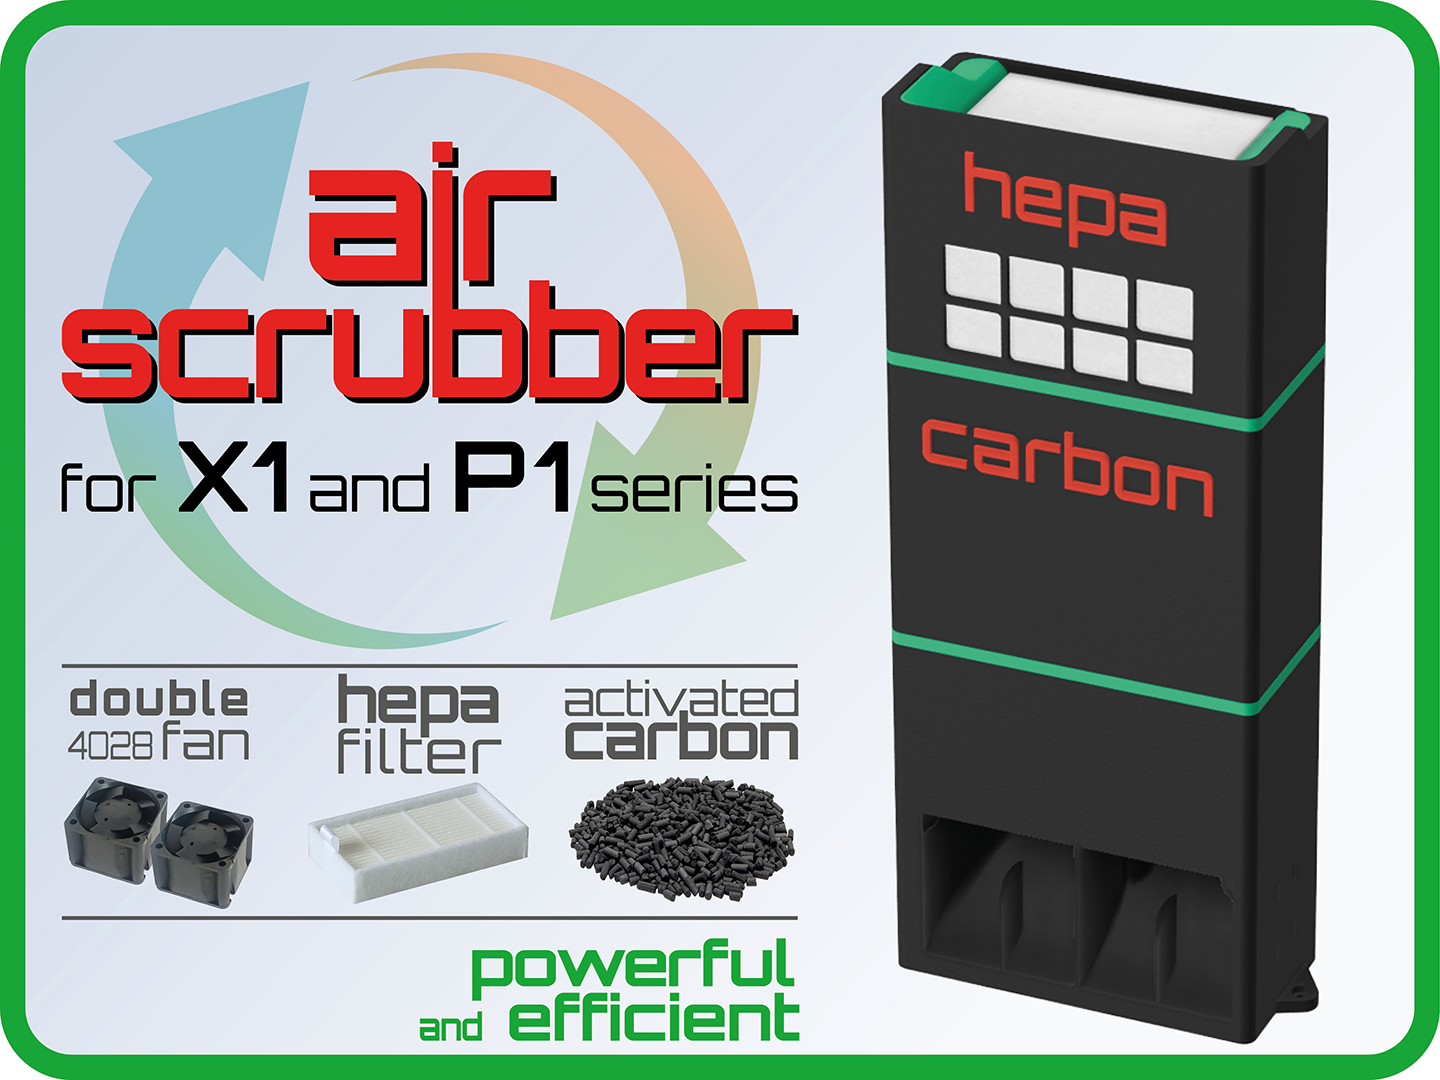
I present to you my recirculating air filter. The filtration system is the one already tested: it use Hepa filters to block the smallest particles (VOCs) and activated carbon to absorb smells/fumes generated by certain materials such as ABS, ASA, PC, PA, etc. (usually those that require to be printed with Enclosure). I designed it completely from scratch. It's wider, it's taller, it's efficient and I think it's also beautiful. Available both in single or dual hepa filter! Filaments used to print my scrubber: Bambu Lab PETG-CF (Black, Malachite Green and Brick Red). For templates and covers I used common PLA. What you need In addition to your printer, you need something else to complete the model. These are cheap components, on sale almost everywhere: 2x 4028 fans (or 2x 4020 fans, to be mounted under the spacer found in the optional plate of main print profile); 4x threaded inserts (not mandatory) to insert into the fan duct; 4x screws M3 (not mandatory) x6, x8 or x10 to join the fan case with the fan duct; If you don't want (or can't) use threaded inserts, you can join these two parts by gluing them together. 16 or 24x magnets 5x3 mm to join all the other parts (depending on which air intake you choose); 1x Hepa filter 80x40x15mm to place in the upper container (if you choose the dual-hepa air intake, you need 2 hepa filters); about 50g of activated carbon , acid-free type recommended, to place in the middle container. Assembly guide and notes Fan Duct 1. Glue the logo on the side following the slots; you can use the template found in the "optionals" plate, but it is not essential. 2. Insert the threaded inserts into the holes in the fan duct; the temperature of the inserts must be sufficient to make them penetrate the material, but not too high to avoid deformations; 3. Place the fan enclosure over the fan duct and join them with the four M3 screws; If you don't want to use threaded inserts , you can glue the fan duct to the fan case using the 4 pins that are in plate 5 to align the two parts perfectly. This will not affect the ability to mount and dismount the fans. Notes: in the print profile you will find the fan duct with three air deflectors. If you want to print the version without baffles (shown in the photo on the right), you will have to download it separately. Fan Case 1. Insert the two 4028 fans and pass the cables and connectors through the appropriate hole until they reach the bottom of the fan duct. If you use two 4020 fans, insert above the fans the spacer that is in the optional plate of the print profile; 2. Insert the green fan Conveyor, which will keep fans locked in place. If the Conveyor goes in too easily and is easy to pull out, lock it with a couple of drops of CA glue; 4. Insert four 5x3 magnets into the appropriate holes on the top of the Fan Case, making sure the polarity is in the same direction for all magnets. 5. When you have finished all the wiring you need, place this block inside the printer in the bottom right corner; secure it with double-sided tape or screw it into the hole already present inside the printer. Activated Carbon Case You should use “pellet” of “flakes” activated carbon so as not to disperse its dust, and acid-free type to avoid corrosion of the metal parts over time. If you use “flakes” carbon, use intermediate grids to optain more carbon layers and ensure good airflow. 1. Insert four 5x3 magnets into the appropriate holes on the top of the Carbon Case and other four magnets on the opposite side. Before inserting the bottom magnets, pay attention to the polarity; when you overlap the stages the magnets should attract each other, not repel each other. 2. Put some pellets in the red basket (the one with the two handles); Fill it halfway, so as not to obstruct the passage of air. Place the green basket on top of the red one and put the activated carbon. Repeat until you have stacked all the baskets. 3. Finally insert the stacket baskets into the Carbon Case, always holding it vertically. Notes: the 3D preview show the grids as a solid objects. Grid pattern will be generated by the slicer, where I have set zero upper and lower layers and a different infill depending on the position of the basket. Hepa Filter Case and air intake: choose your favorite version I used the most standard hepa filter: 80x40x15 millimetres. Insert four 5x3 magnets into the appropriate holes on the bottom. Before inserting any bottom magnets, pay attention to the polarity; when you overlap the stages the magnets should attract each other, not repel each other. Dual-Hepa filter case: By default, in the print profile you find the 2025 dual-hepa filter case that ensure a great filtration witha a minimal air resistence. It requires four magnets on the bottom and tho hepa filters: insert the first filter into the black case, then insert the green holder with the second filter. Single Hepa filter case with raised air intake: If you want to use a single hepa filter, please print the appropri