About this 3D model
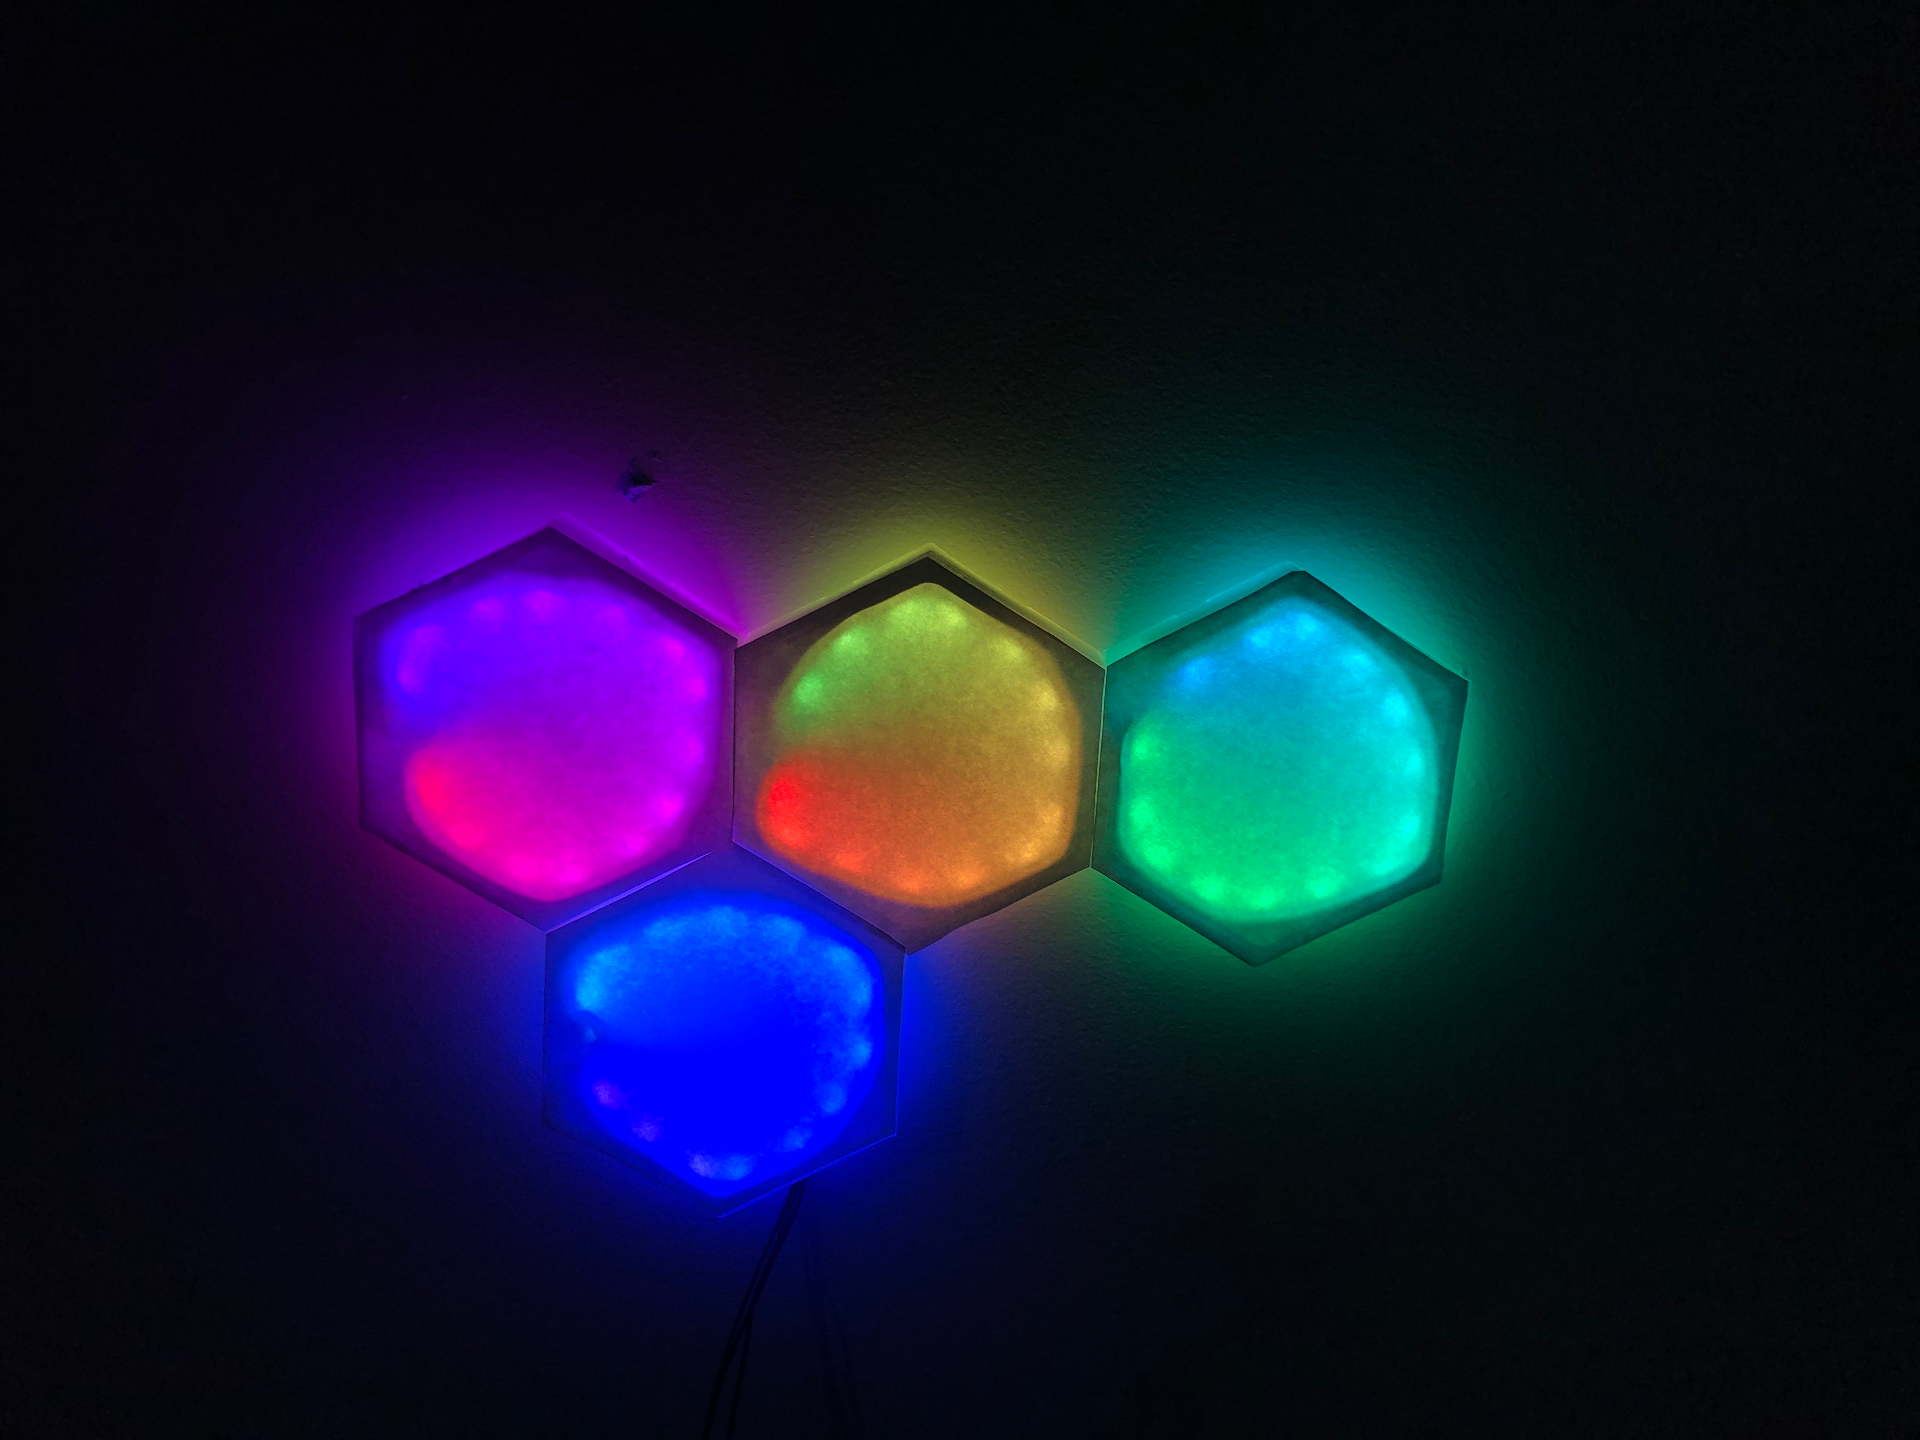
The first version of my DIY LED Nanoleaf hexagons. There are many issues with this which I hope to rectify with a second version and some point, but for now, I've uploaded this anyway. Features: Small channels on the underside to run wires Hole in the center to run wires Rounded inner corners Pins around the inside edge to hold the LED strip in place 1mm thick lowered area on top for thin acrylic diffuser Small design (as it was made to fit on a tiny delta printer!) LEDs! Issues: No attachment mechanism - Because this was one of the first things I designed, I didn't think about how to attach them properly to each other. I used hot glue, but if you, for whatever reason, choose to make this, you'll need to figure this out No mounting mechanism - I stuck mine to the wall with sticky pads, but this isn't great, so you'll need to figure out some method to deal with this too. No controller holder - The controller and wires are currently just hanging down and in a small box, which really isn't ideal. With the V2, I'd like to have the controller attached to the side of the hexagons Diffuser - I added a tiny (1mm deep) area for an acrylic sheet, but a milimetre probably won't give great diffusion, even with good frosted acrylic (though I haven't tested this). I did find paper worked quite well, but I'd also like to see if a 3d printed diffuser could be made Cable channels on the back aren't very deep, so only thin wires work. Plus, there's nothing holding the wires in the channels About the LEDs: For this project, I used a WS2812B strip with 60leds/m connected to an ESP8266, running the awesome, open source firmware WLED ( https://kno.wled.ge ). However, any strip less than 10mm high will work, and you can add any controller you like! As for diffusing the light, I used paper, but frosted acrylic would probably be best! Enjoy!