About this 3D model
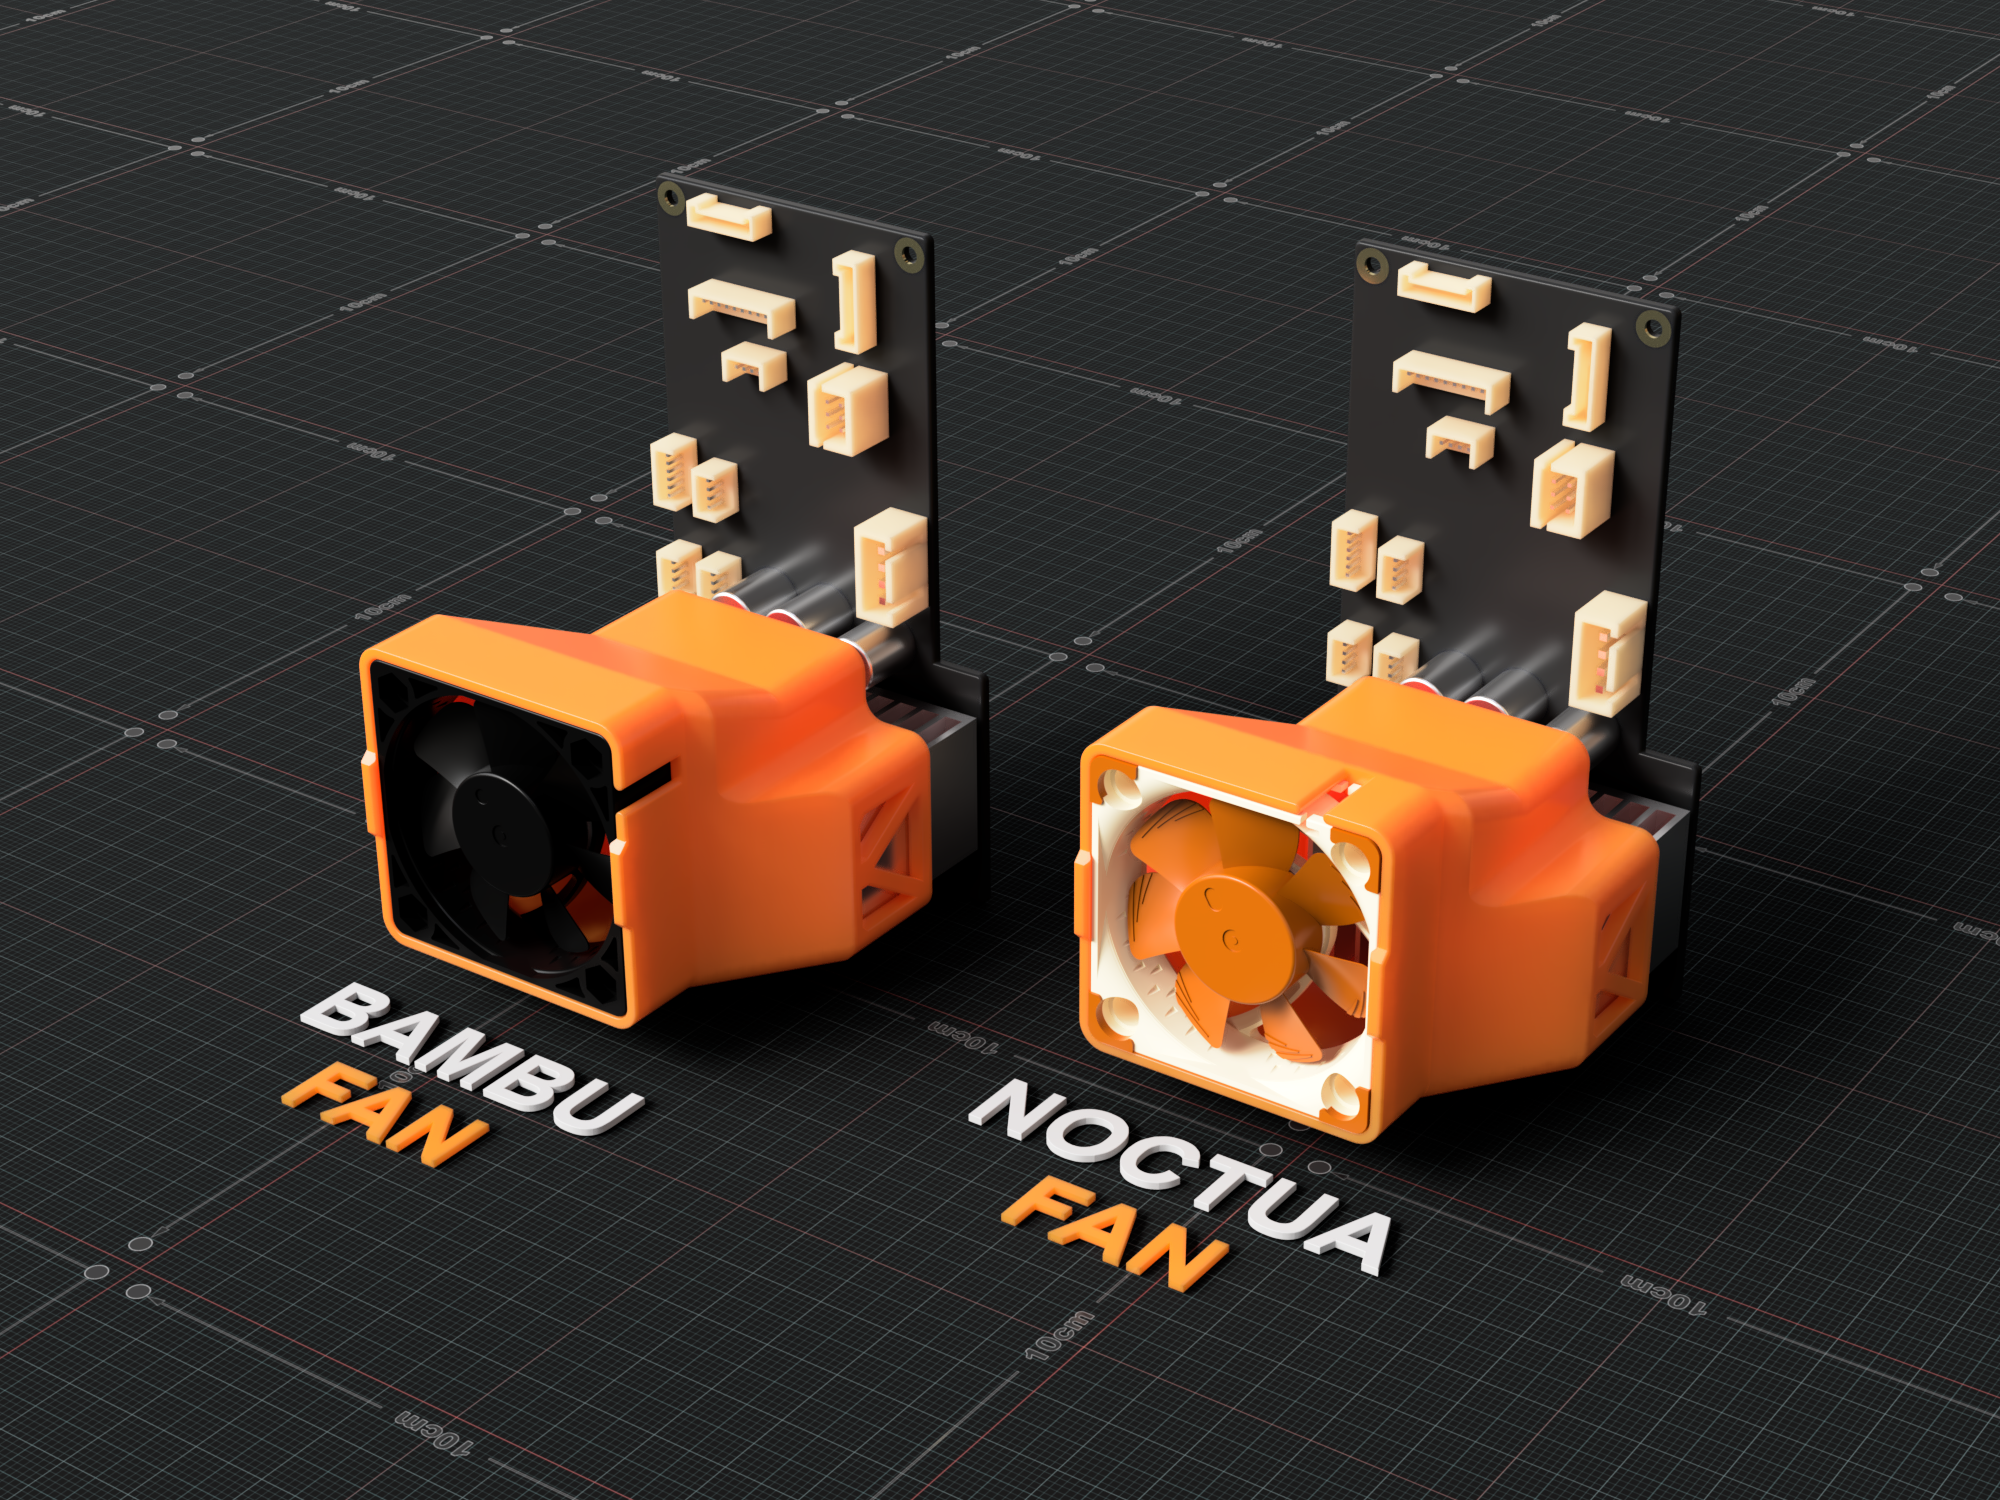
Bambu Lab MC Board Fan Noctua Upgrade Designed to improve cooling to the control board heatsink using: Noctua NF-A4x10 5V PWM , NF-A4x20 5V PWM or the original Bambu MC fan. Files Noctua Fan STL Noctua Fan 35x18 Noctua Fan 39x22 Noctua Fan 38x20 Noctua Fan 40x40x20 38x20 Noctua Fan 40x40x20 35x18 Bambu Fan STL Bambu Fan 38x20 Bambu Fan 35x18 Bambu Fan 39x22 Print Files Bambu Fan Print Files Noctua Fan Print Files Fans Noctua NF-A4x10 5V PWM https://a.co/d/5Trh12O Noctua NF-A4x20 5V PWM https://a.co/d/8Tra4lA Bambu Control Board Fan https://store.bambulab.com/products/control-board-fan NF-A4x10 is what I’m using , it's quiet and has 5.24cfm. I have models for the NF-A4x20 as some users already have it but since it's 10mm thicker, there isn't as much space to redirect the air before the heatsink. Not sure how much that matters, just putting it out there. Print View Print Settings I used Polylite Pro PLA+, no issues so far. Set your K calibration and adjust setting based on your filament Open the print file to see the rest of the settings. Instructions Please determine what size heatsink you have in order to choose the correct model. There are 3 different heatsink sizes Bambu has used. 35x18 - Horizontal fins 38x20 - Vertical fins 39x22 - Unsure (more on this below) According the Bambu https://wiki.bambulab.com/en/p1/maintenance/mc-board the P1P has vertical fins and the the P1S has horizontal. “The P1P board has a vertical orientation heatsink to help with natural convection cooling when used without a fan, while the P1S heatsink has a horizontal heatsink orientation for side MC Fan cooling”. G-Code If you are a P1P user please follow to G-code instructions below to activate the MC fan. https://wiki.bambulab.com/en/p1/manual/kind-reminder-for-P1P-enclosure Install Install onto the heatsink, no need to remove anything as it's able to slide right into place. You might need to move/manage some of the wires though. 39x22 Heatsink If anyone has one of these can you please let me know how the fitment is, as well as take a measurement of the fin height? The fan casing should be ~2-3mm away from the rear panel so I will most likely need to adjust the height of the 39x22 model. Once I'm able to validate the height of the 39x22 I can add the side vents like the other 2 models have and I can create a version for the 20mm Noctua fan. For reference, the fins on the 35x18 have a height of 21mm and the 38x20 is 30mm. Noctua Wiring JST MX 1.25 Connectors https://www.amazon.com/gp/product/B0B3MSD154/ref=ppx_yo_dt_b_search_asin_title?ie=UTF8&psc=1 Noctua NF-A4x10 PWM 4 Pin JST MX 1.25 + Yellow Red - Black Black Tach Green Yellow PWM Blue White Please refer to P1P to P1S upgrade kit installation tutorial for any further instruction. https://wiki.bambulab.com/en/p1/manual/p1p-to-p1s If you like my designs and want to say thanks, you can buy me a coffee and help fund the filaments I need for prototyping. A donation of any amount to Buy Me a Coffee or PayPal would be greatly appreciated! As always, given different printing environments, filaments, etc., prints may not work perfectly for everyone. If you are having issues please message or comment and I will try my best to resolve the issue.